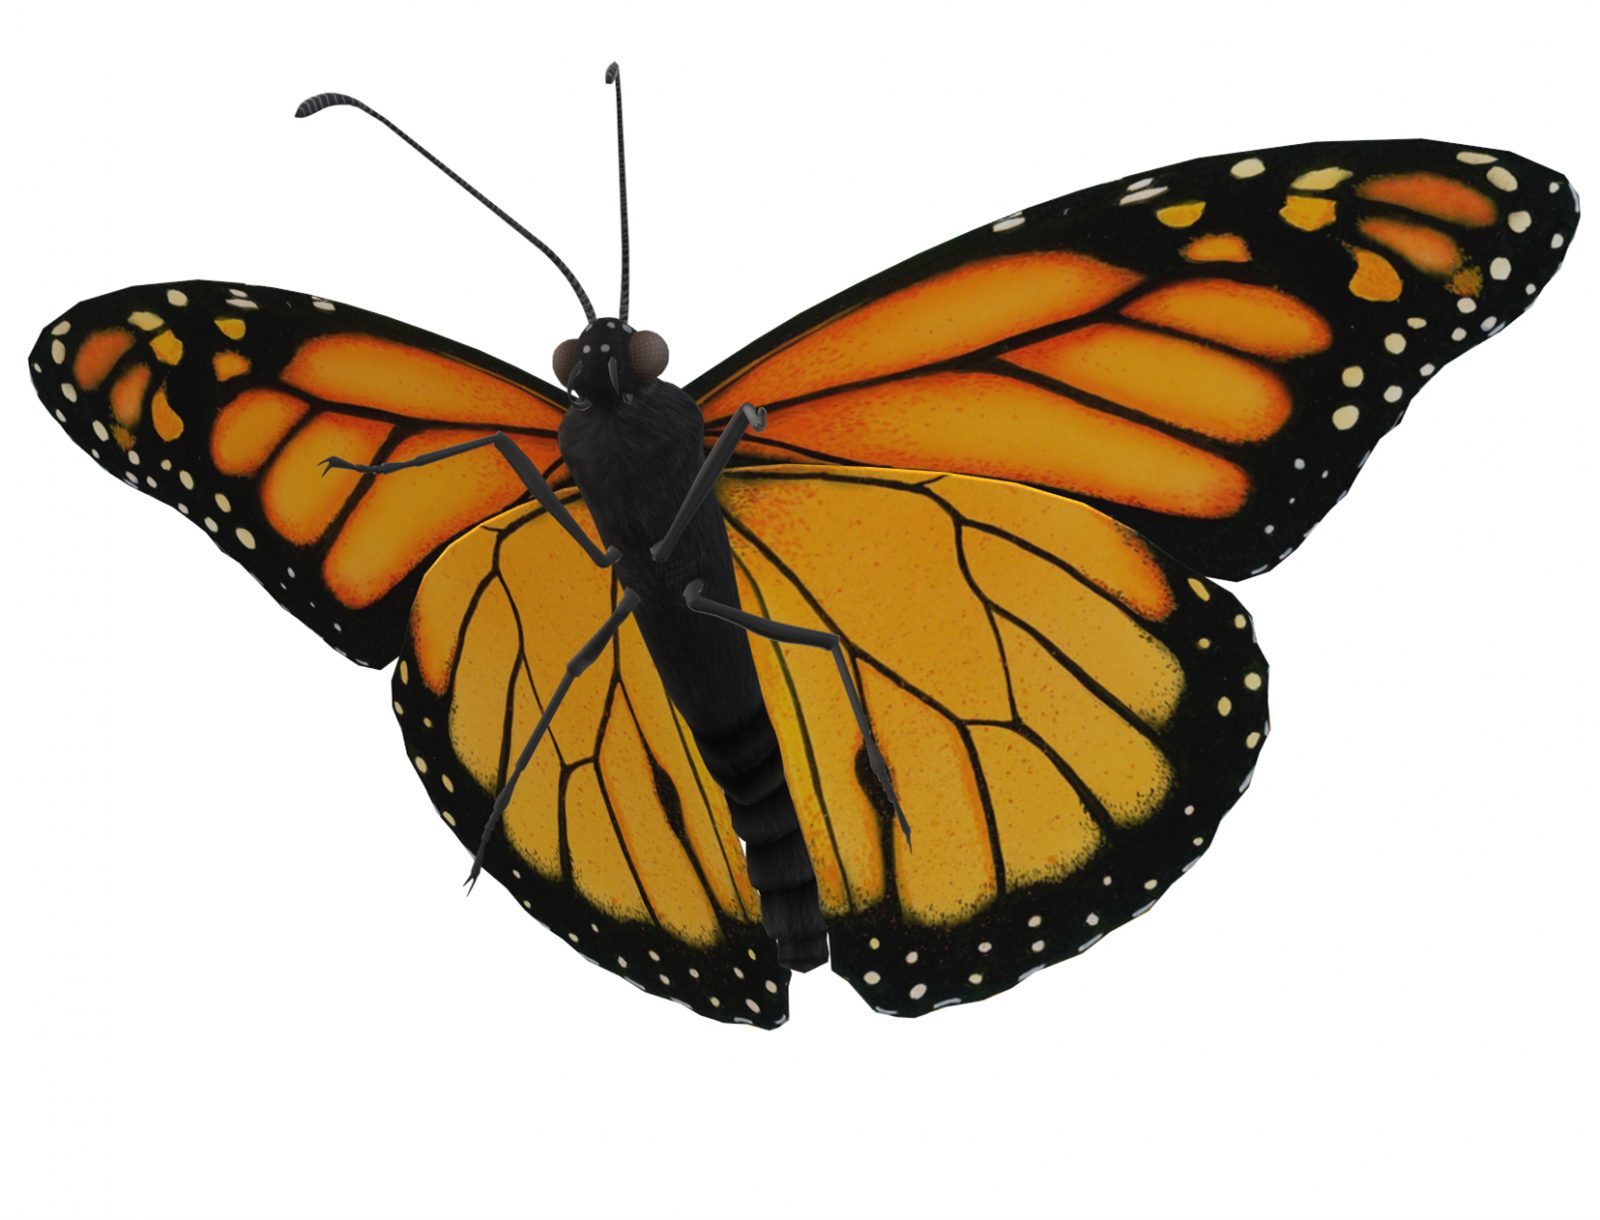
Today we practice draw a butterfly. This is also an easy step by step tutorial for beginners.
This tutorial is simple, but even beginners can draw realistic butterflies if you follow our step-by-step instructions.
It’s pretty cool, right! Let’s do it!
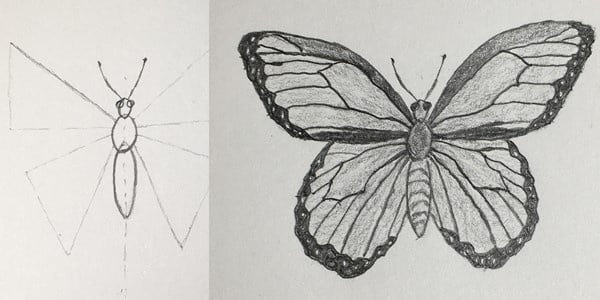
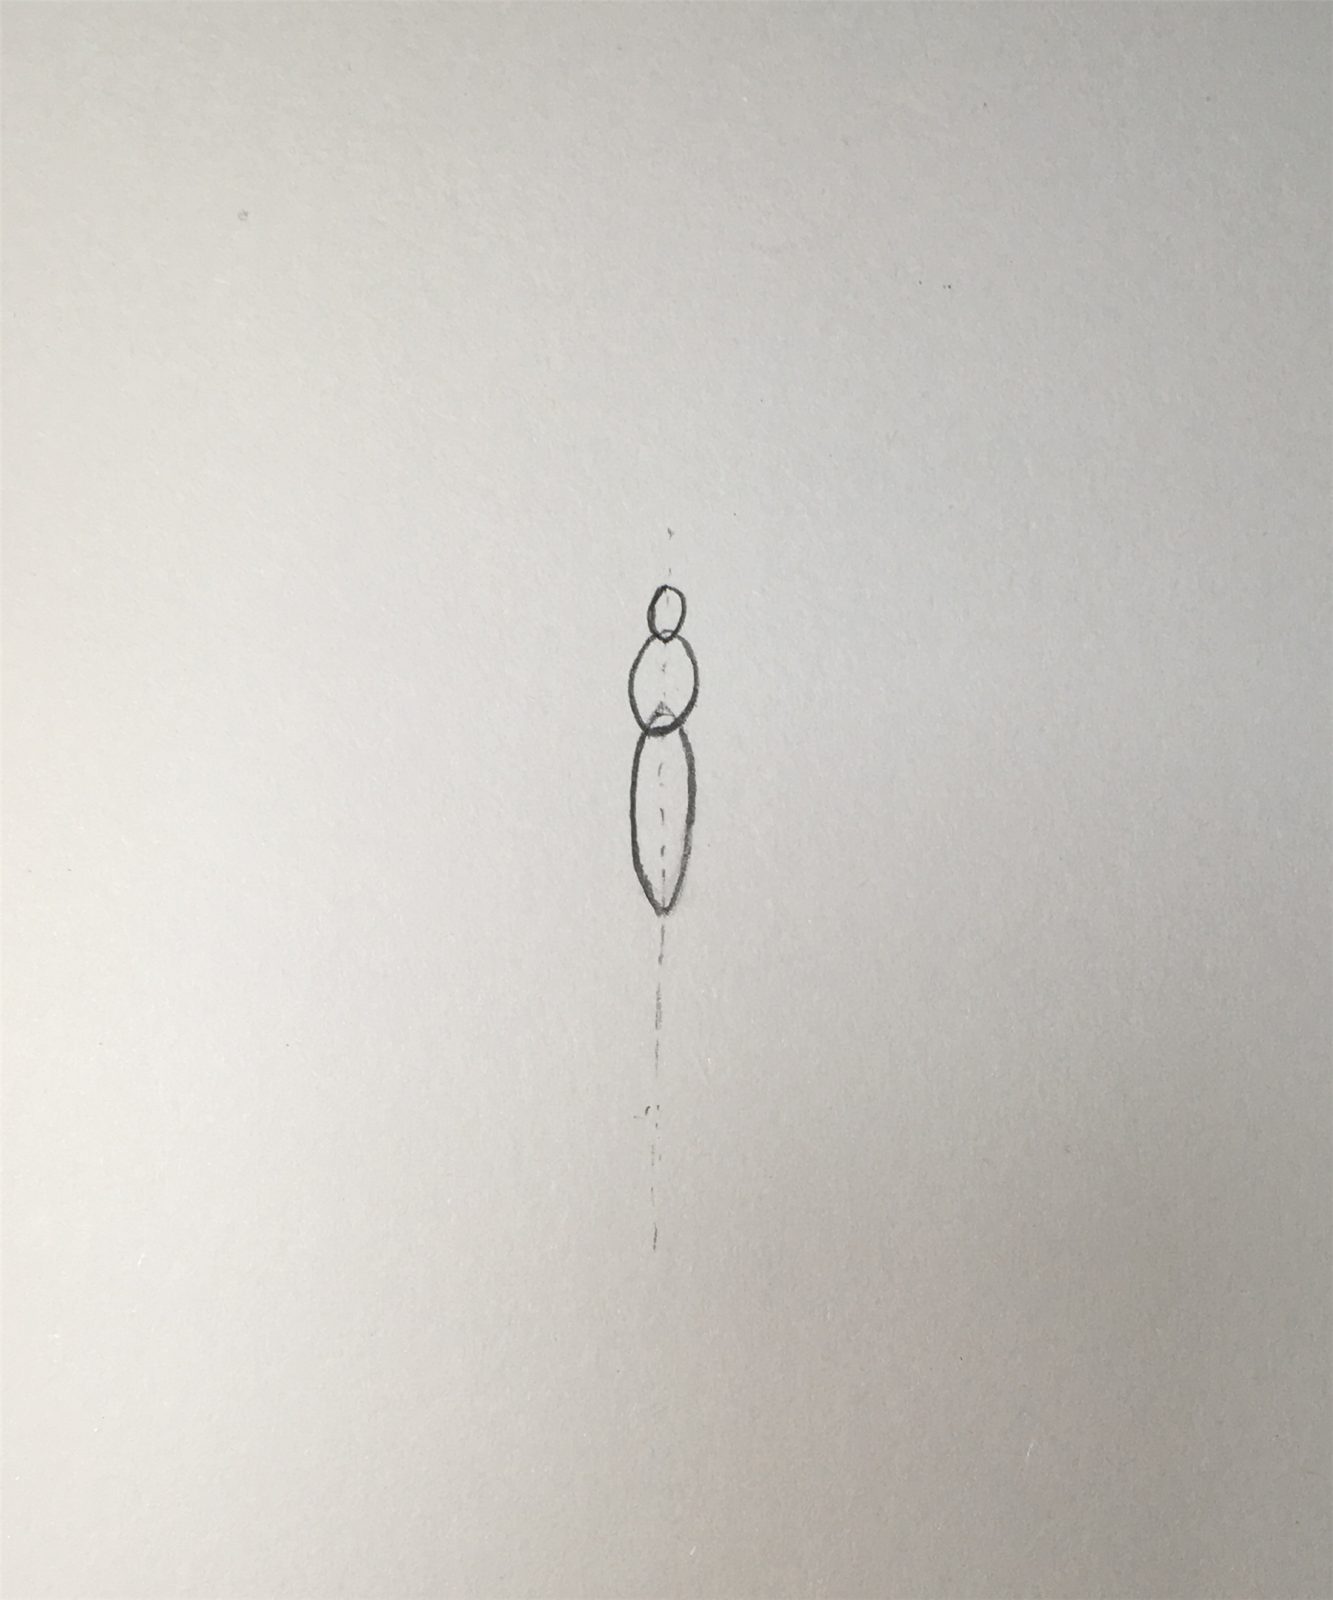
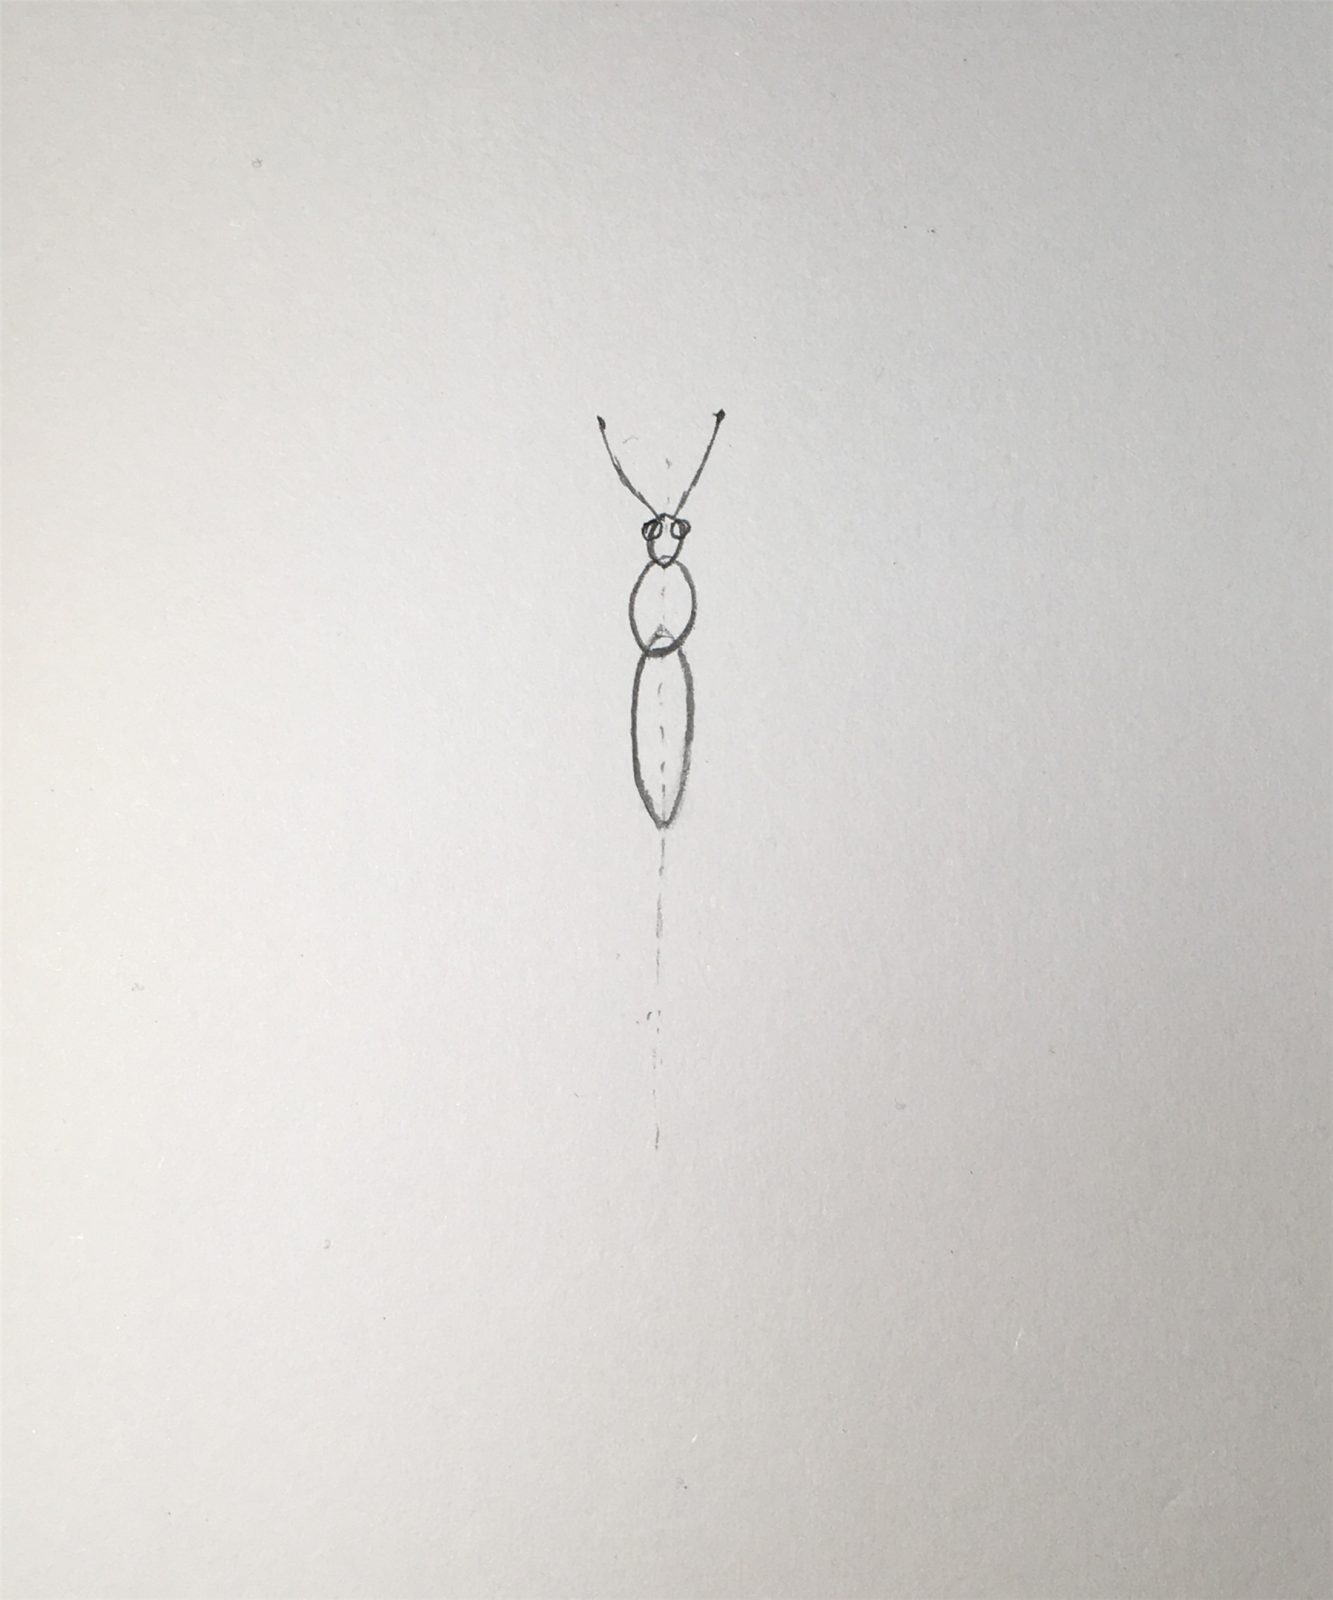
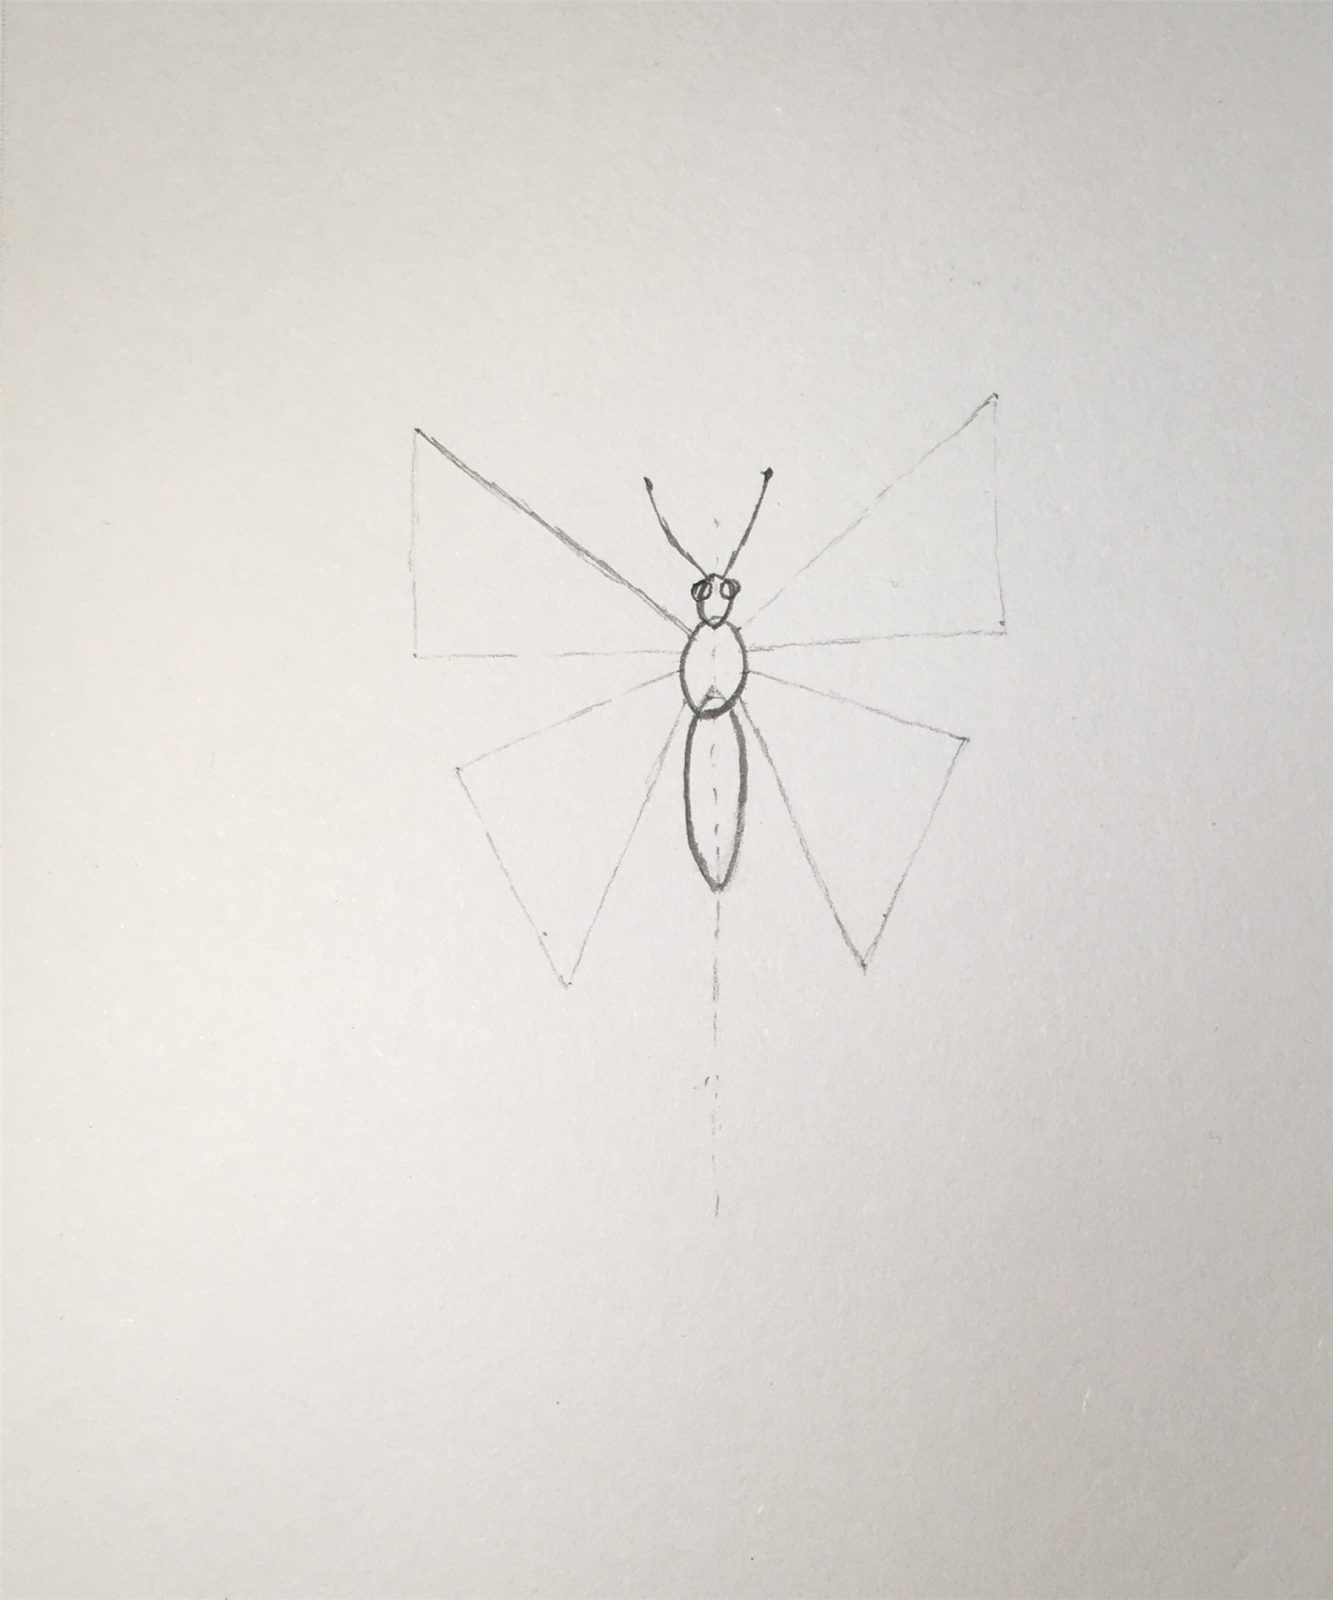
1. Draw the subject of the butterfly
First draw three ellipses, paying attention to the position and ratio. This is the body of the butterfly.
The tentacles and eyes are relatively simple parts.
The outline of the wings, as a beginner, we first draw four triangles to define the approximate position and size of the wings.
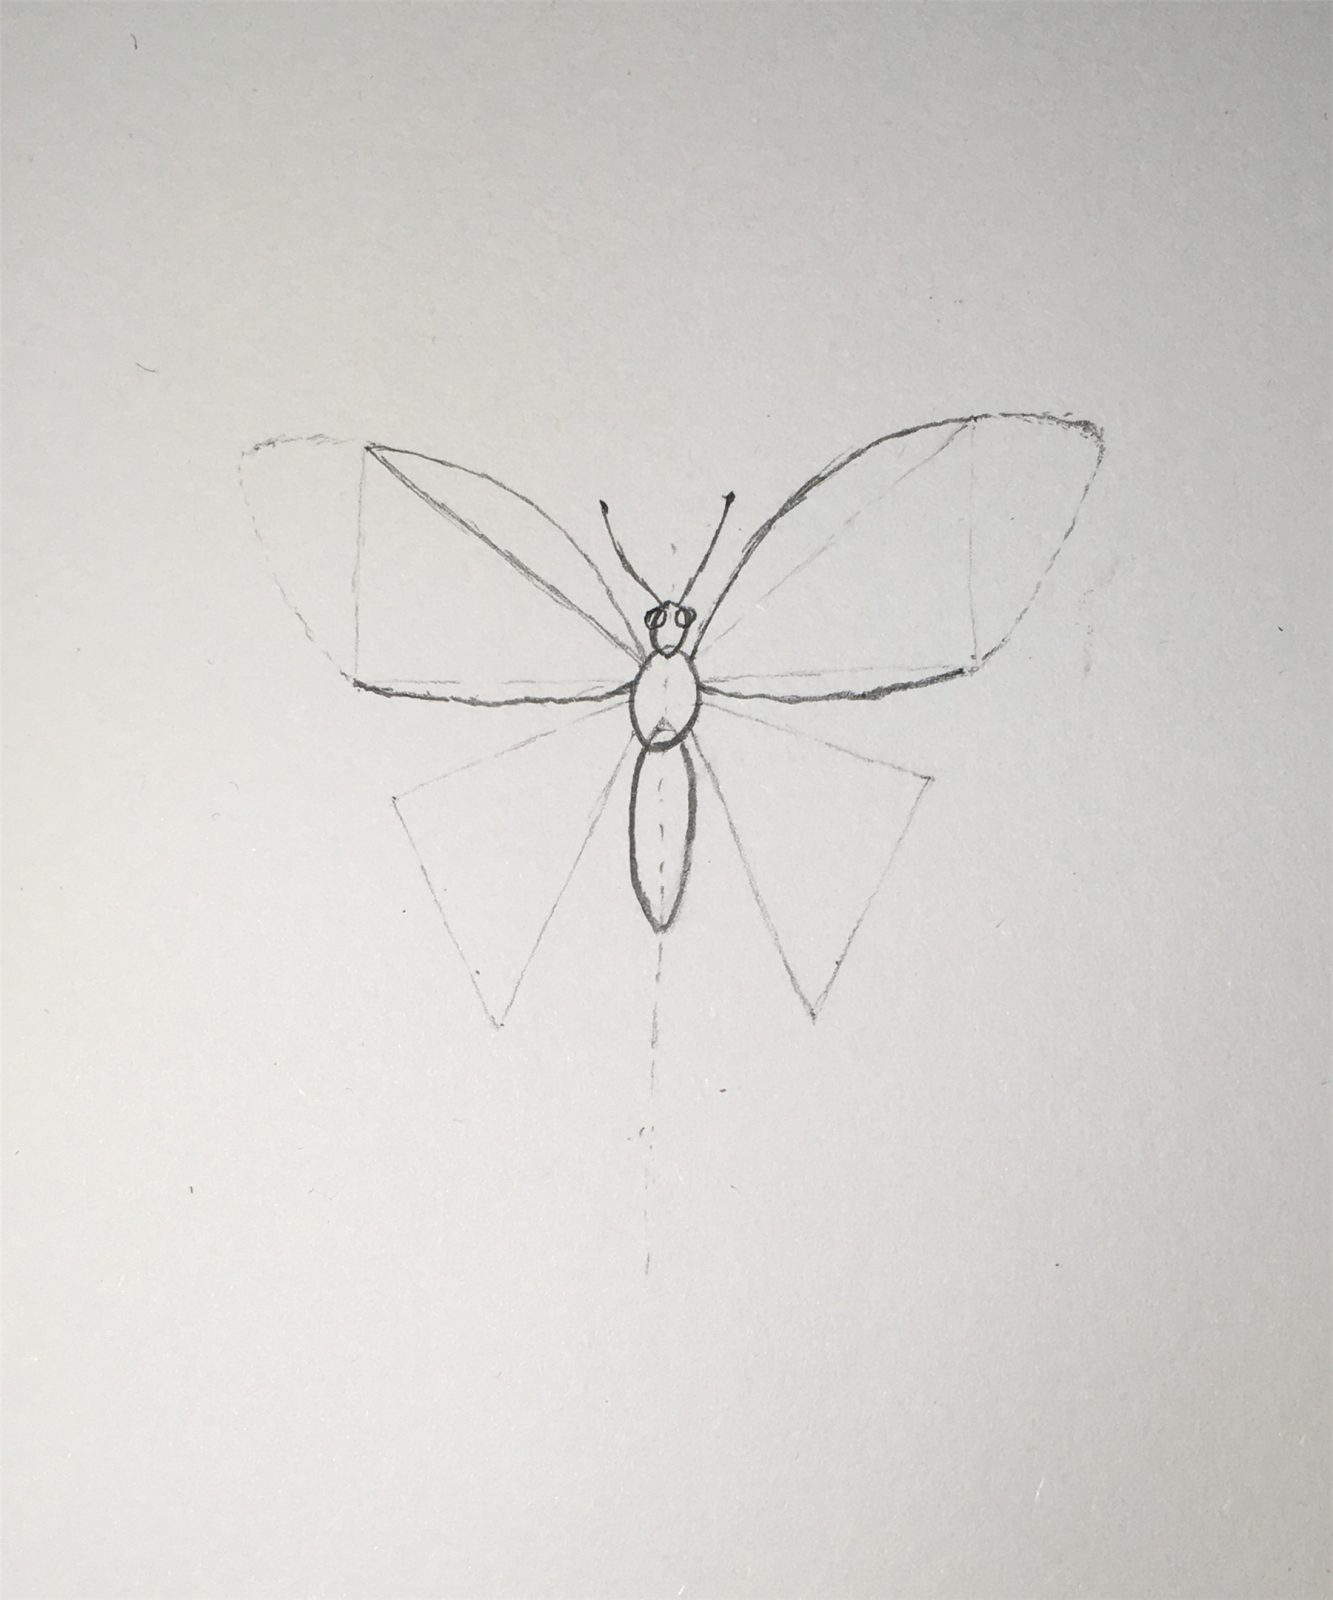
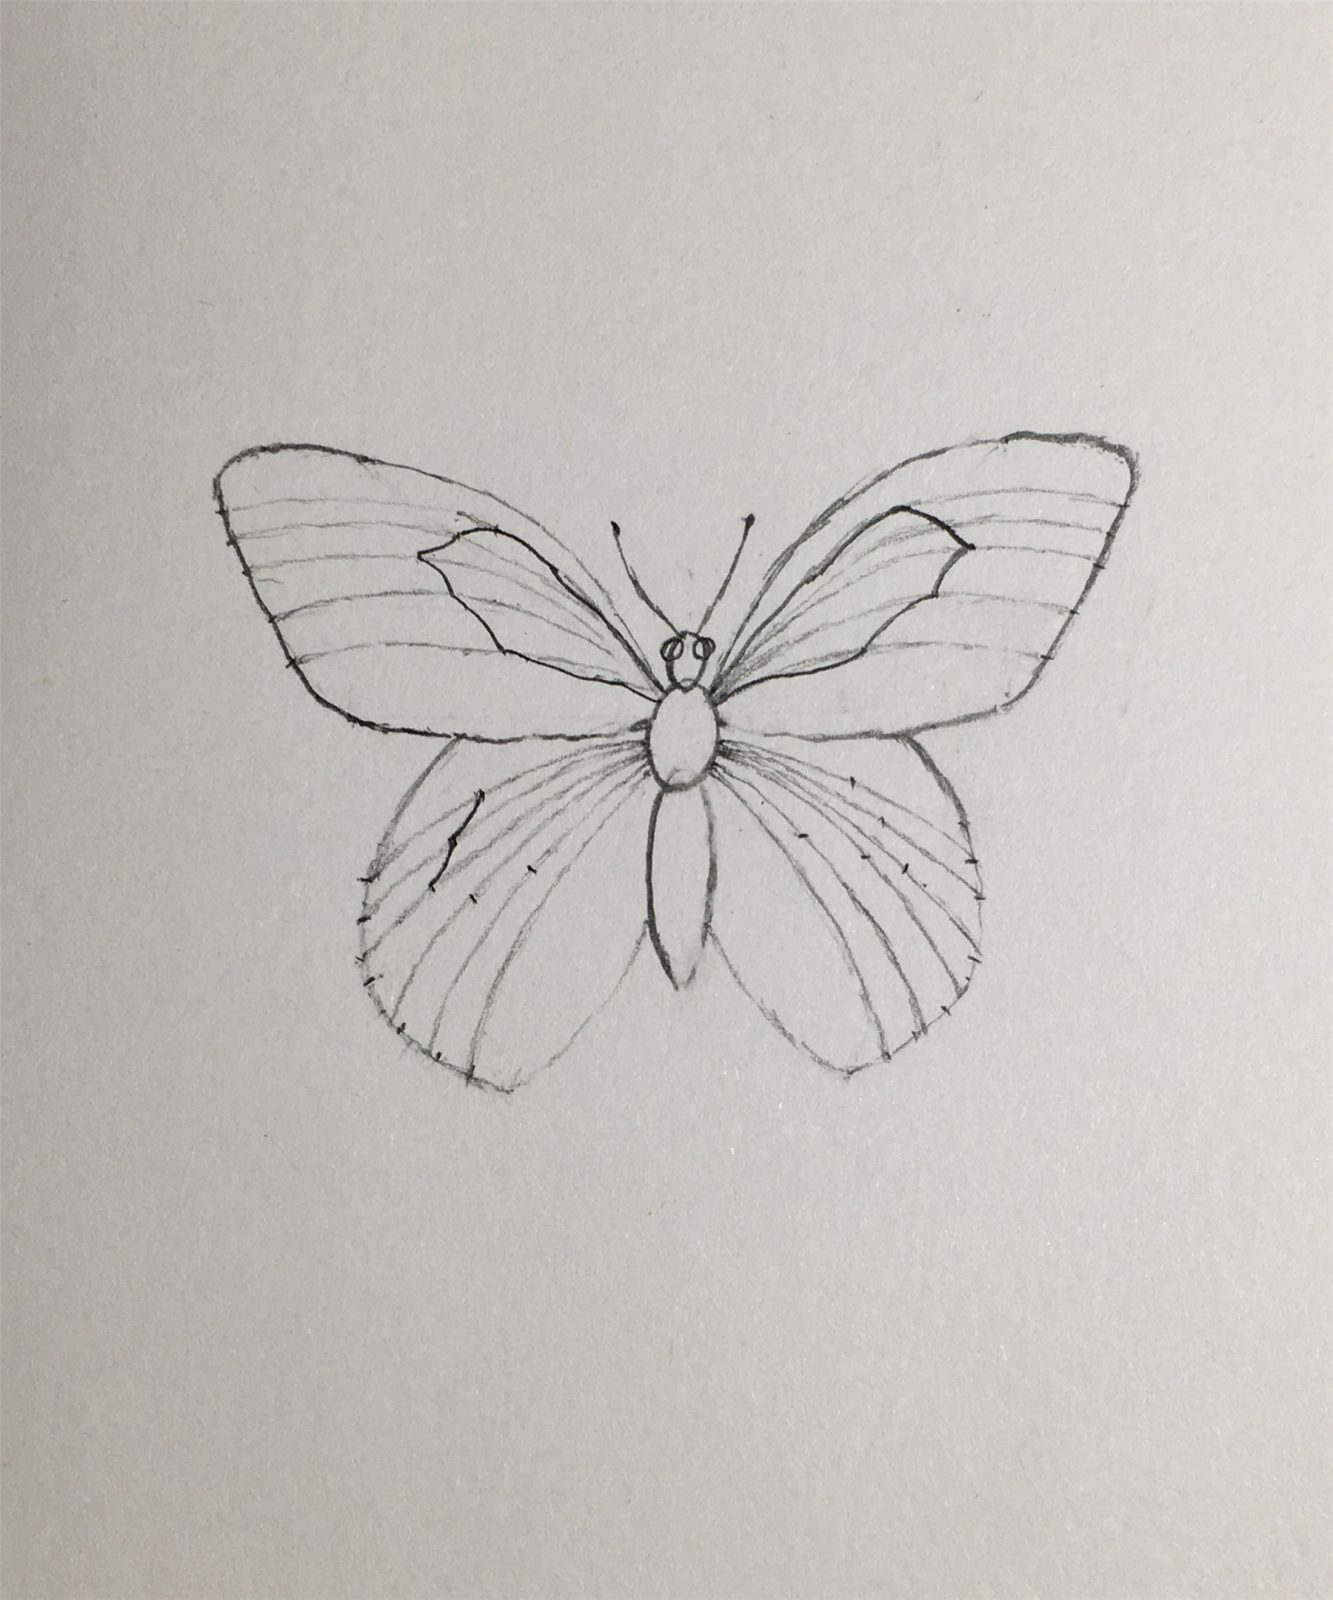
2. Draw butterfly wings
With the aid of the previous triangle, butterfly wings with beautiful curvatures are relatively easy, right?
Try to draw symmetrical. This is difficult for beginners. Try it slowly!
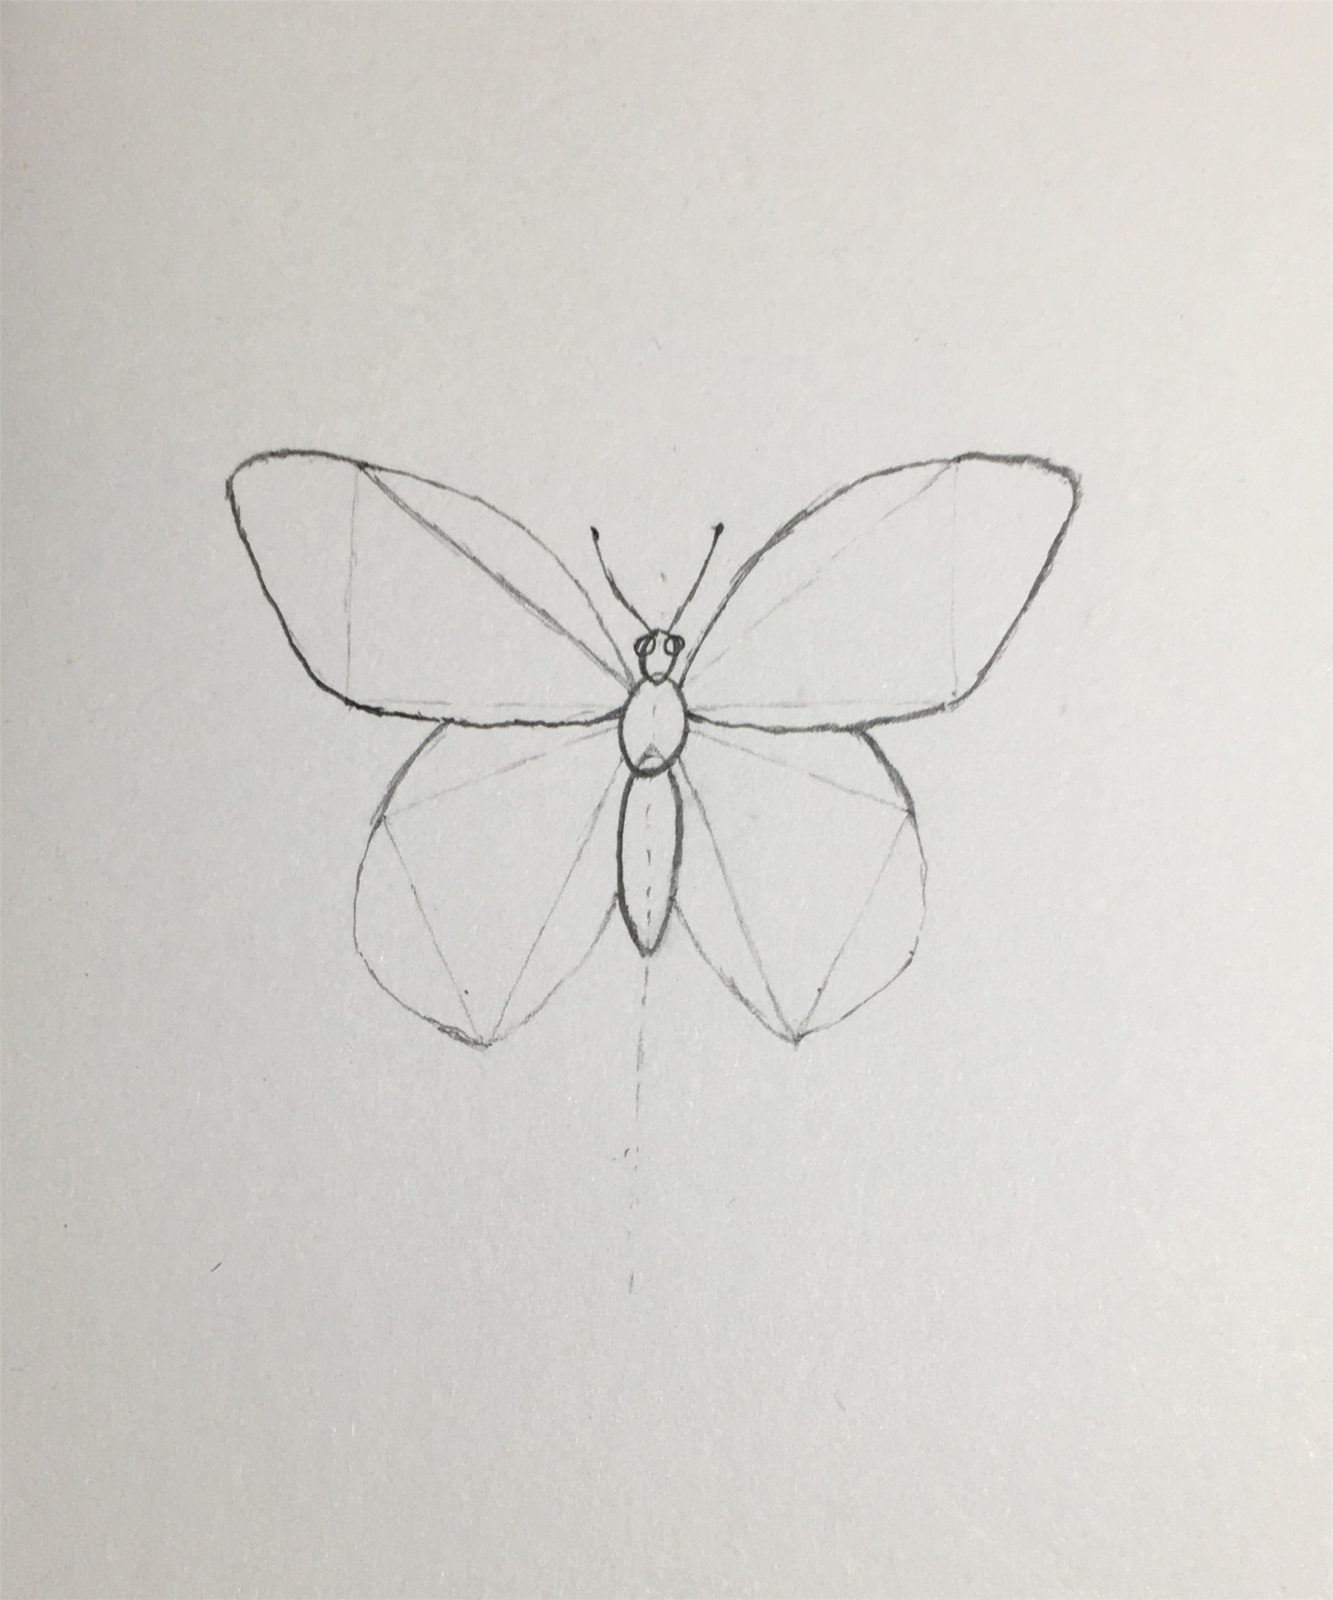
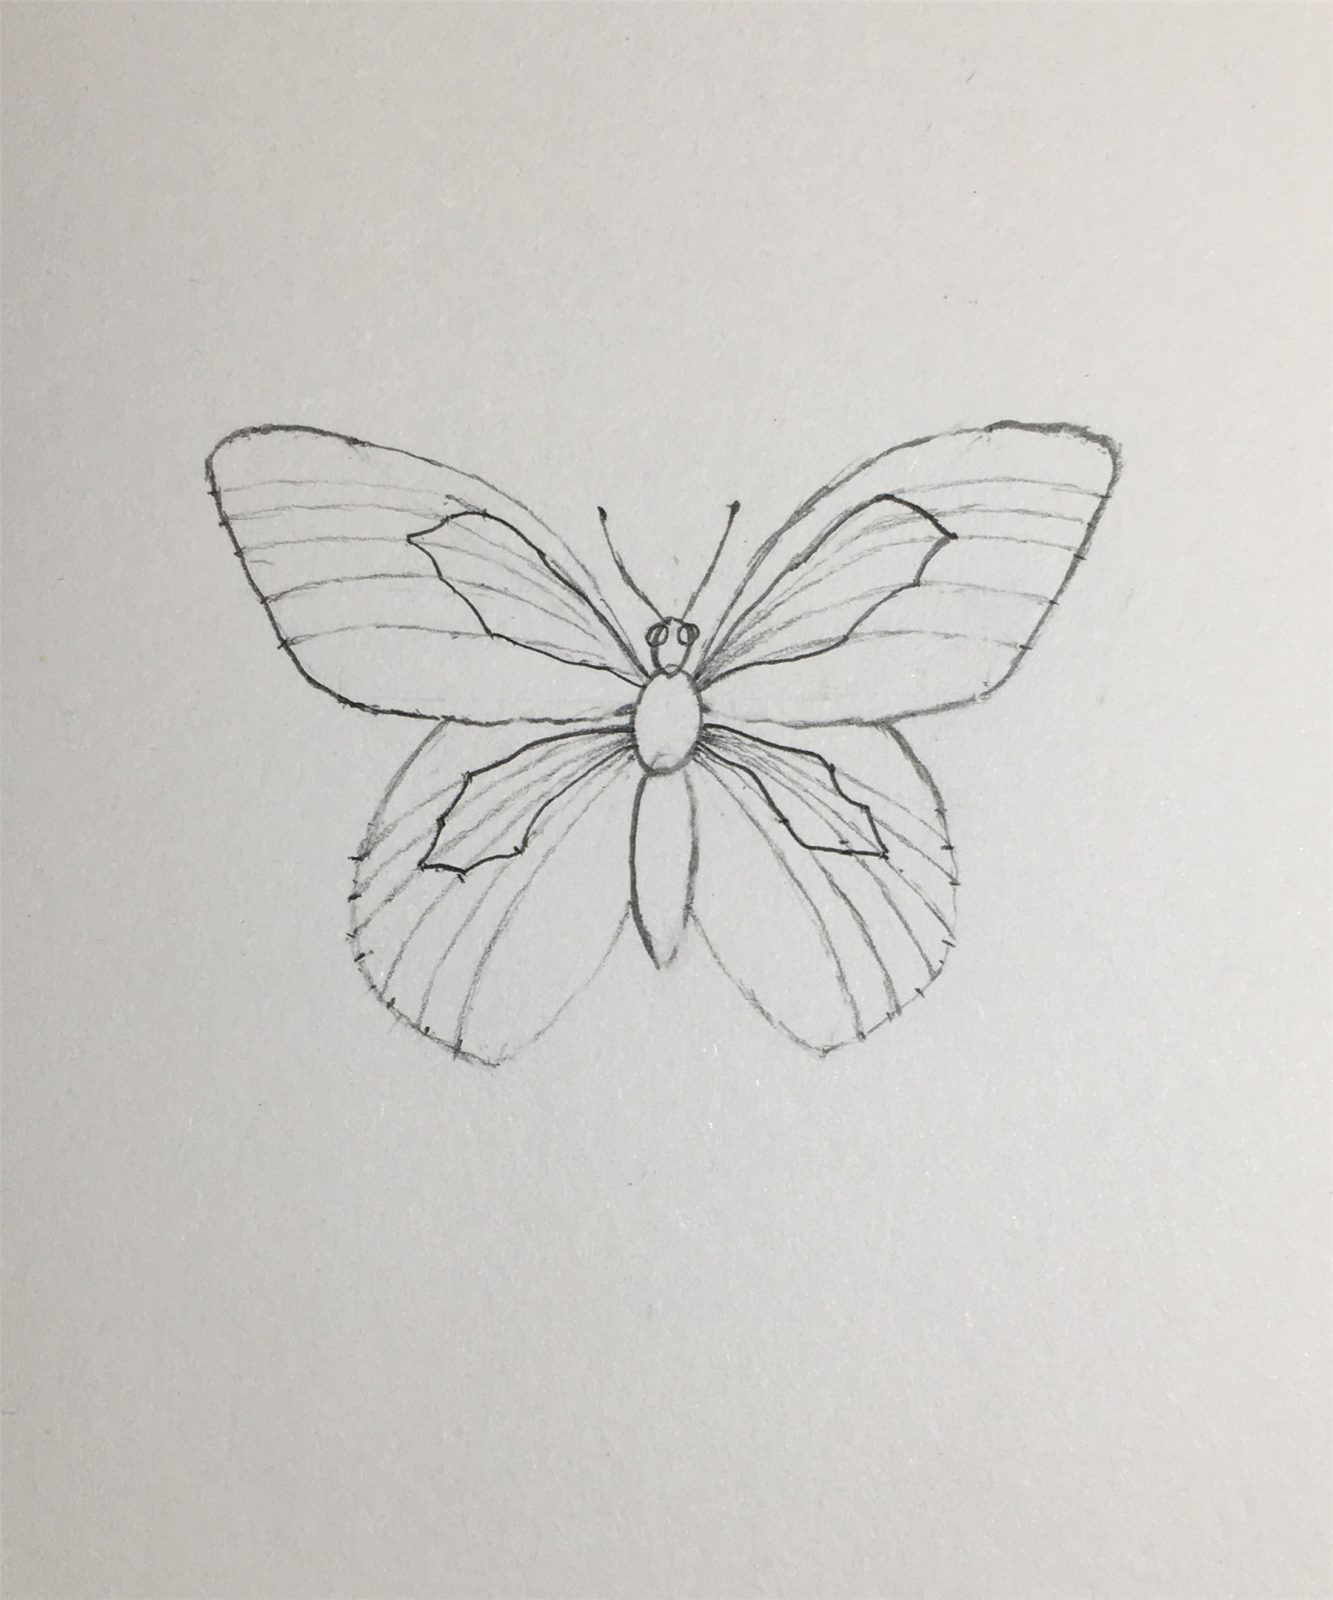
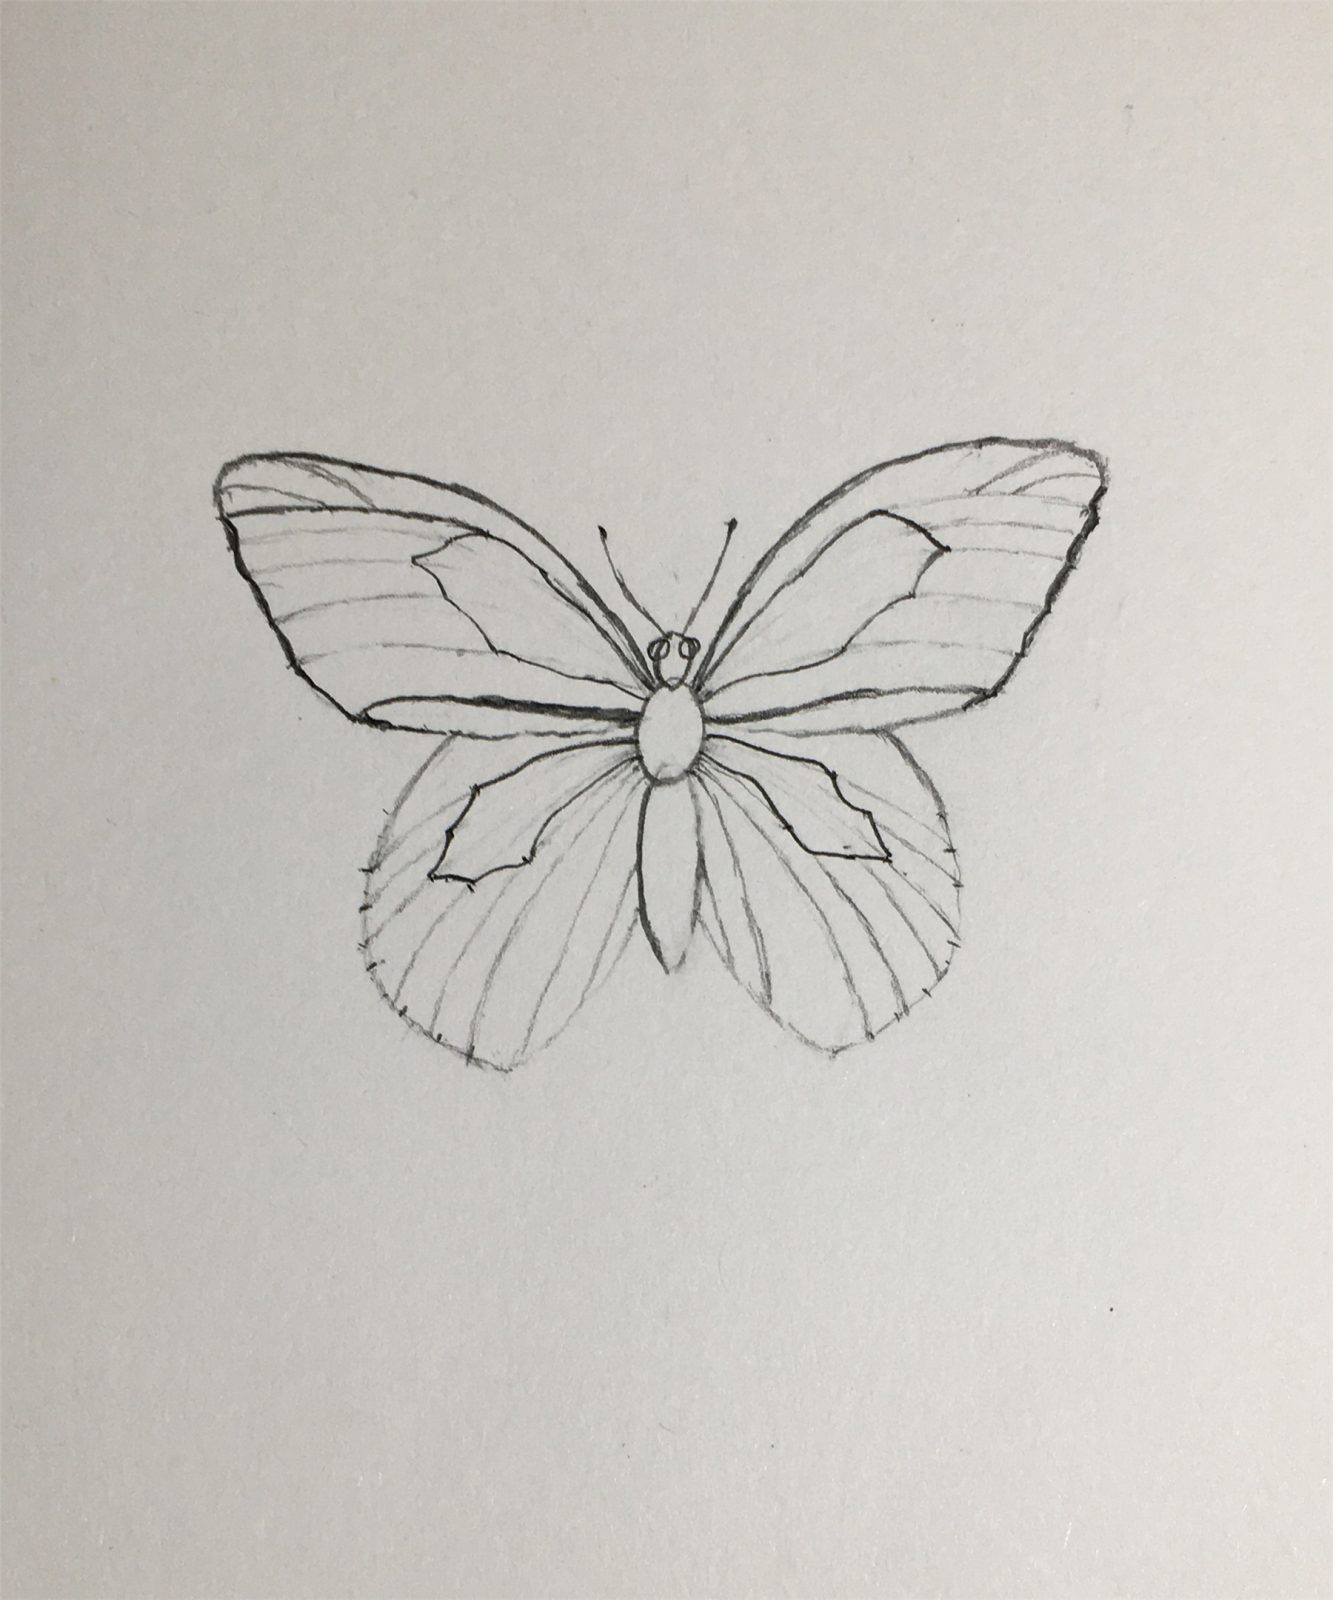
3.Draw the ribs of the wings
Draw arcs inside the wings, paying attention to the size of the area. This is a bit difficult, take your time.
Draw the discoid cells inside. You can draw a point on the arc to help determine the position.
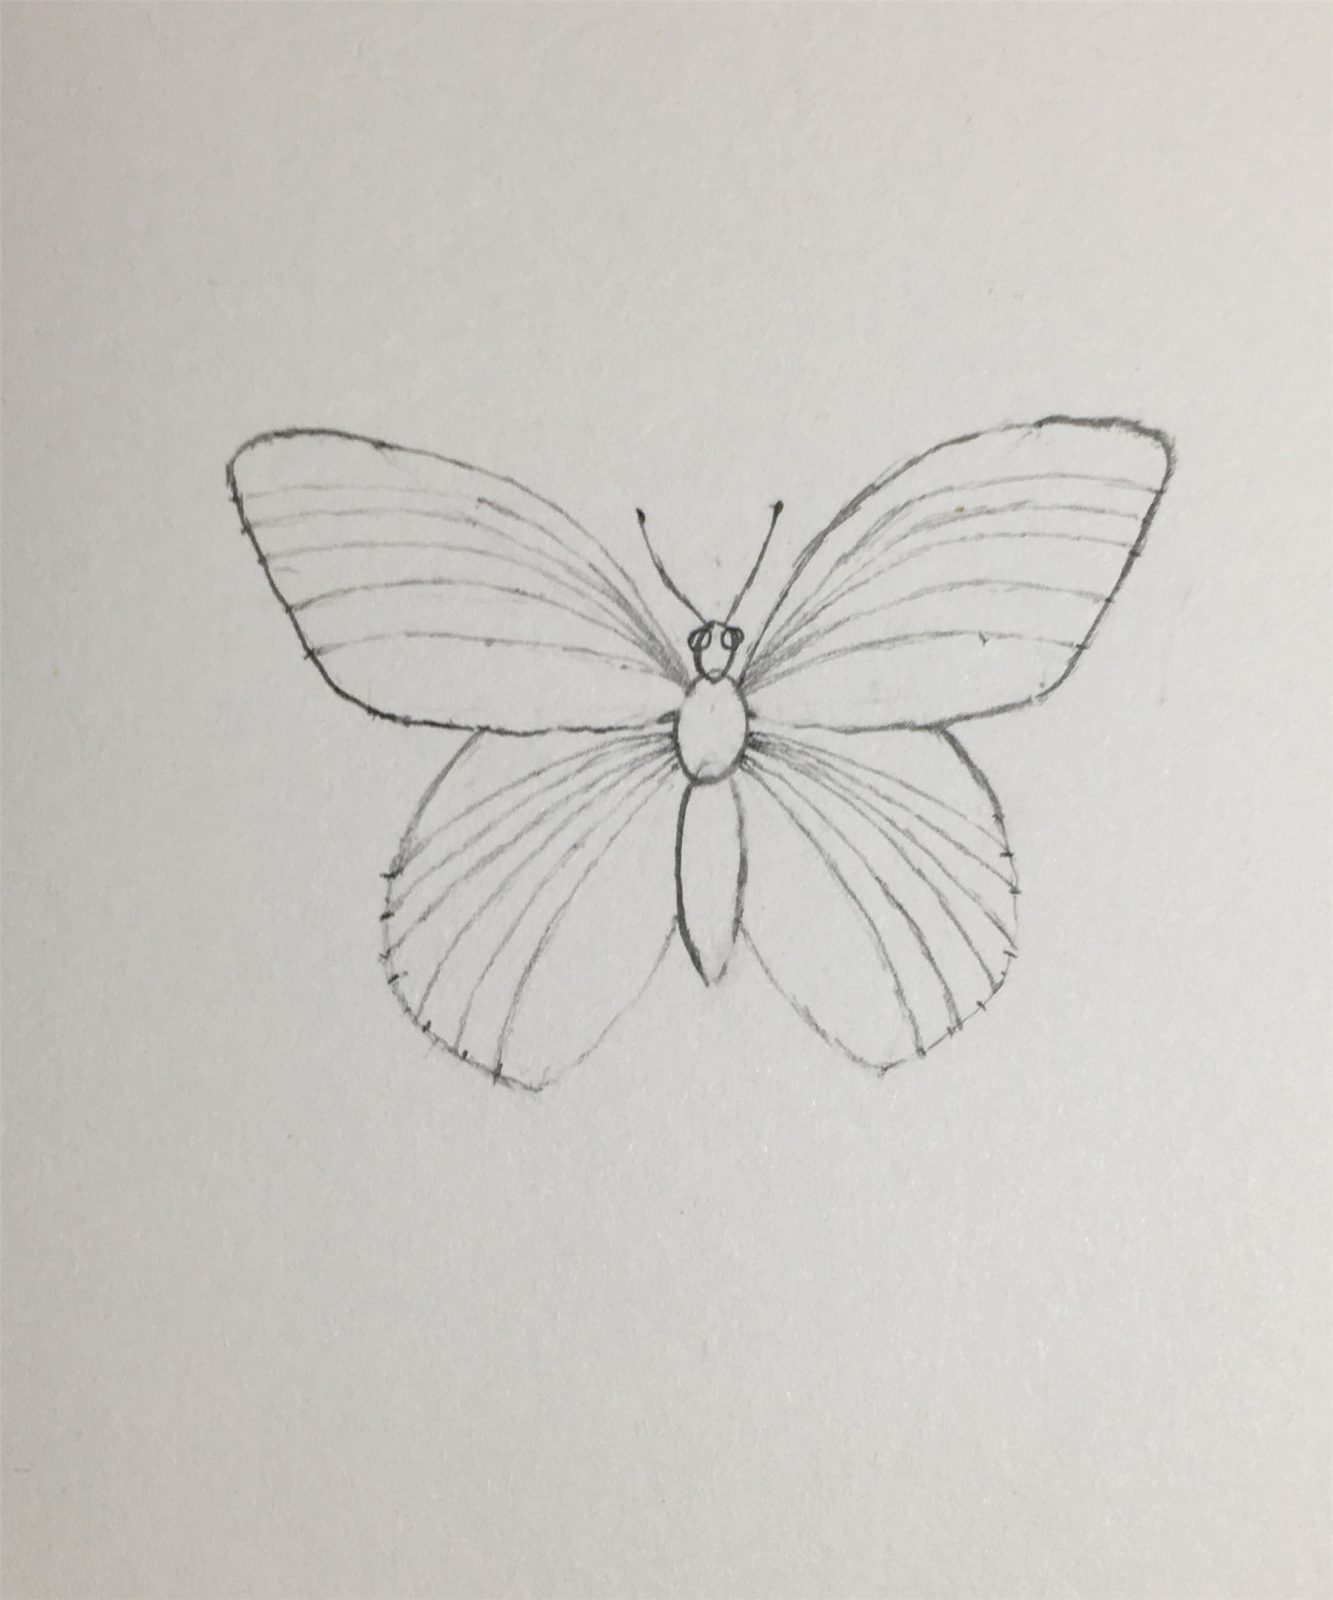
4. Draw details
Draw spots on the edges of the wings.
Describe the ribs.
Finally draw the shadow.
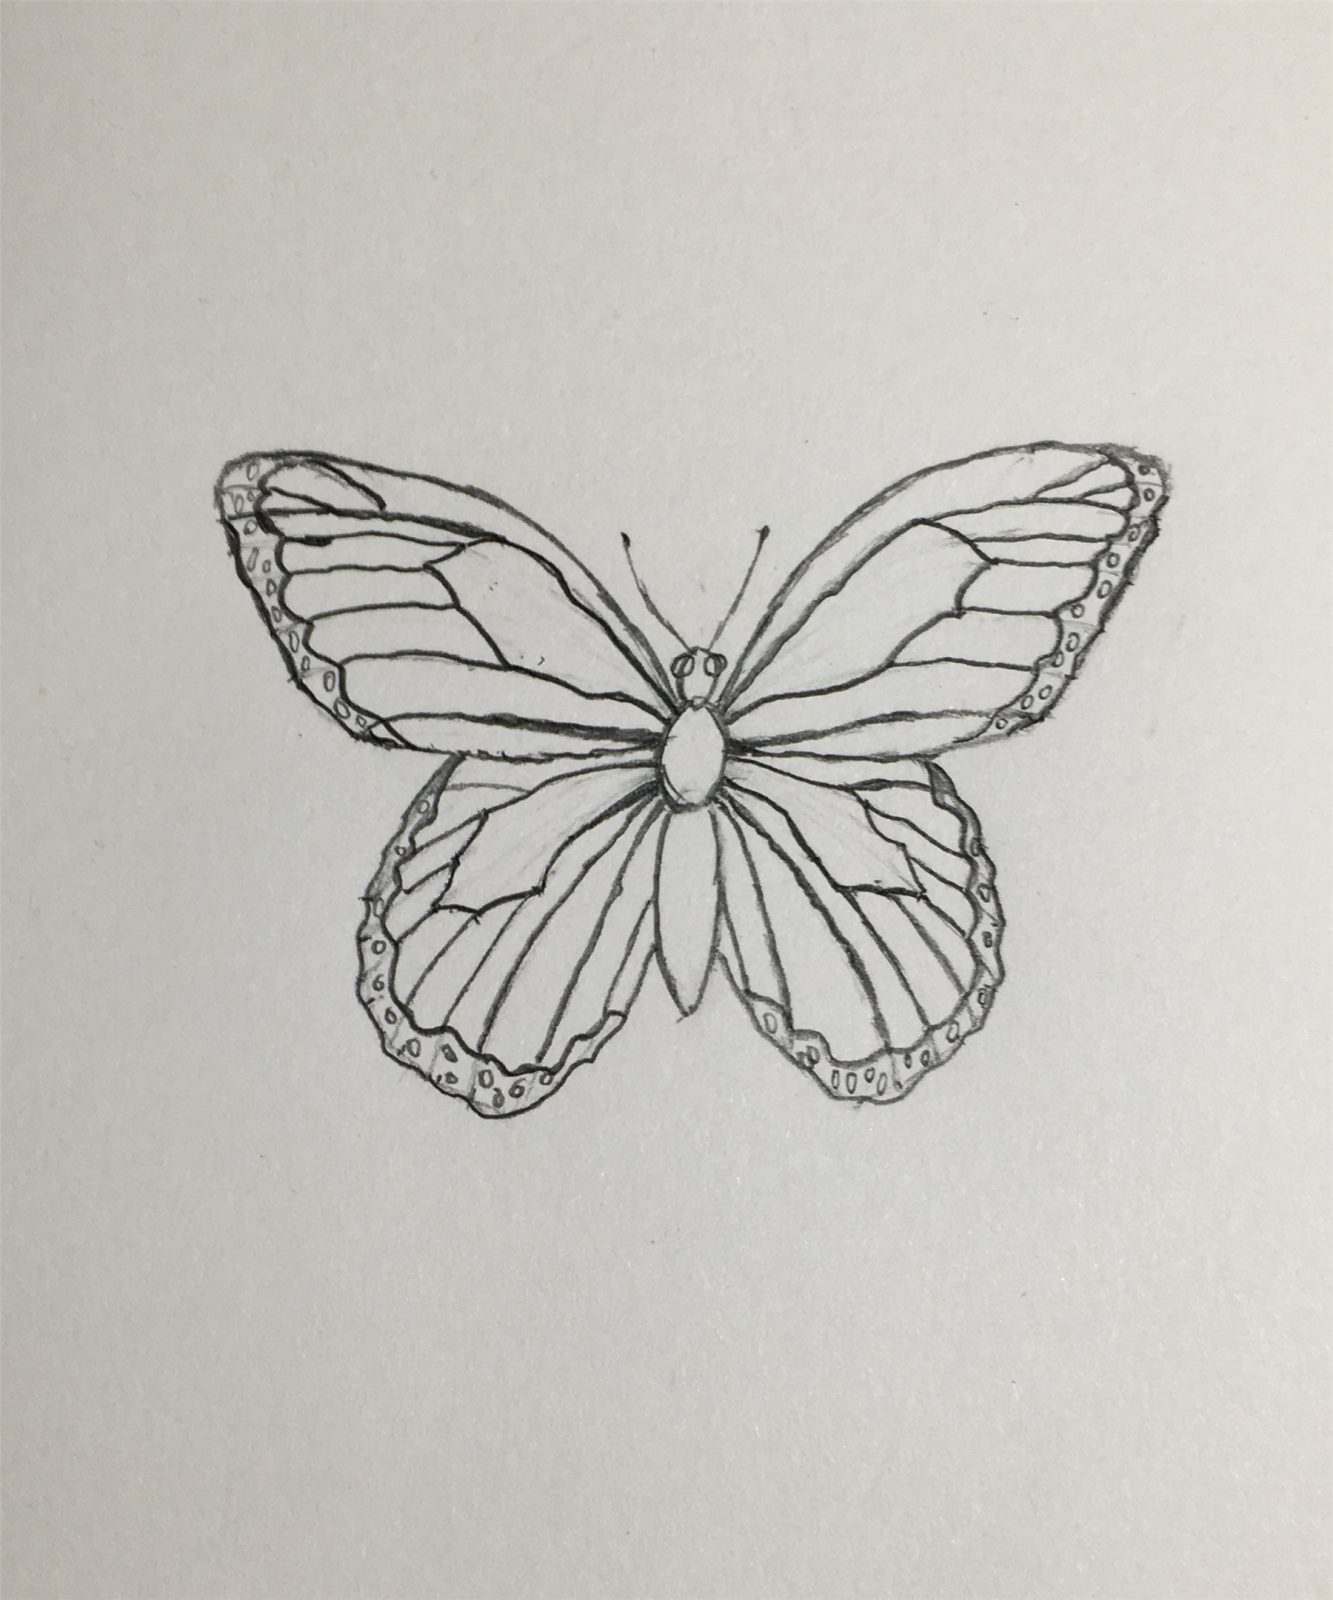
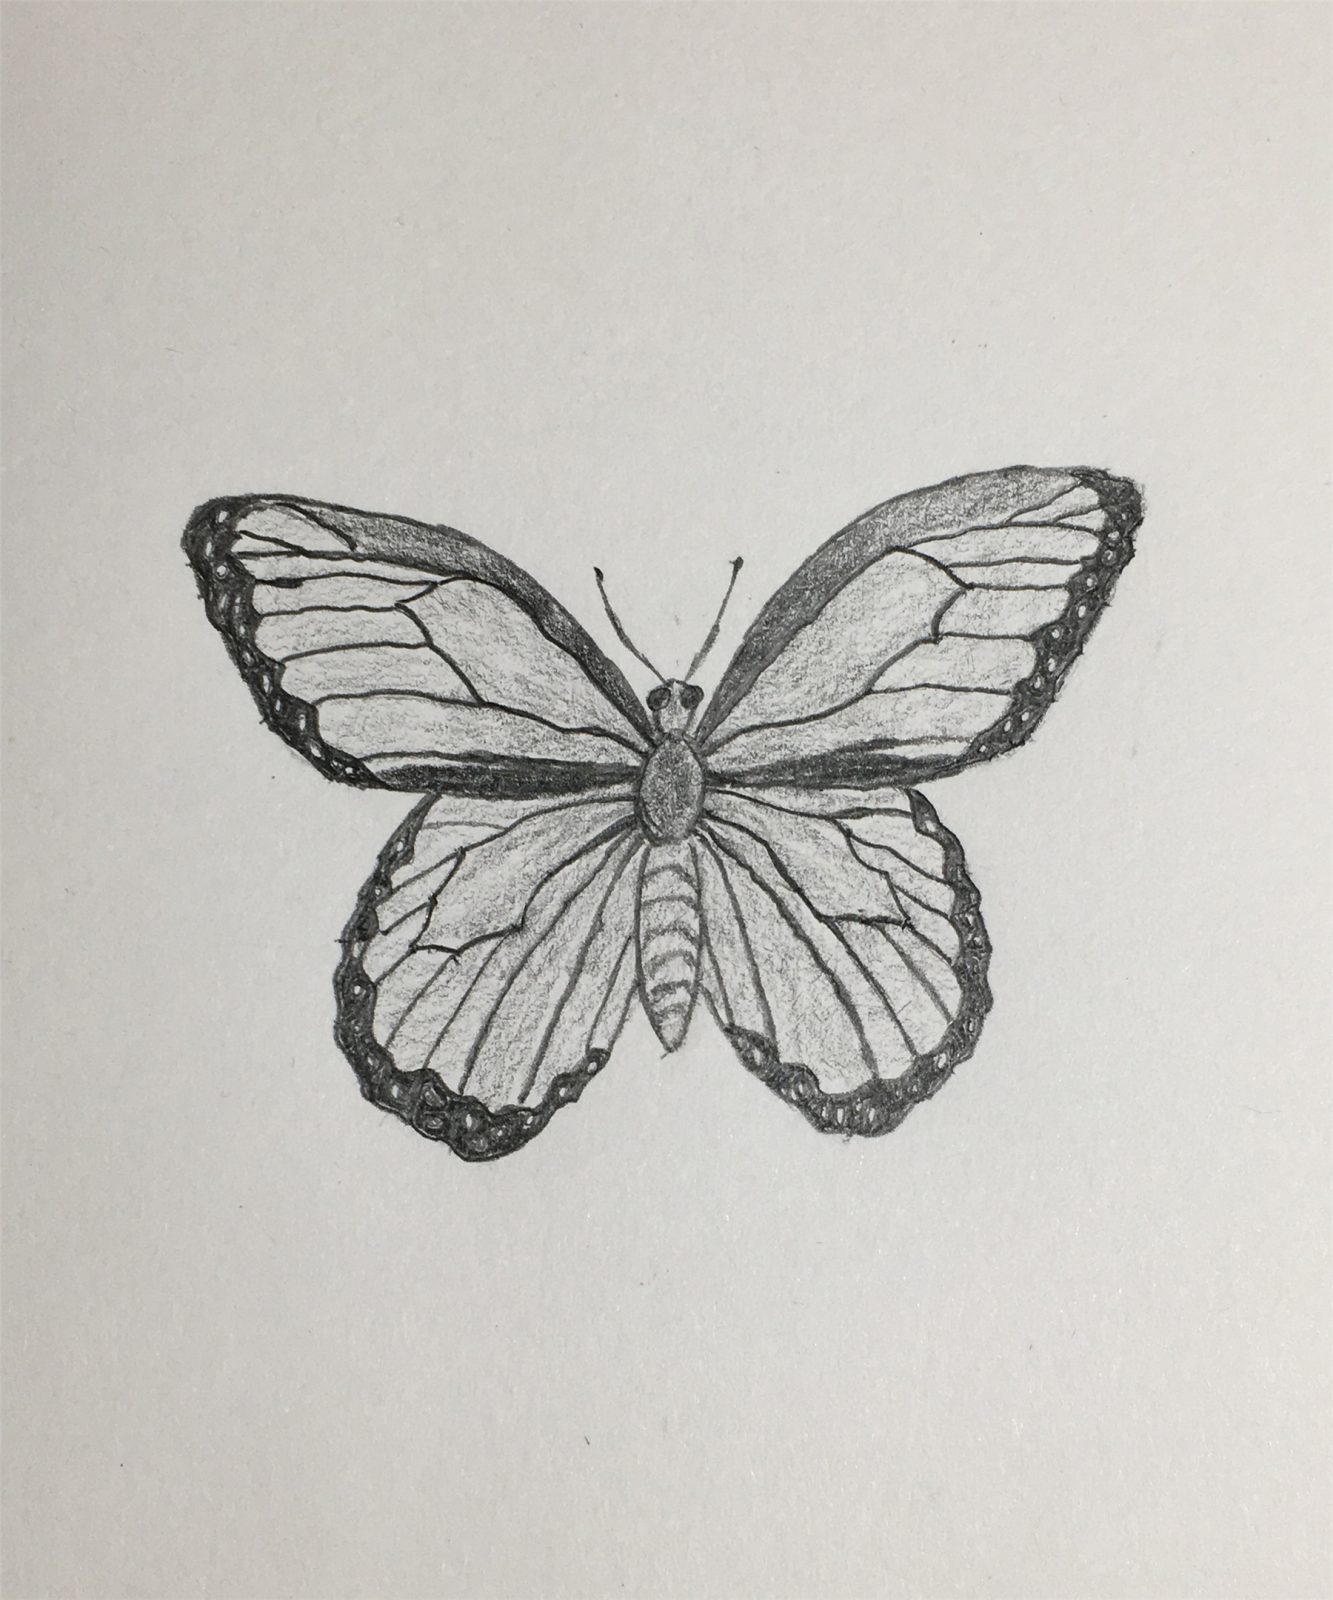
We have finally drawn the first butterfly now! Great work!
With more practice, we can draw all kinds of favorite butterflies.
If you want to show your first butterfly work, you can also leave us a message below.