The colorful colors and graceful flight of butterflies are particularly attractive. Therefore, butterflies generally symbolize beauty and love in human culture. Today, we will draw a butterfly easy step by step.
This step-by-step tutorial is easy enough for you and your kids to try.
1.Drawing a Butterfly is Easy – Draw Auxiliary Lines
Let’s start by drawing auxiliary lines.
We’ll draw an x-shape, a larger x-shape.
Then we draw an ellipse centered at the intersection of the X-shape. Note the size, this will be the outline of the butterfly’s torso position.
Next, on the lower part of the torso, we draw the abdomen of the butterfly. Note that it is thinner and longer than the torso.
Then, on the top of the torso, we draw the head of the butterfly and the antennae.
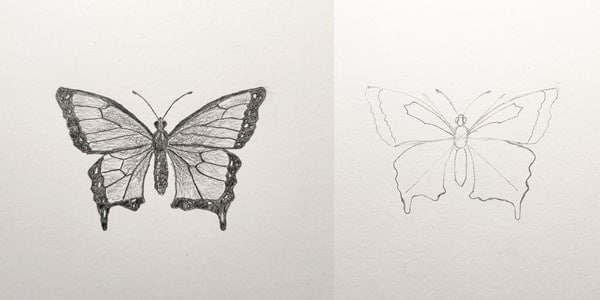
Finally, we can draw the butterfly’s wings. Note the curvature and the wavy lines around the edges of the butterfly’s wings.
2.Draw Butterfly Wings
We begin to draw the details inside the butterfly’s wings.
First, we have a nice edge pattern.
Then the veins and cells inside the wings.
Finally, the two-point area at the edge of the wing. These are some irregular circles of varying sizes.
3. Drawing light and shadow changes
Finally, we begin to draw shadows.
The eyes are the darkest color.
Then for the torso, we draw some irregular fluffy effects.
Then we begin to draw shadows on the edges of the wings. Take care to keep the highlights.
Finally, we apply some scaly shadows on the wings.