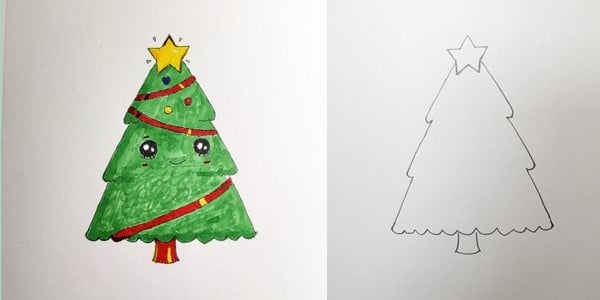
Christmas is coming. It will be a most interesting holiday if you can make some Christmas decorations with your own hands. Like, draw a Christmas tree!
Today, we have prepared an easy-to-follow step-by-step tutorial to paint Christmas tree decorations with your kids. It’s so simple that it can be done even without drawing basics.
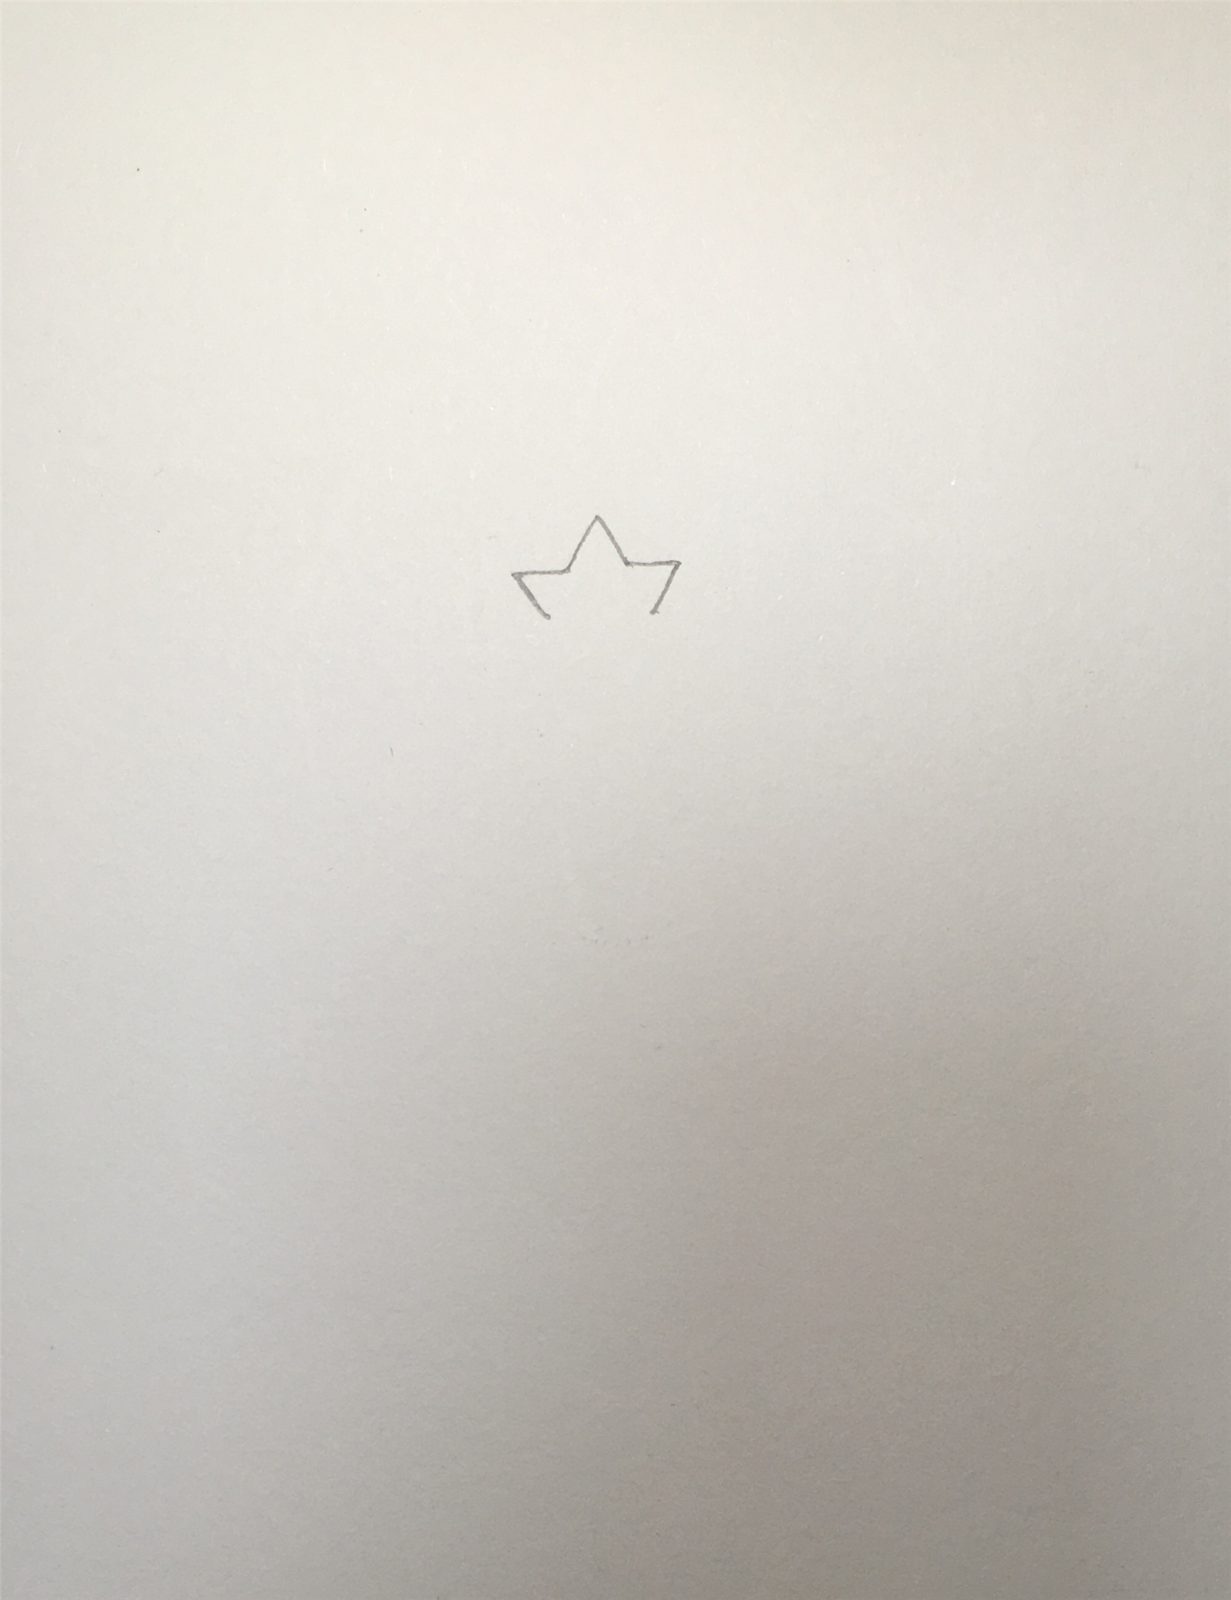
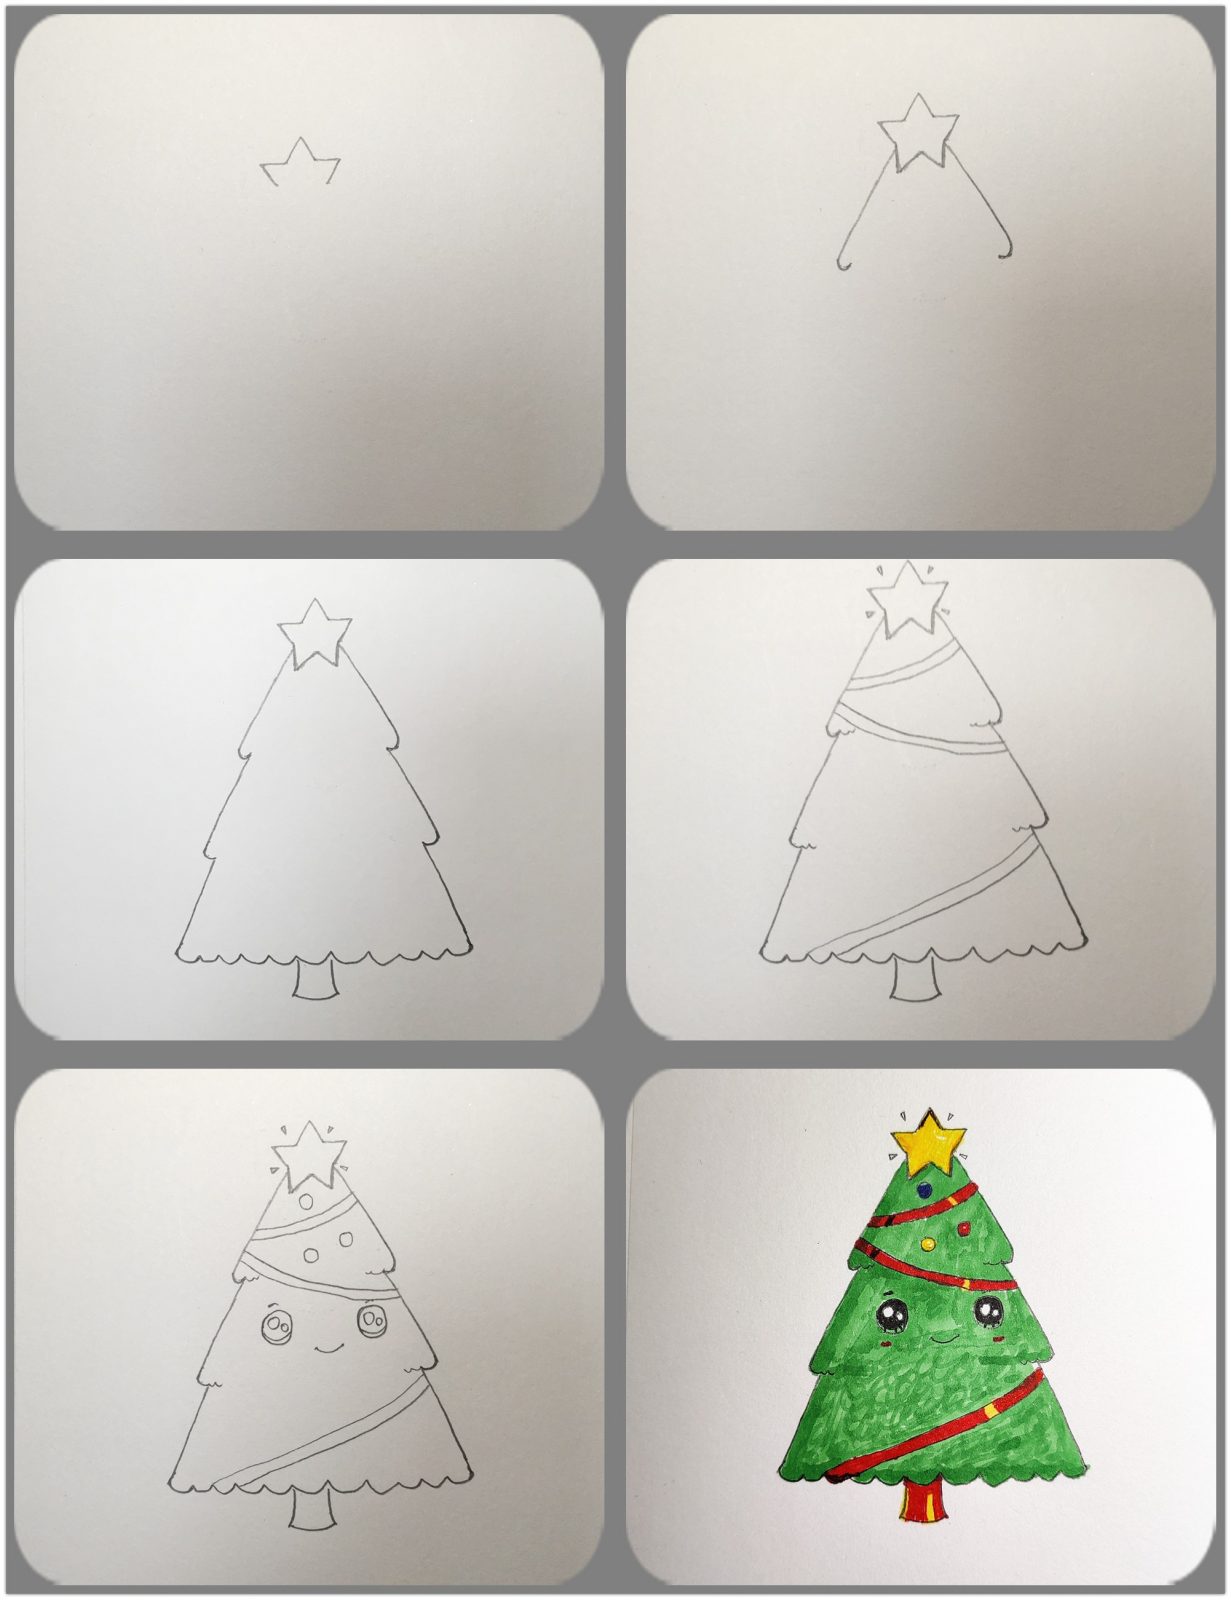
1. Draw a Star at the top
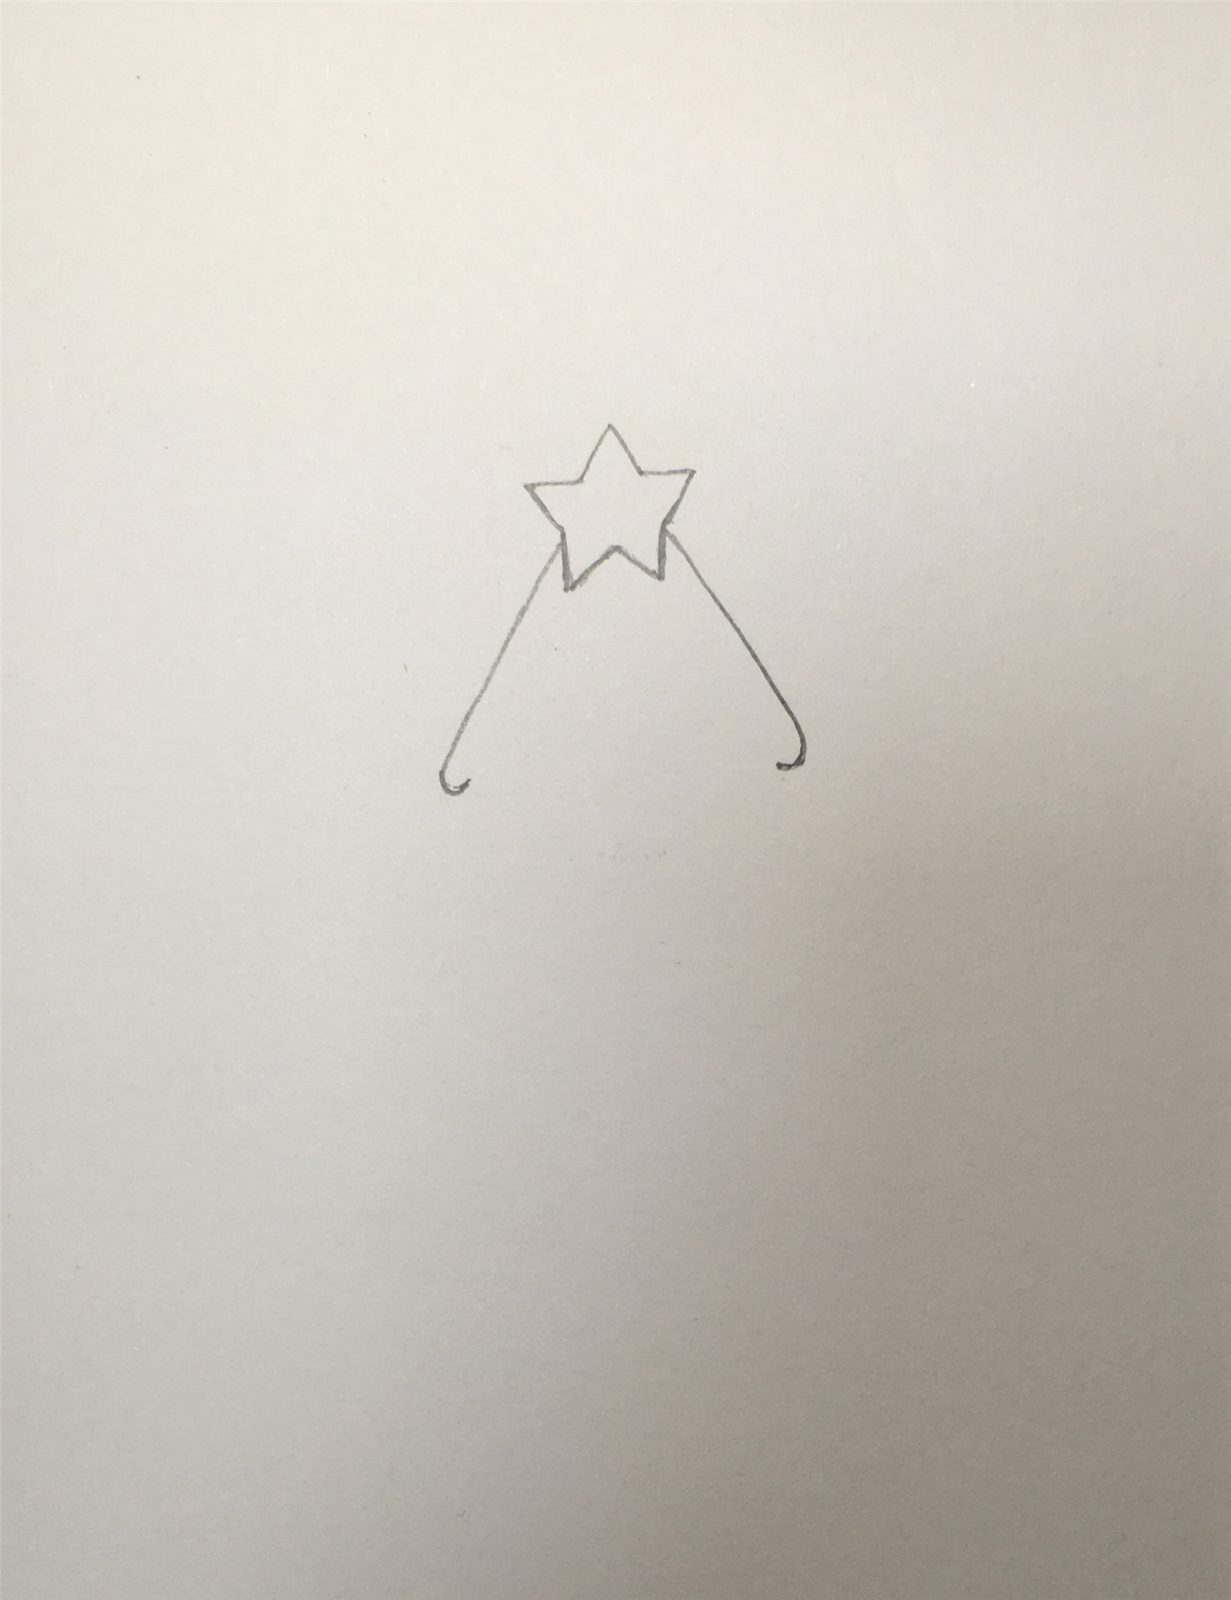
First, let’s draw the star on top of the Christmas tree image. With a little attention to scale and angle, this should be easy.
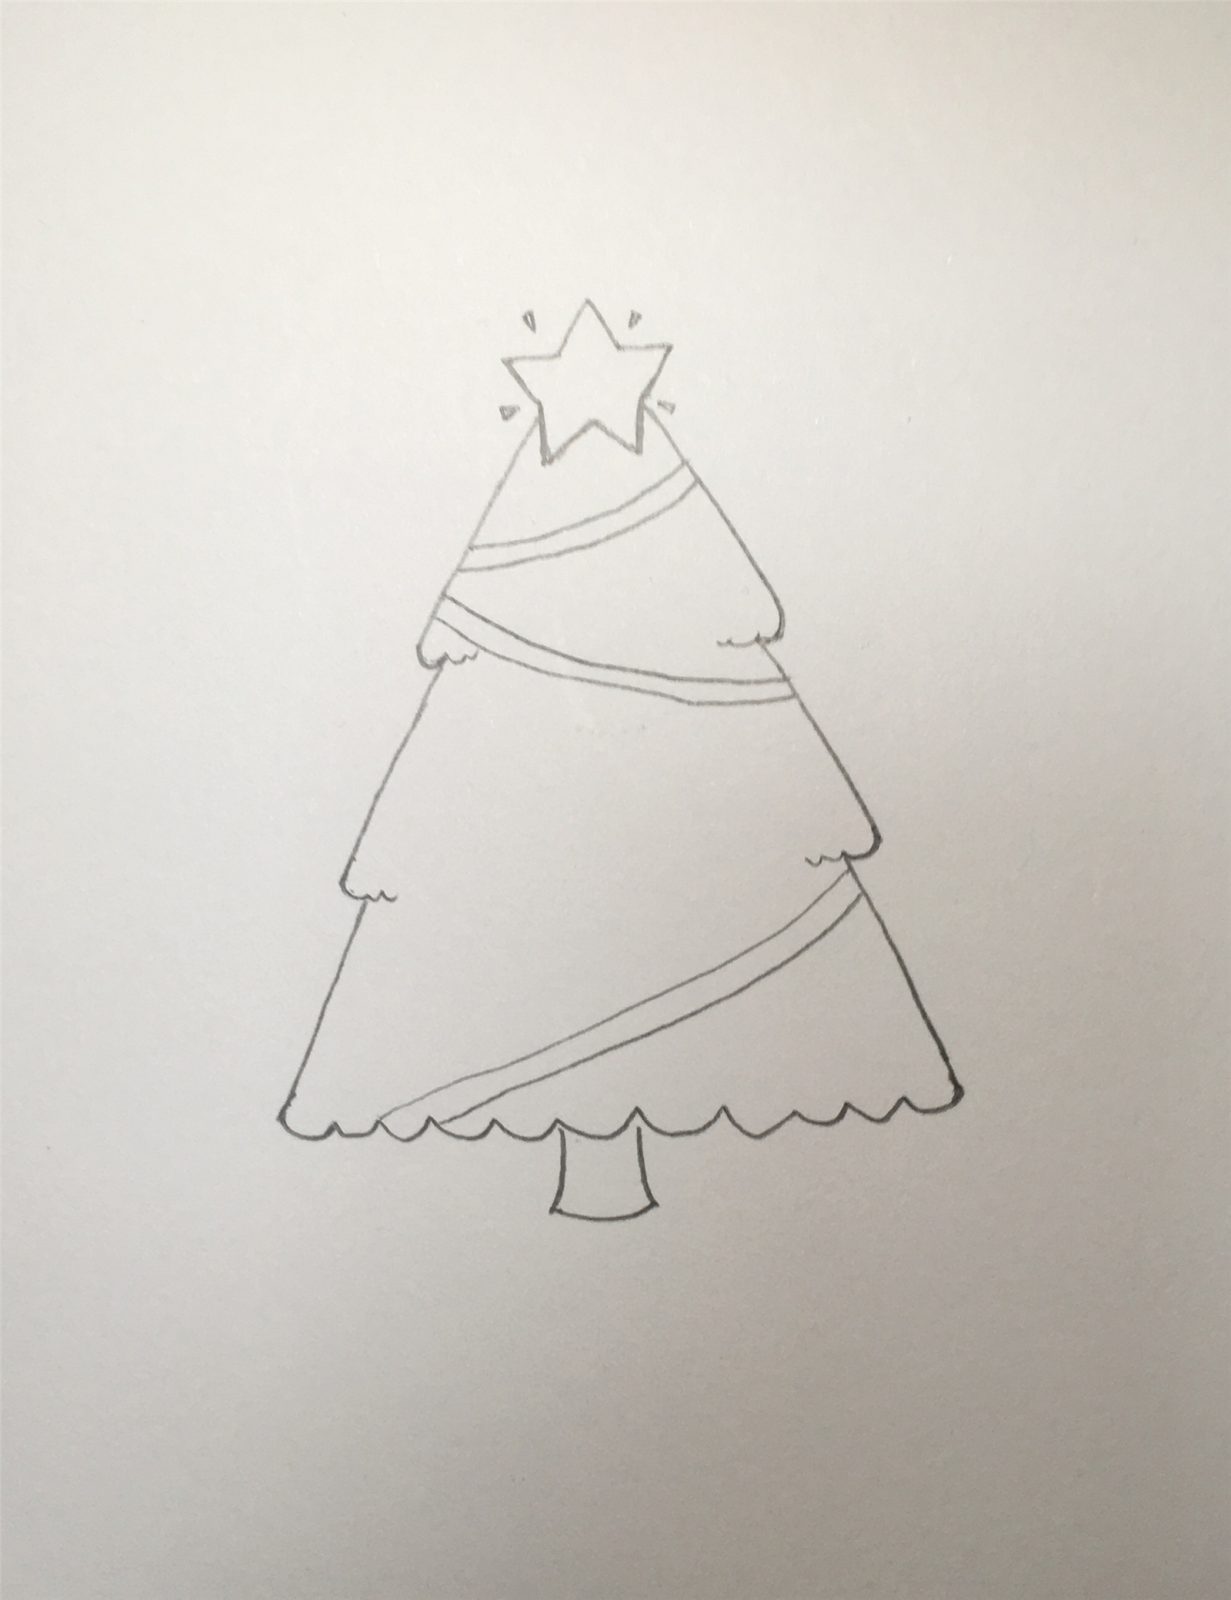
Then, we’ll draw the first layer of the Christmas tree. Notice the graceful curves at the end of the lines.
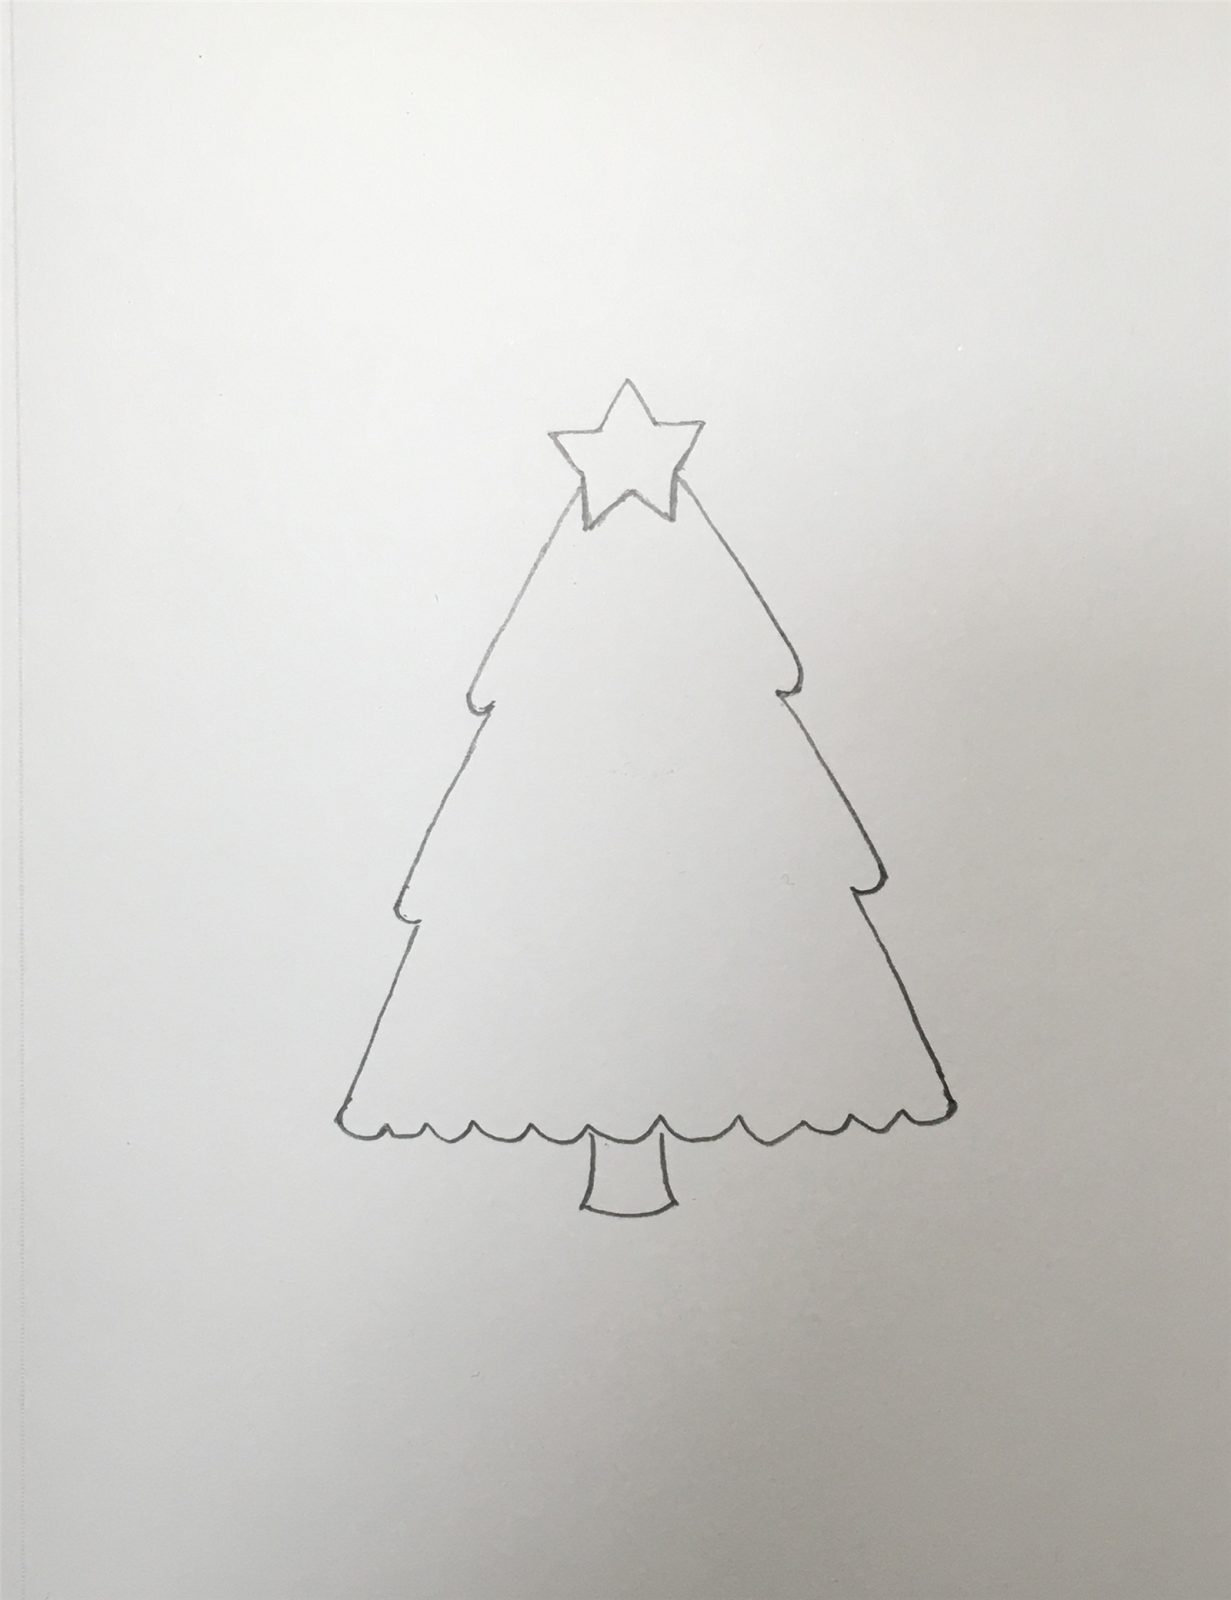
2. Draw the whole outline of the holiday tree
Next, we finish the second and third sections of the tree in the same way.
Next, we draw the wave pattern on the bottom of the tree, and we draw a simple trunk.
Finally, we draw some glitter details for the star on top of the tree. And we draw some simple details for the tree body.
3. Drawing Christmas Tree Colors
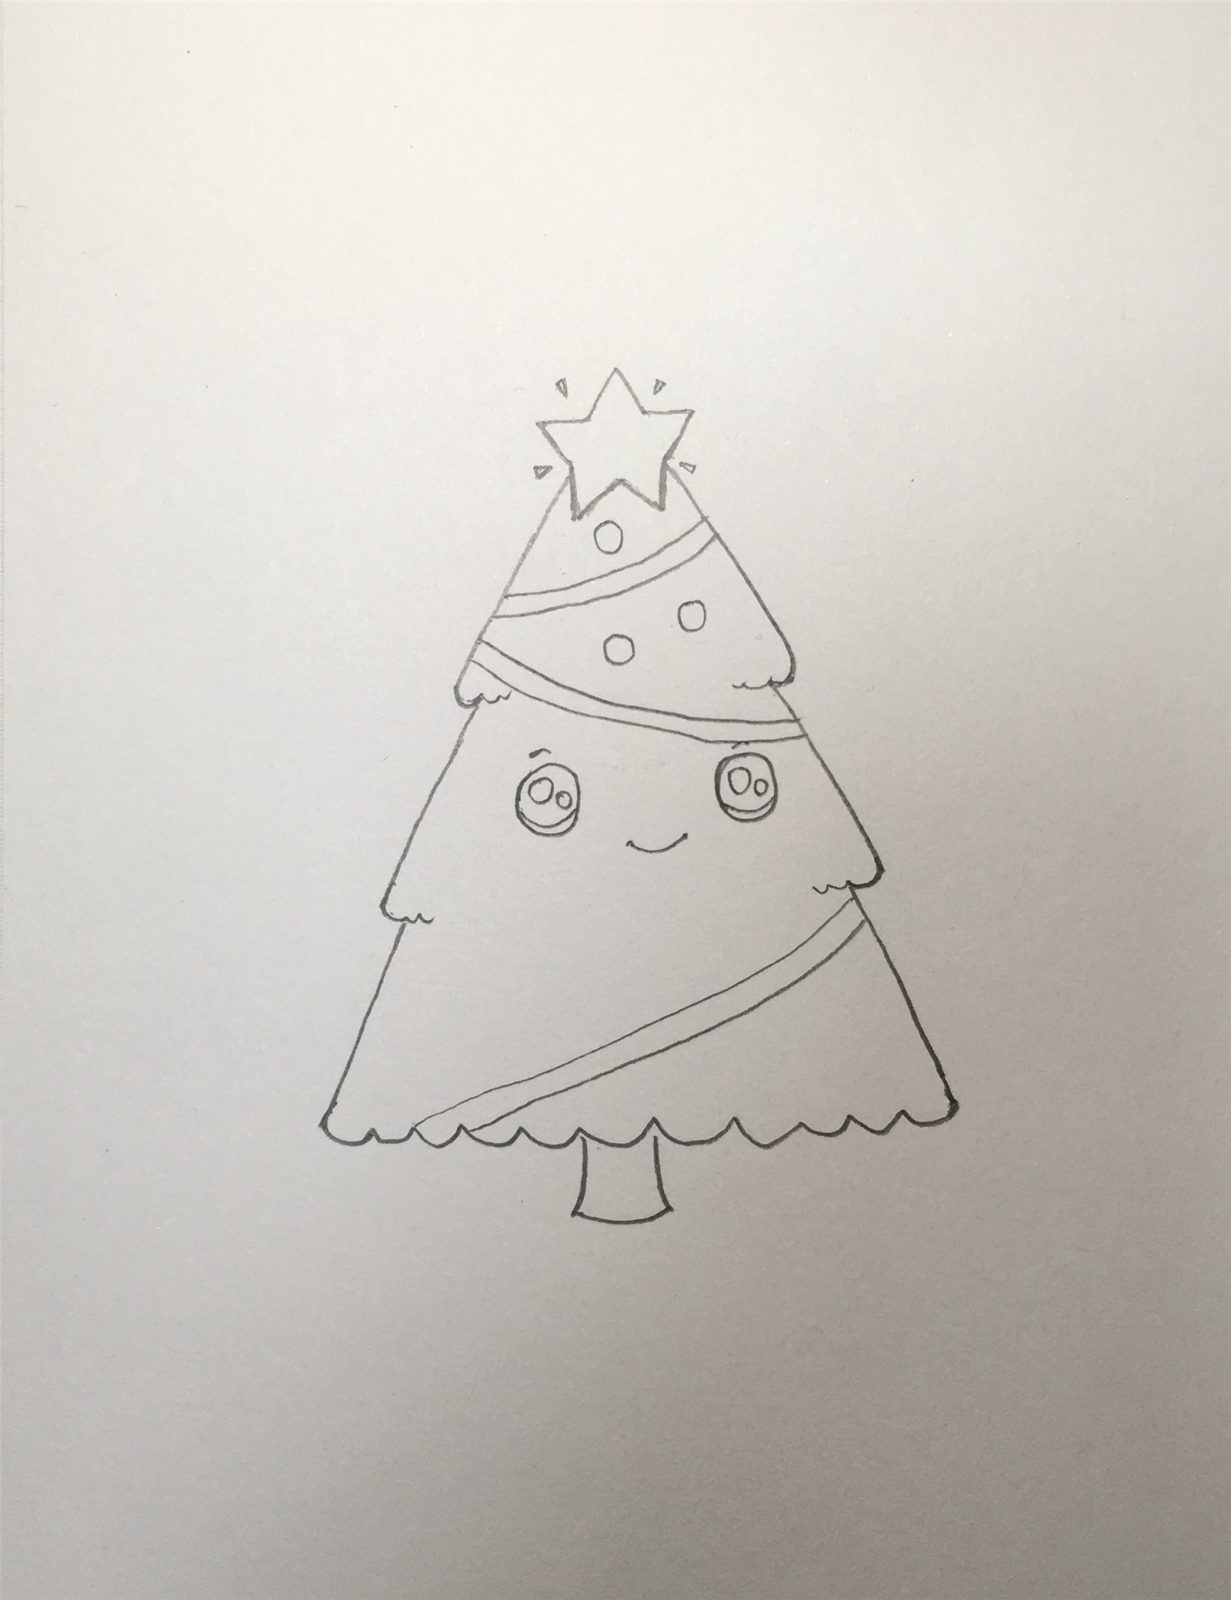
Next, we paint the Christmas tree with lovely big eyes. And a smiling mouth.
Then we draw three ornamental balls.
Of course, you can also draw some colored lights and candy canes.
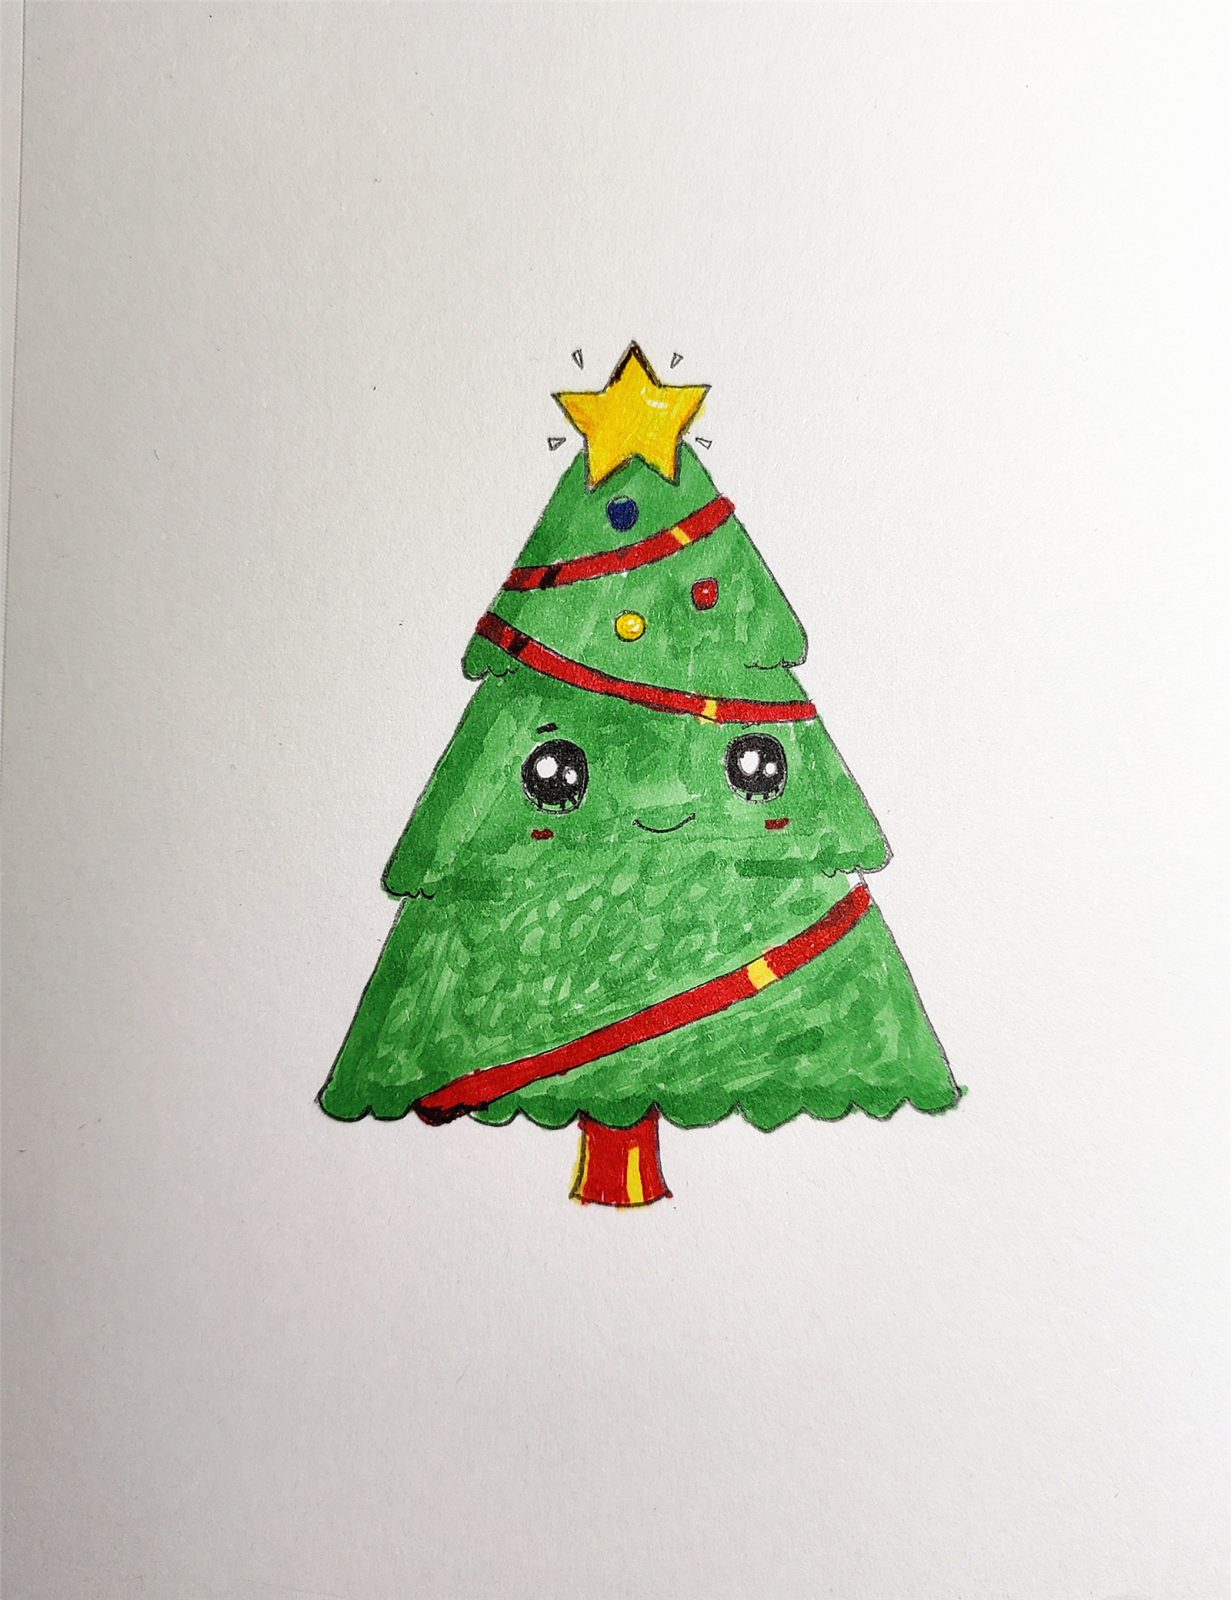
Finally, we use watercolor markers to paint the tree.
A simple and lovely Christmas tree is finished.
