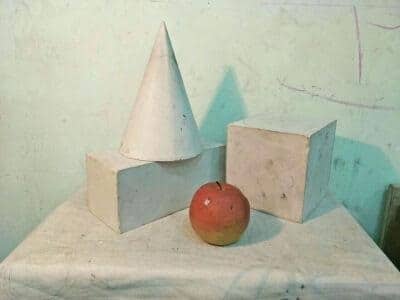
Drawing basic geometric shapes is a necessary exercise. Today we will draw a cone step by step.
In comparison, drawing a cone seems to be a bit harder than drawing a ball. However, follow our guide step by step and you will find it easy to draw a cone in the end.
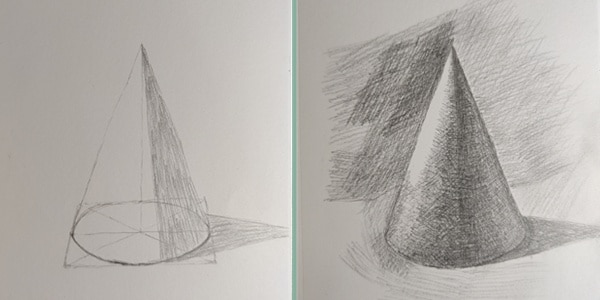
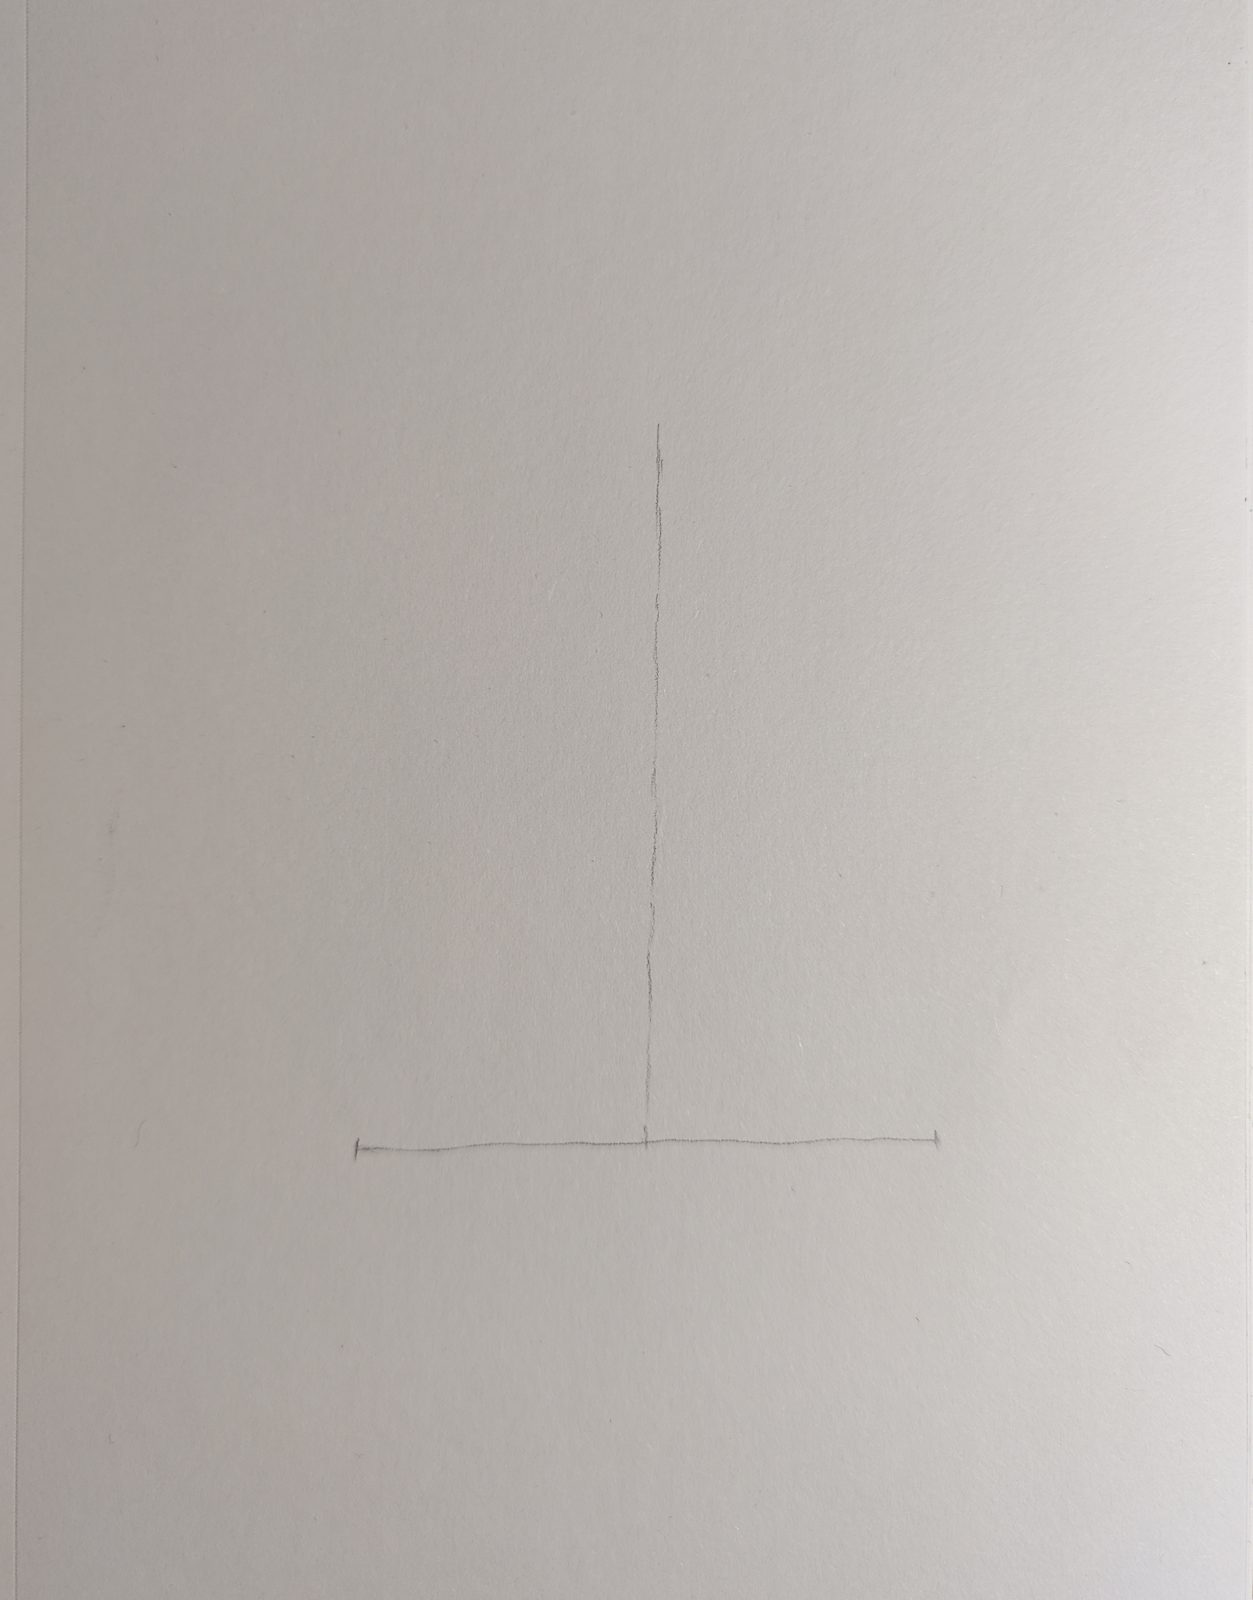
1.Draw a cone – drawing auxiliary lines
First, we still have to draw the auxiliary lines.
We draw two line segments that are perpendicular to each other.
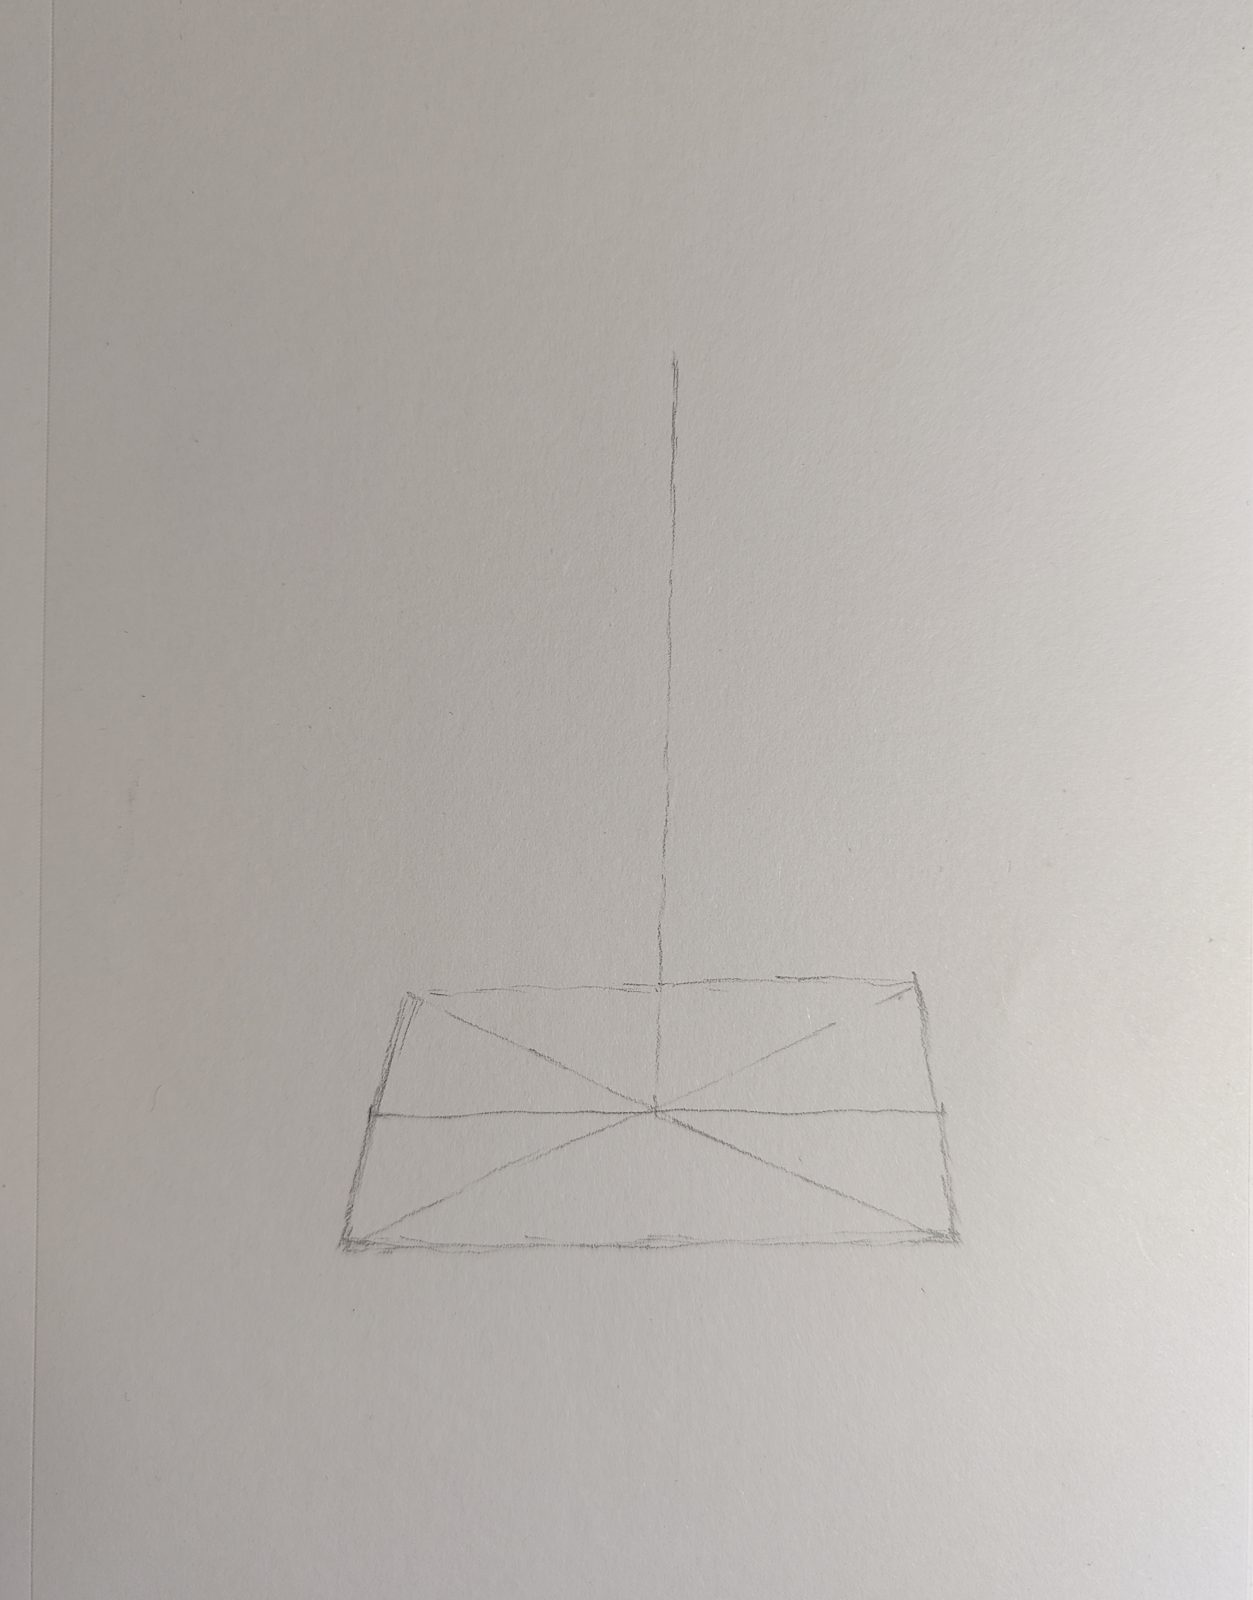
Then with the horizontal line segment as the center, we draw a perspective square using a little perspective method.
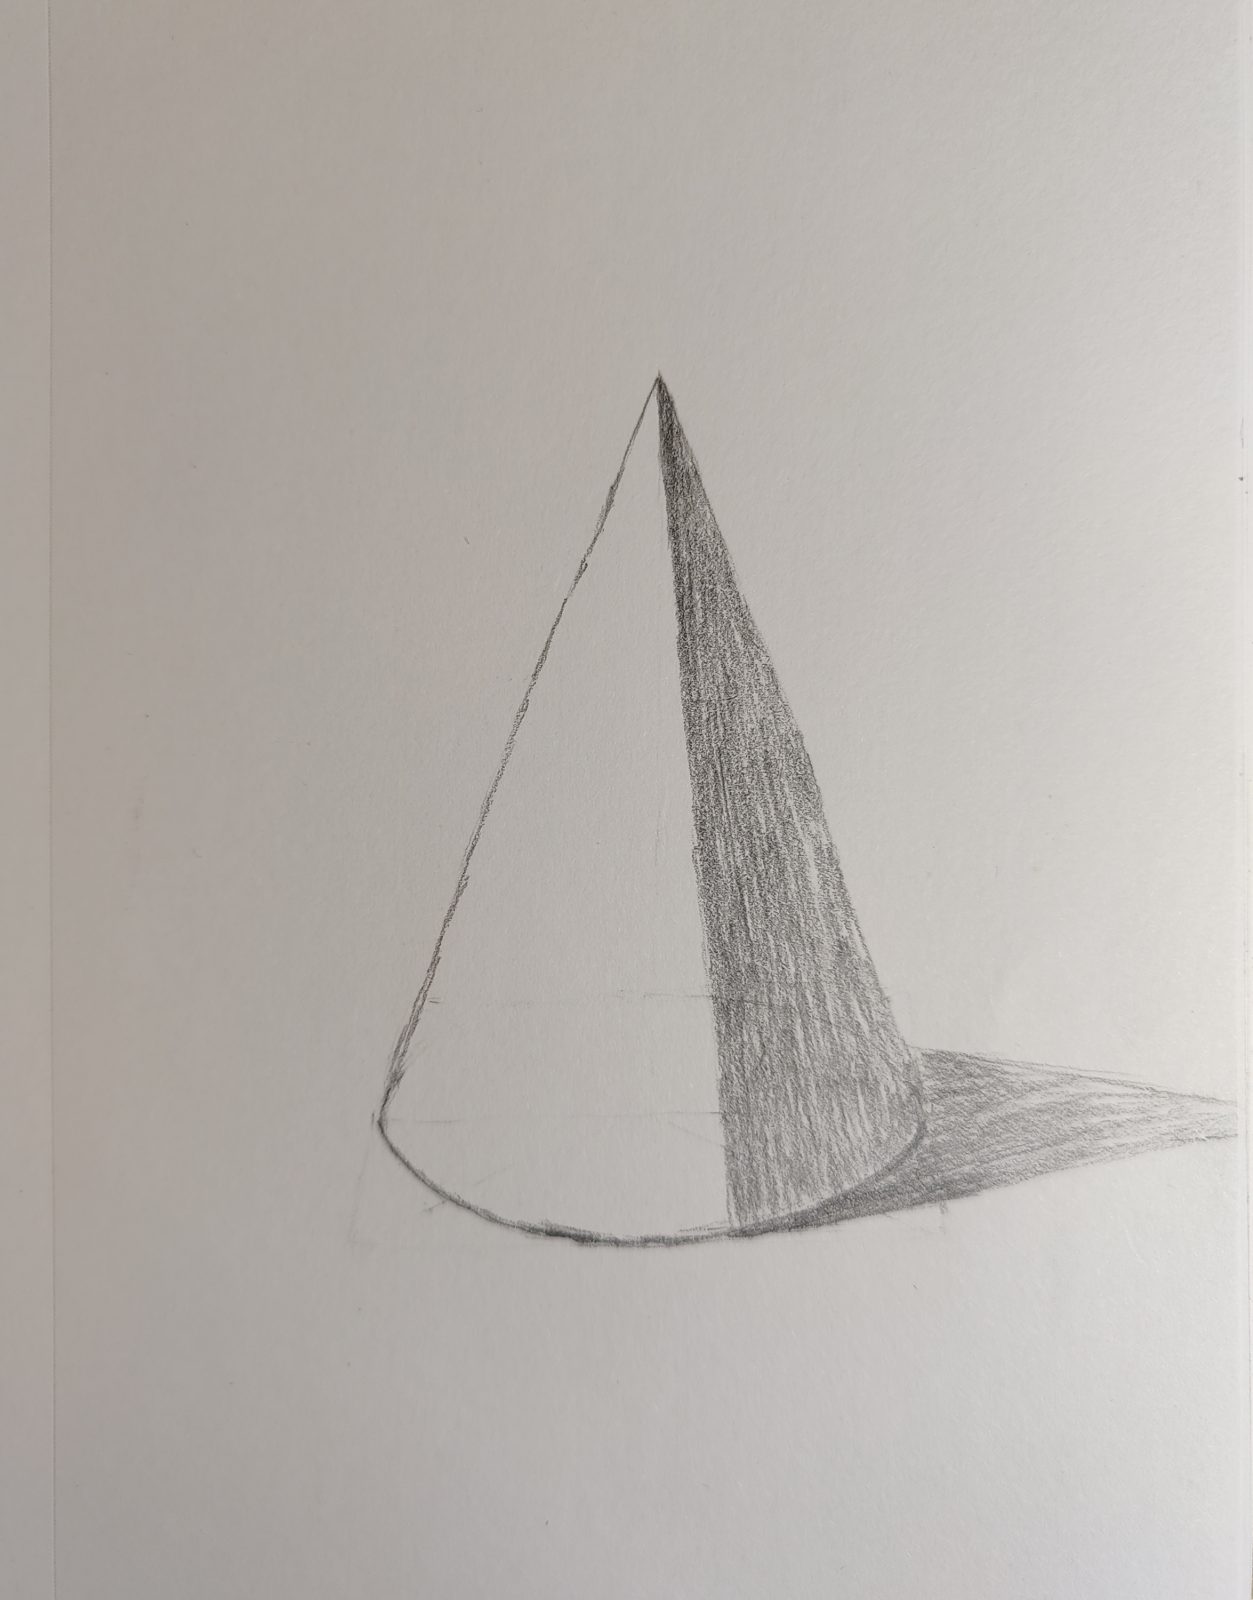
2. Drawing shadows
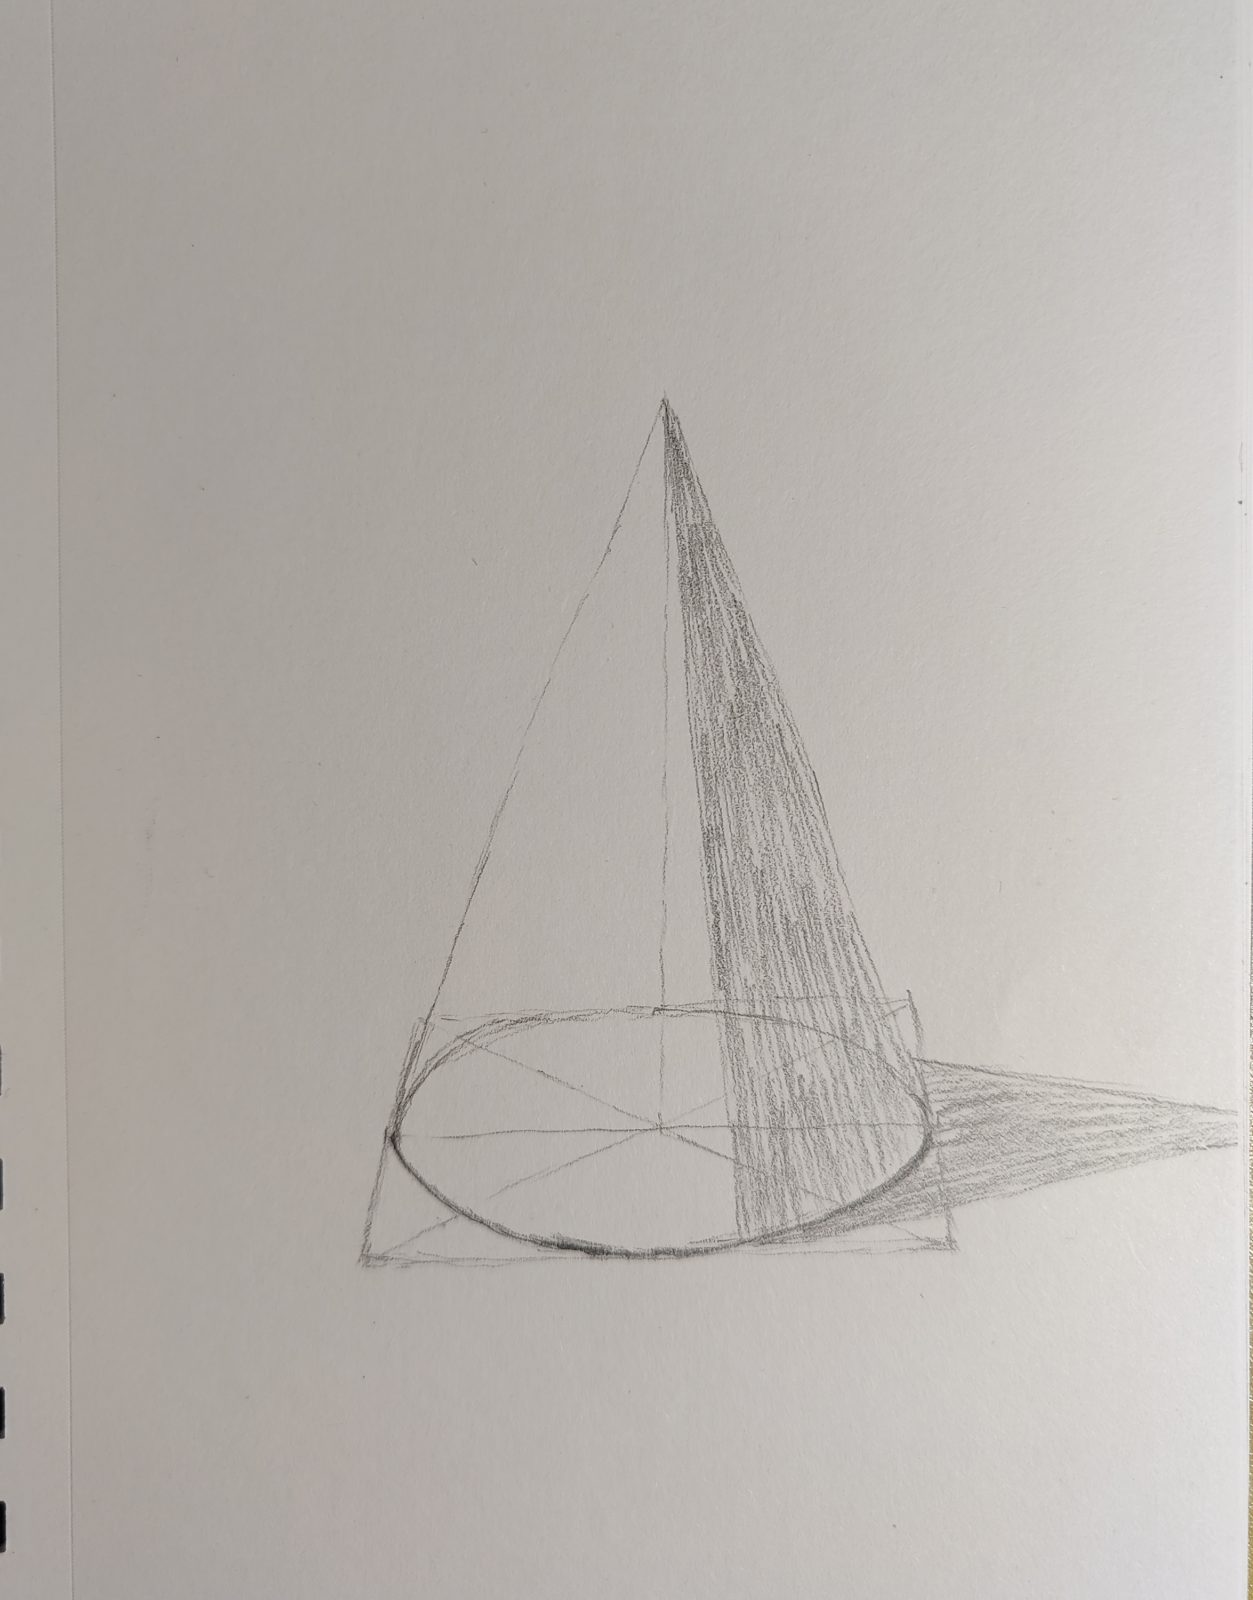
Next, we draw an ellipse on the bottom side. Note that the outer lines should be thicker and heavier.
The internal lines are only auxiliary and will be erased later.
Then we draw the two beveled edges of the cone.
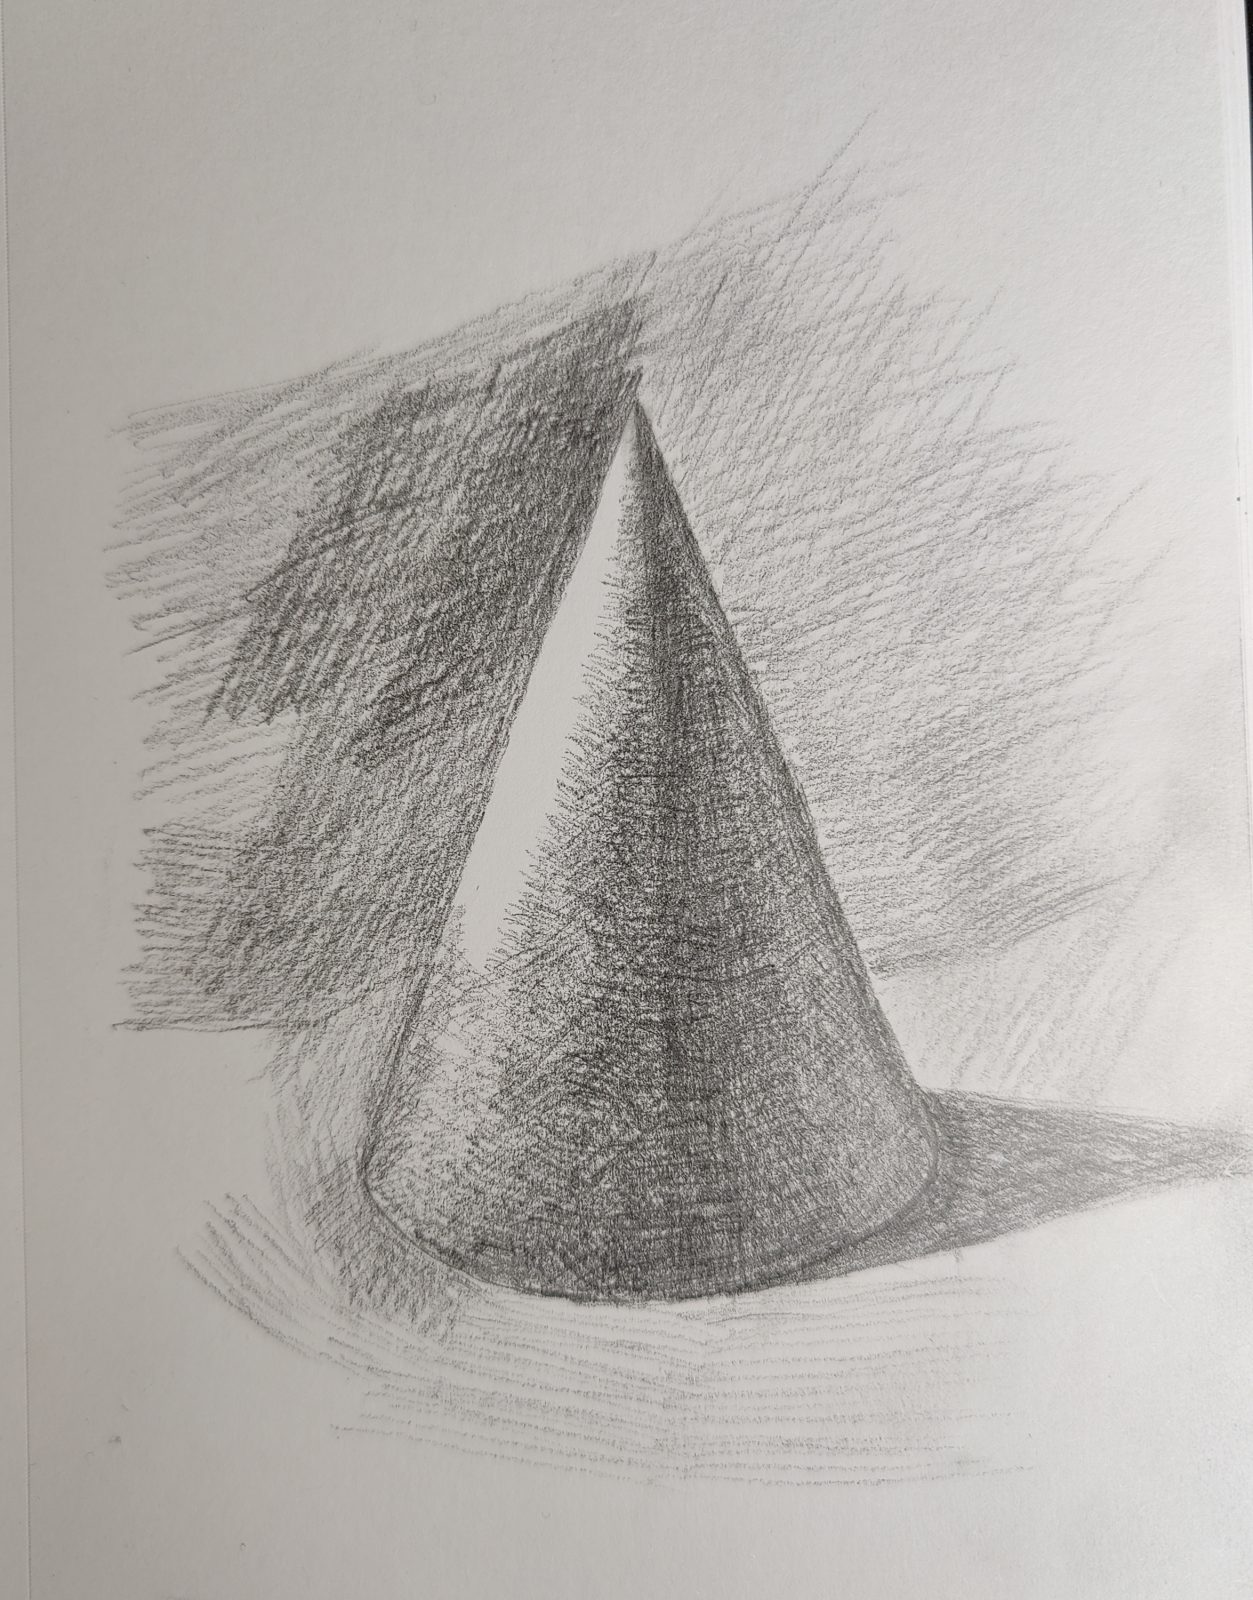
Next, we start to draw the shadows, which can make your cone immediately three-dimensional.
There are also projection shadows.
Pay attention to the light and dark changes, and the cone reflective areas should be a little brighter.
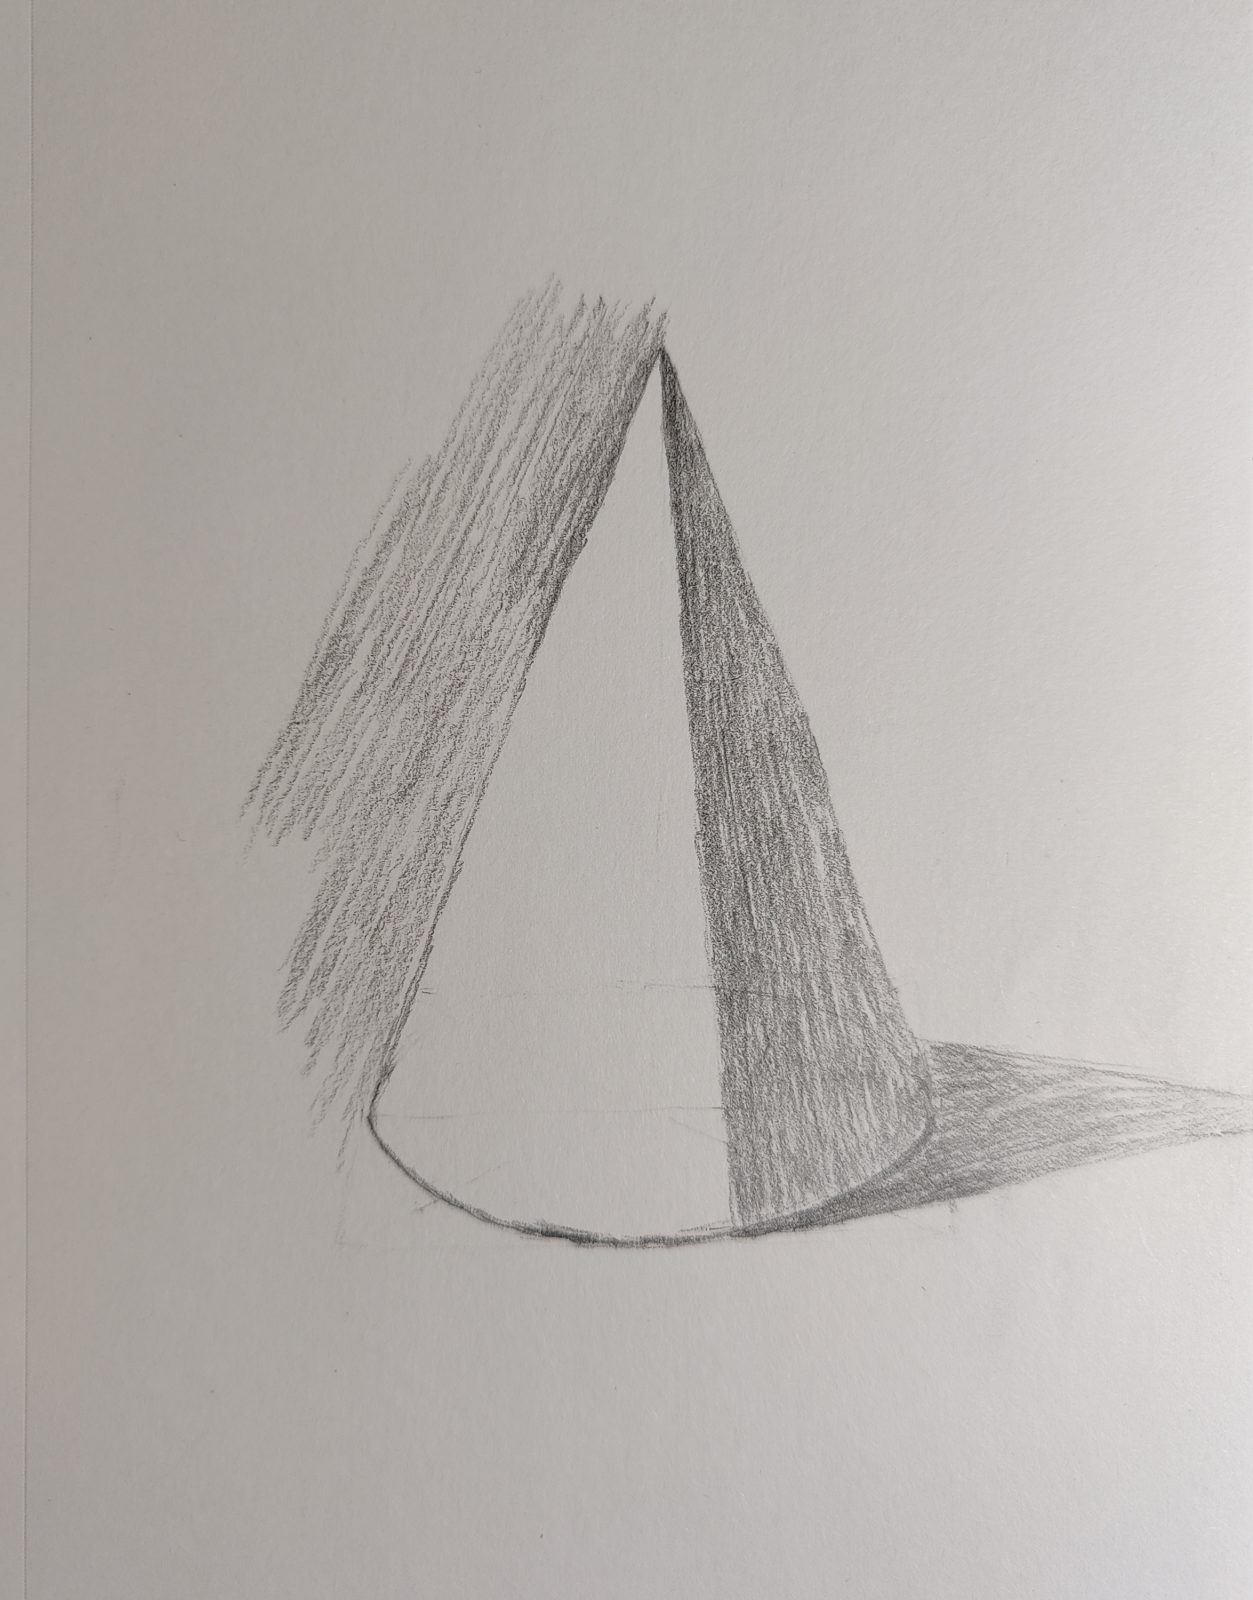
3. Draw a cone – perfect shading
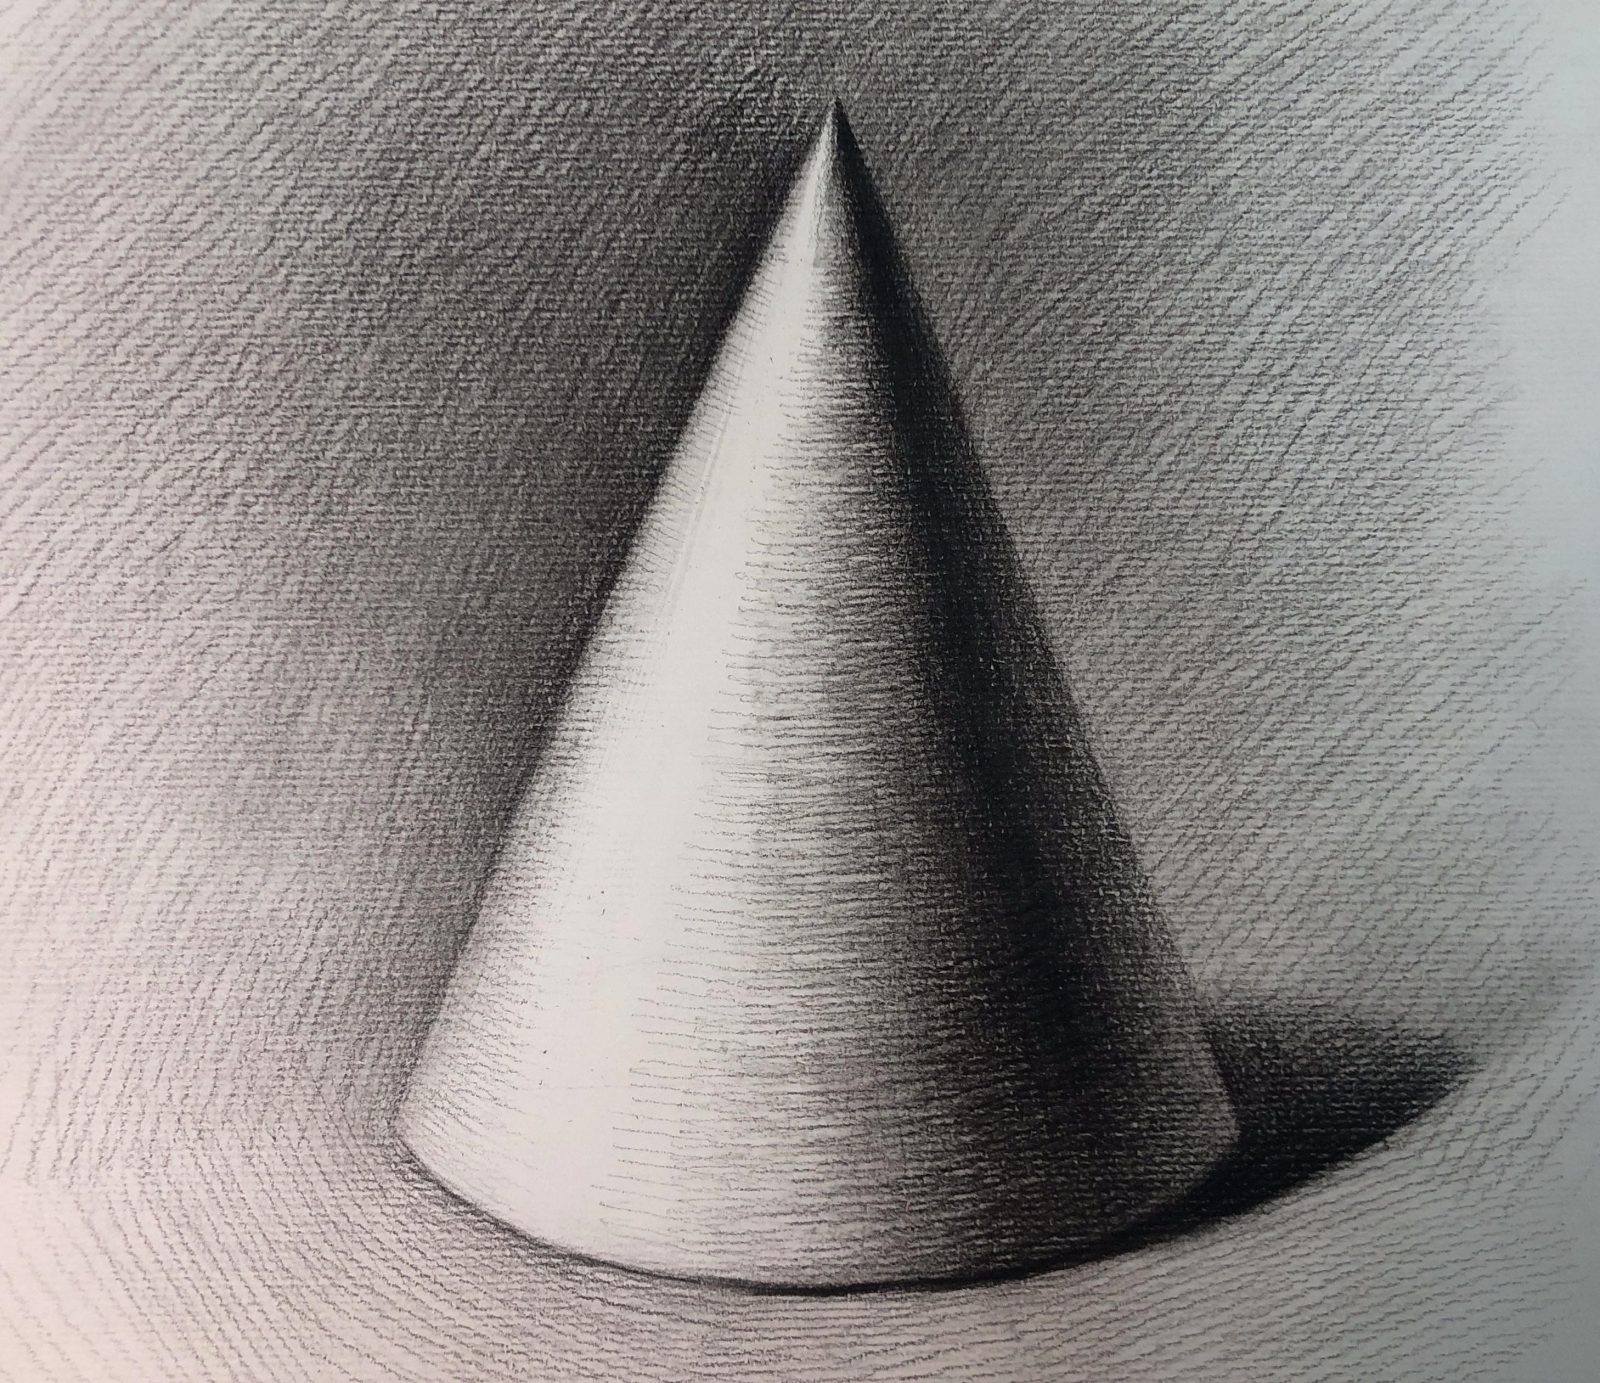
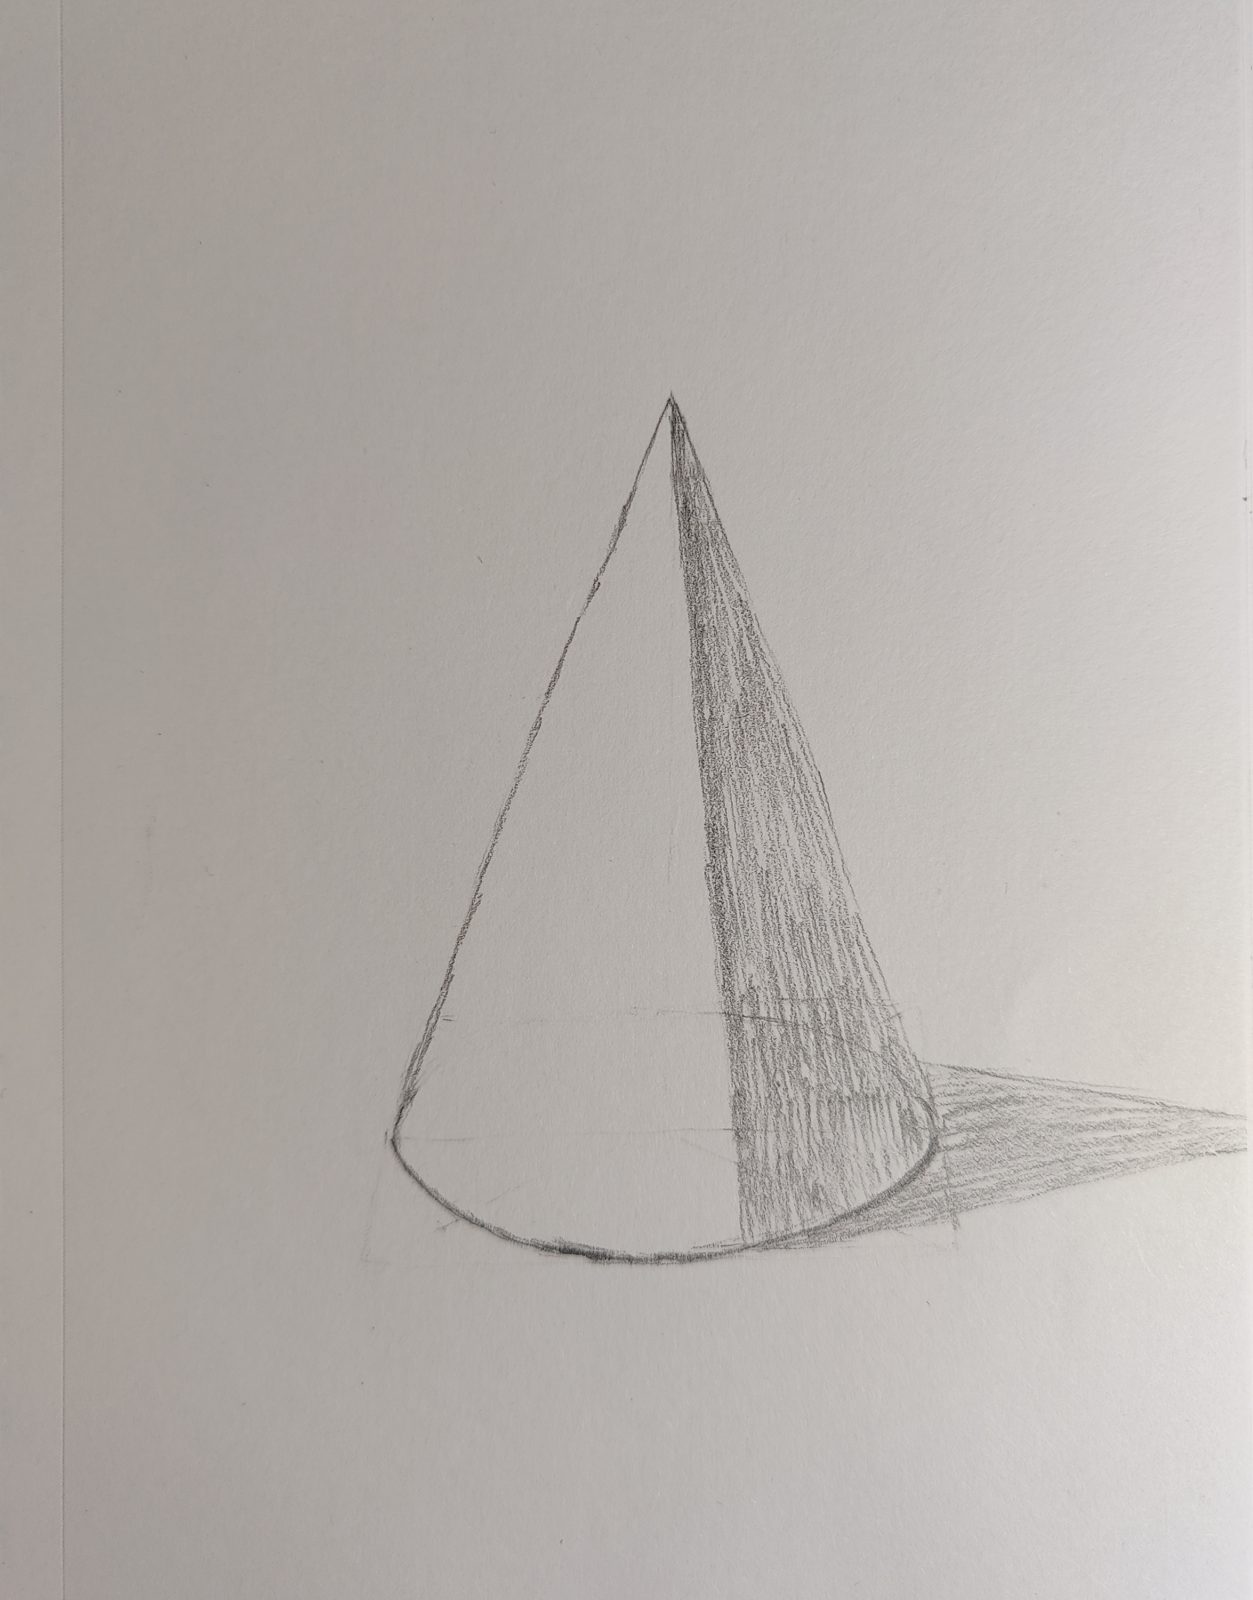
Next, let’s draw the background shadow. Note the use of perfectly aligned lines.
Keep using different angles of the alignment lines to weight the darkest shadow areas.

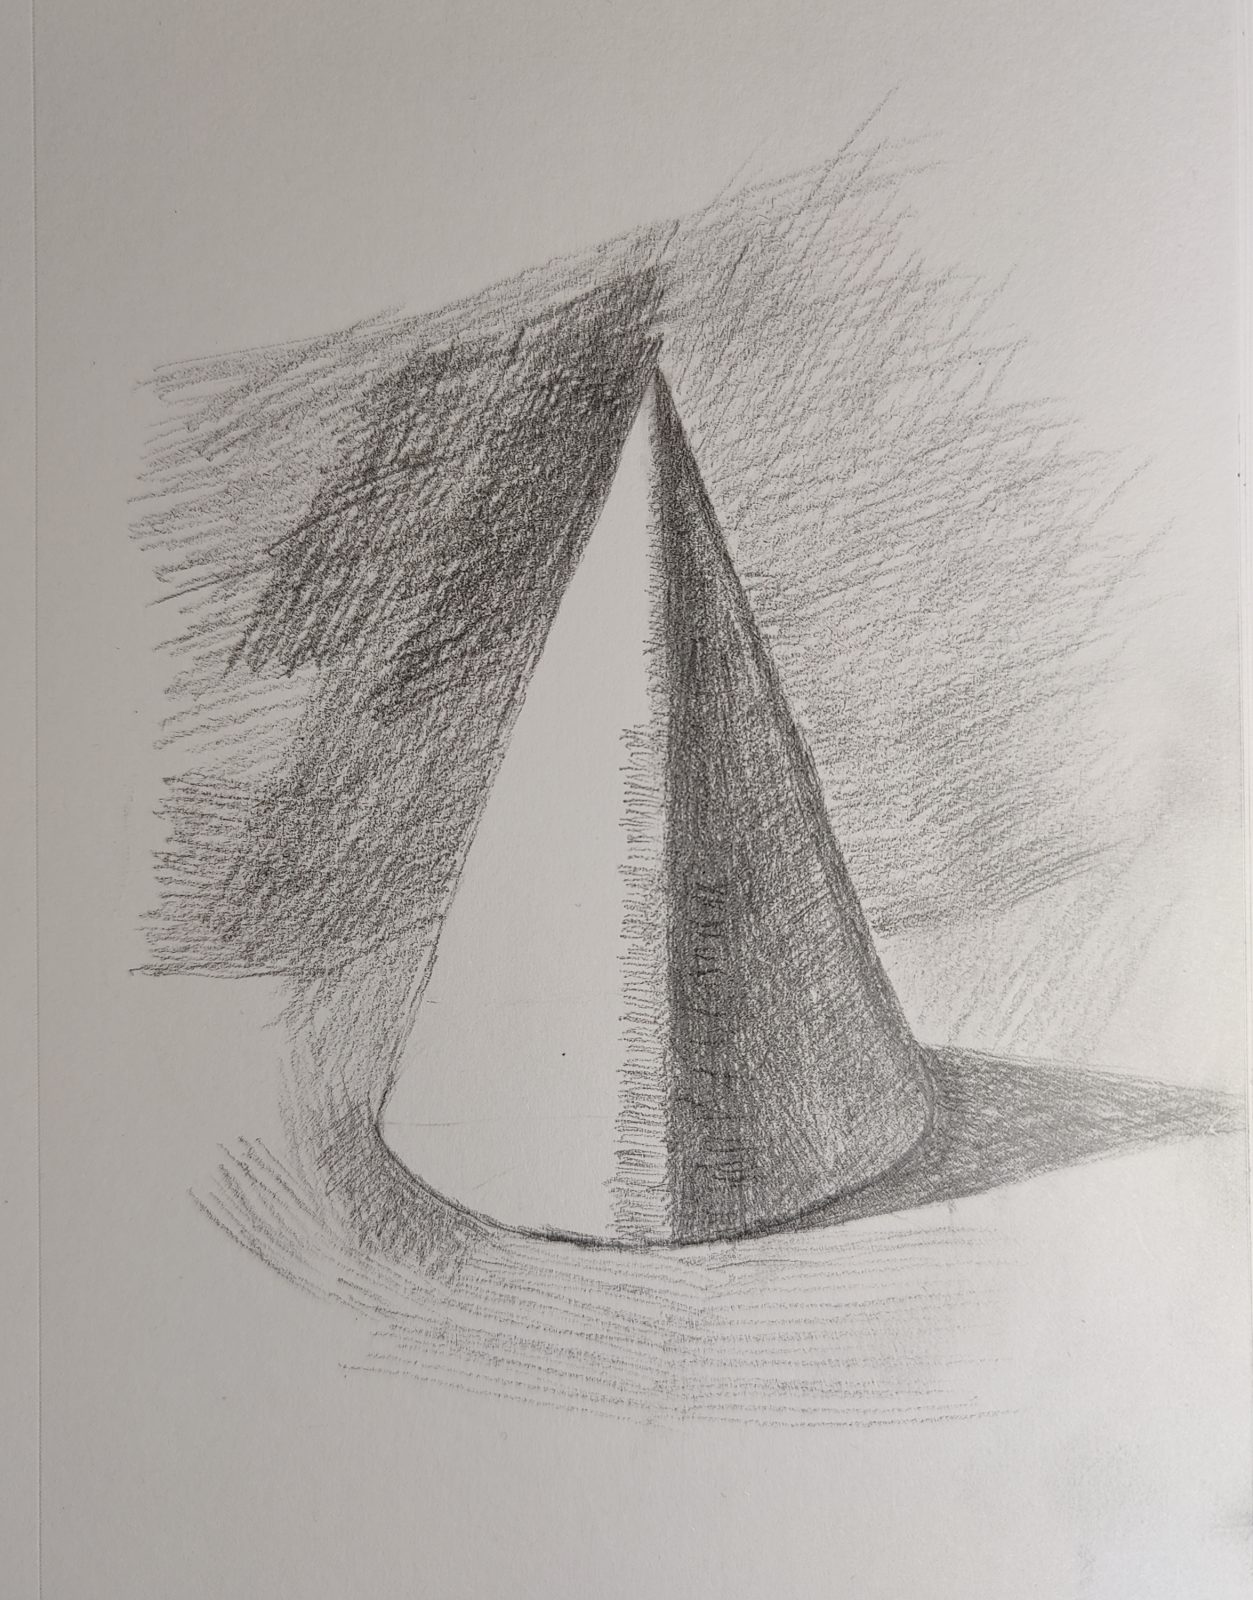
4. Light and dark changes
Finally, we use the alignment lines to keep refining the light and dark changes on the surface of the cone.
Check your work to see if there is anything you are not satisfied with, and go back and revise it carefully.
You can practice more, if you want to show your masterpiece, leave us a message in the comment section.