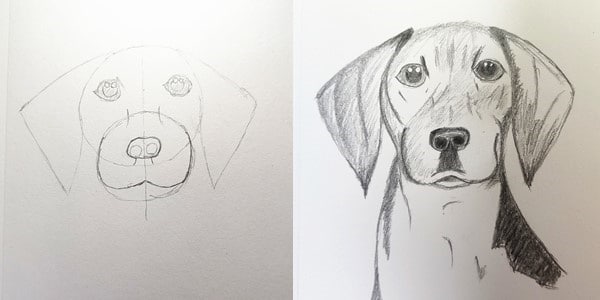
Dogs are the most loyal pets of human beings. People are very fond of dogs. Today we will practice to draw a dog step by step.
This is also an easy step-by-step exercise. Even you are a beginner you can do it easily.
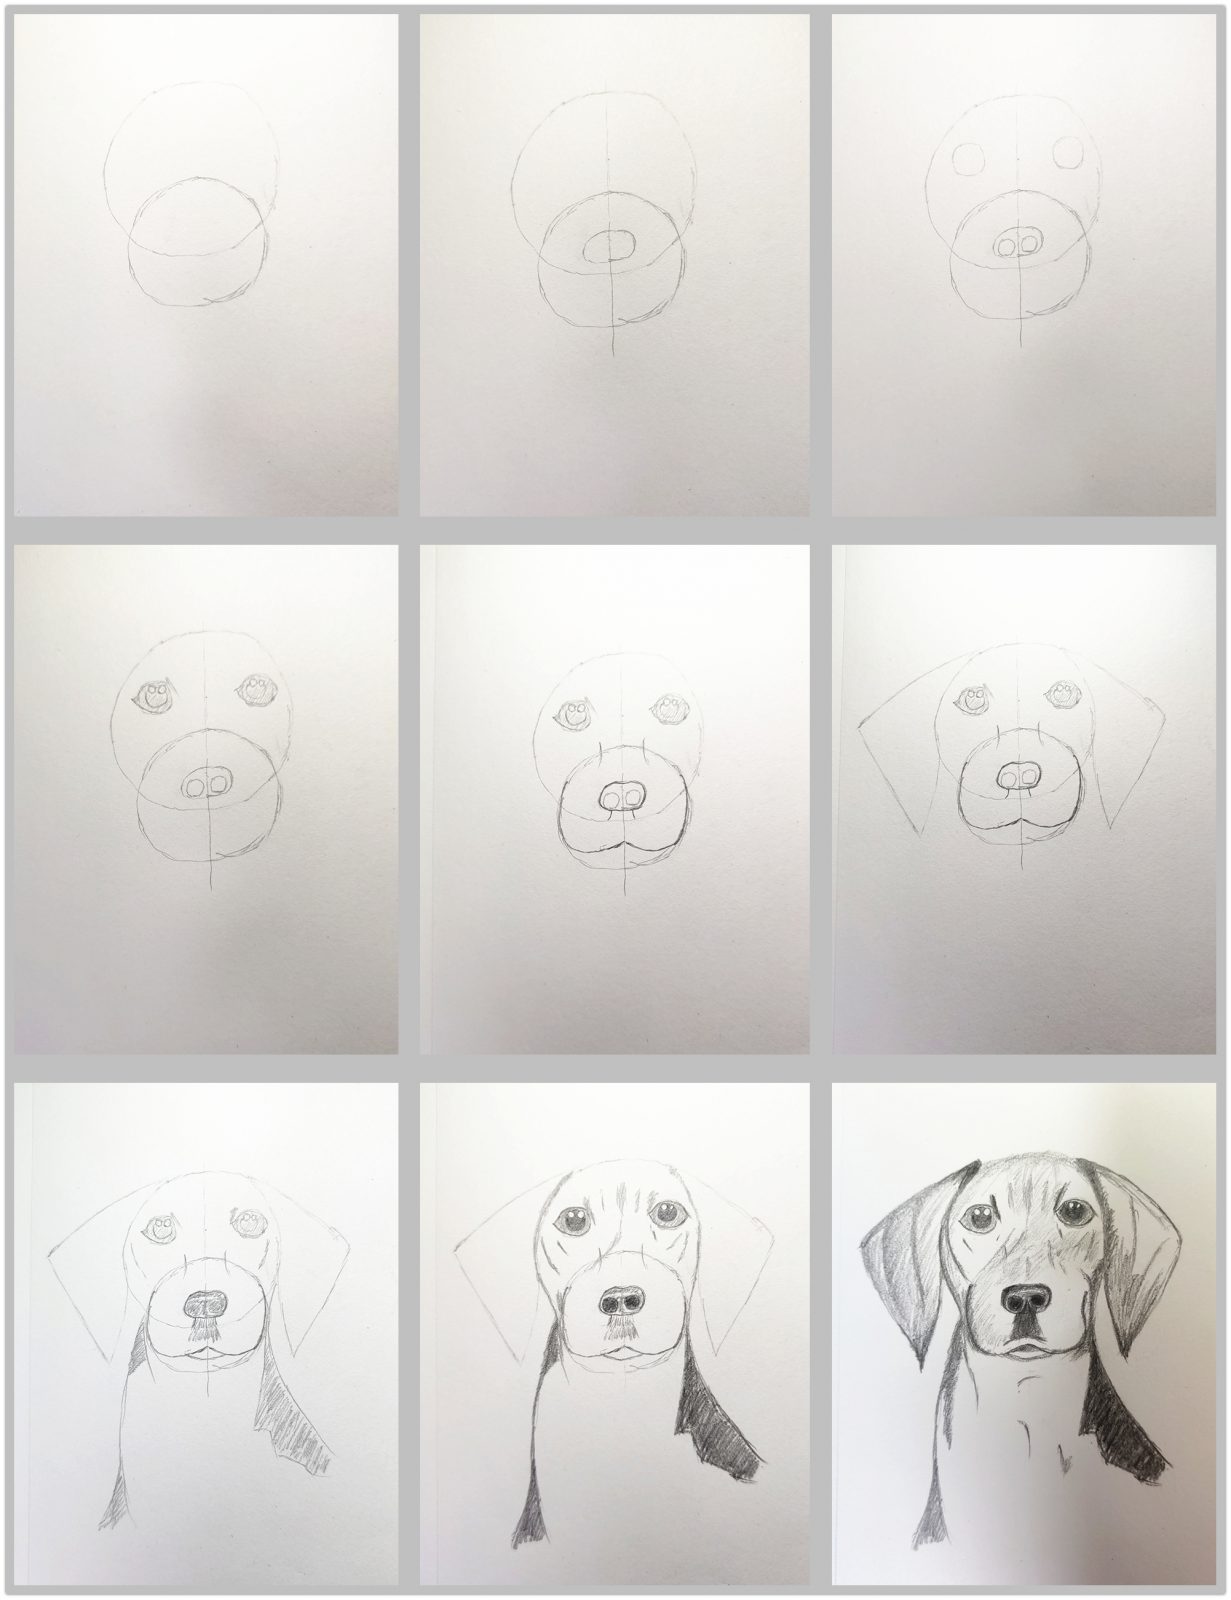
1.Draw a dog – Draw auxiliary lines
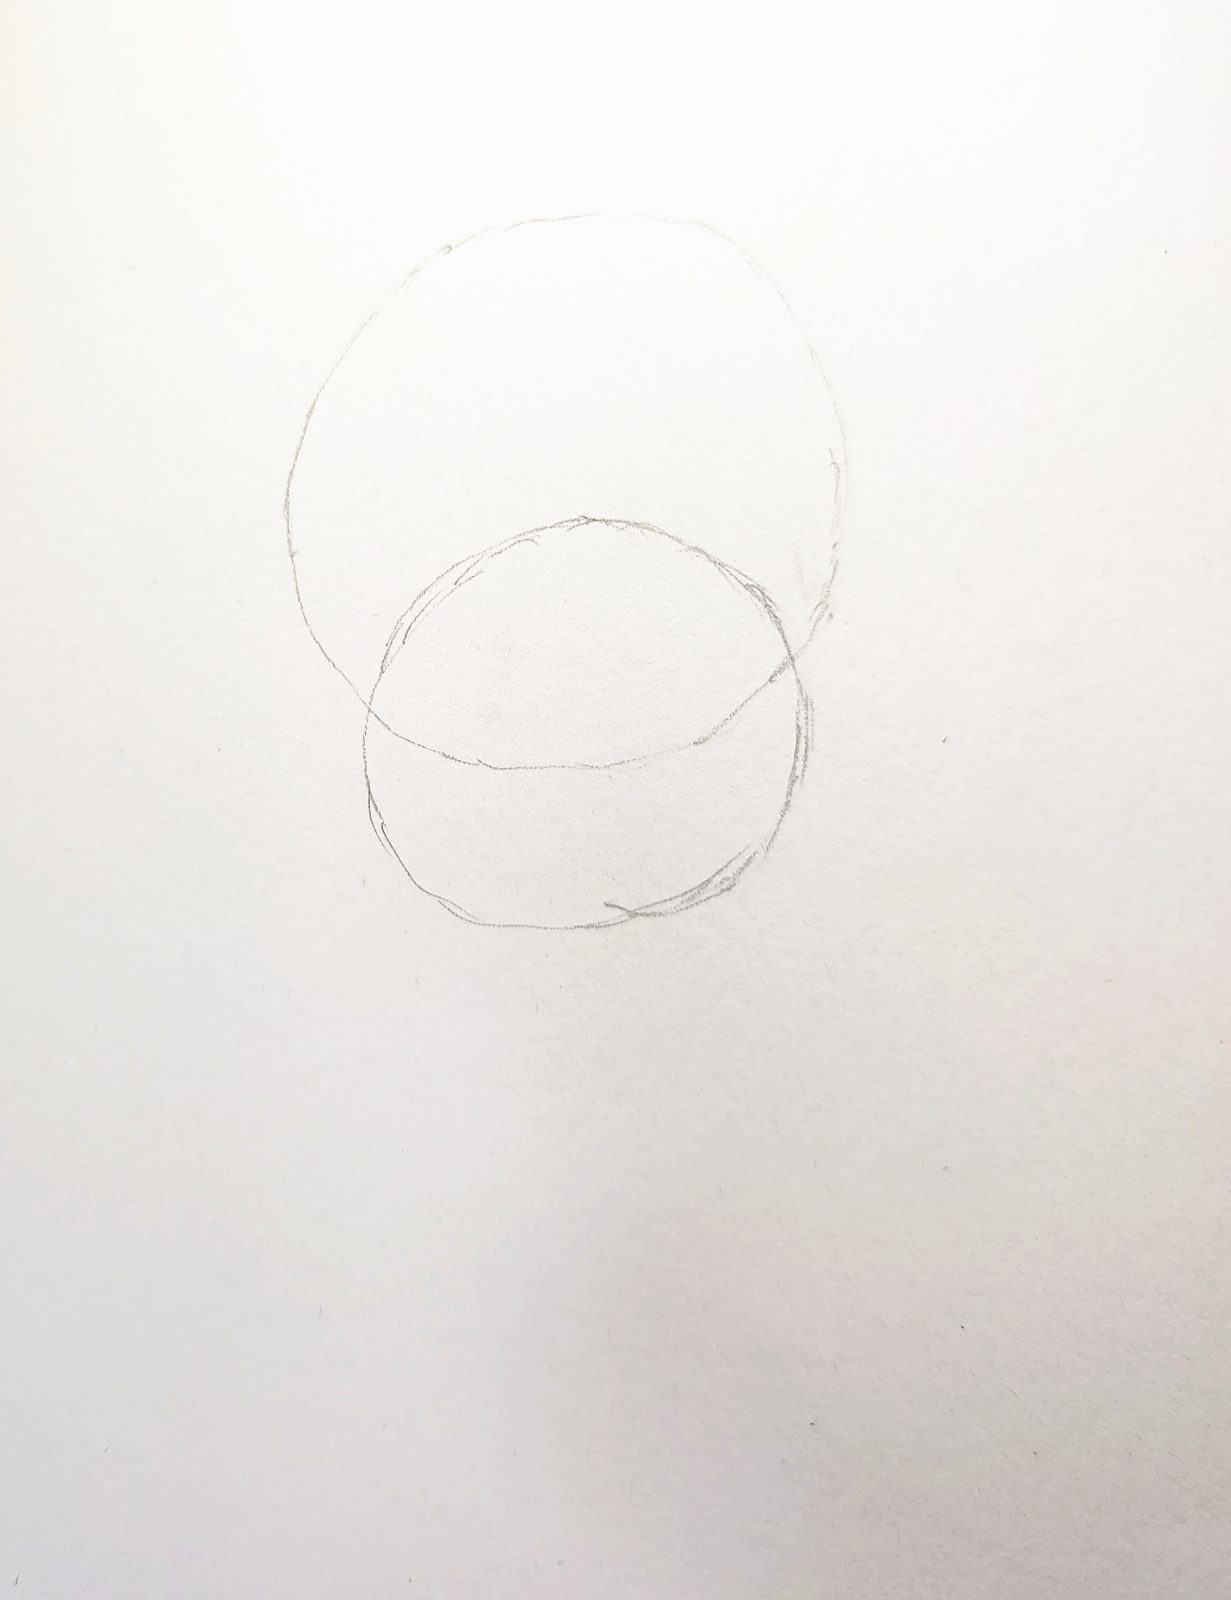
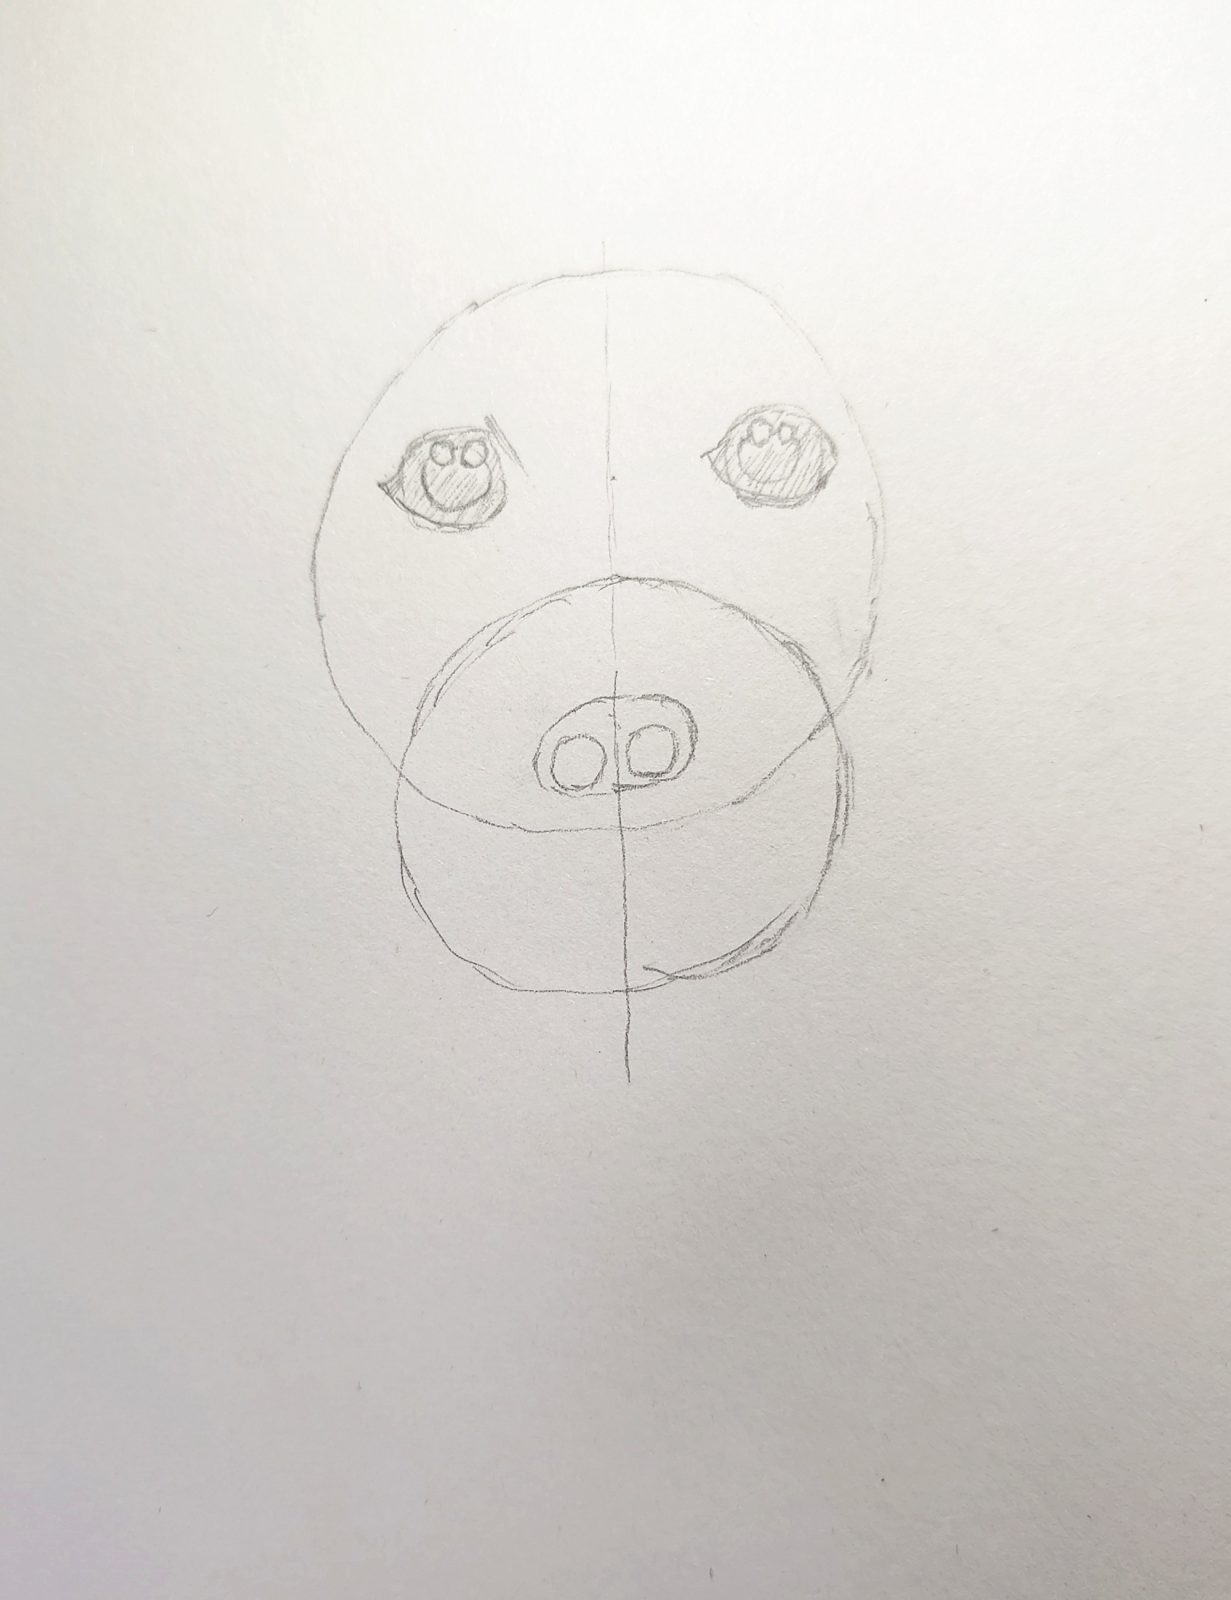
First, we draw two intersecting circles. One large and one small.
Note the position of the two circles. The smaller circle is equal to three-fourths of the diameter of the larger circle.
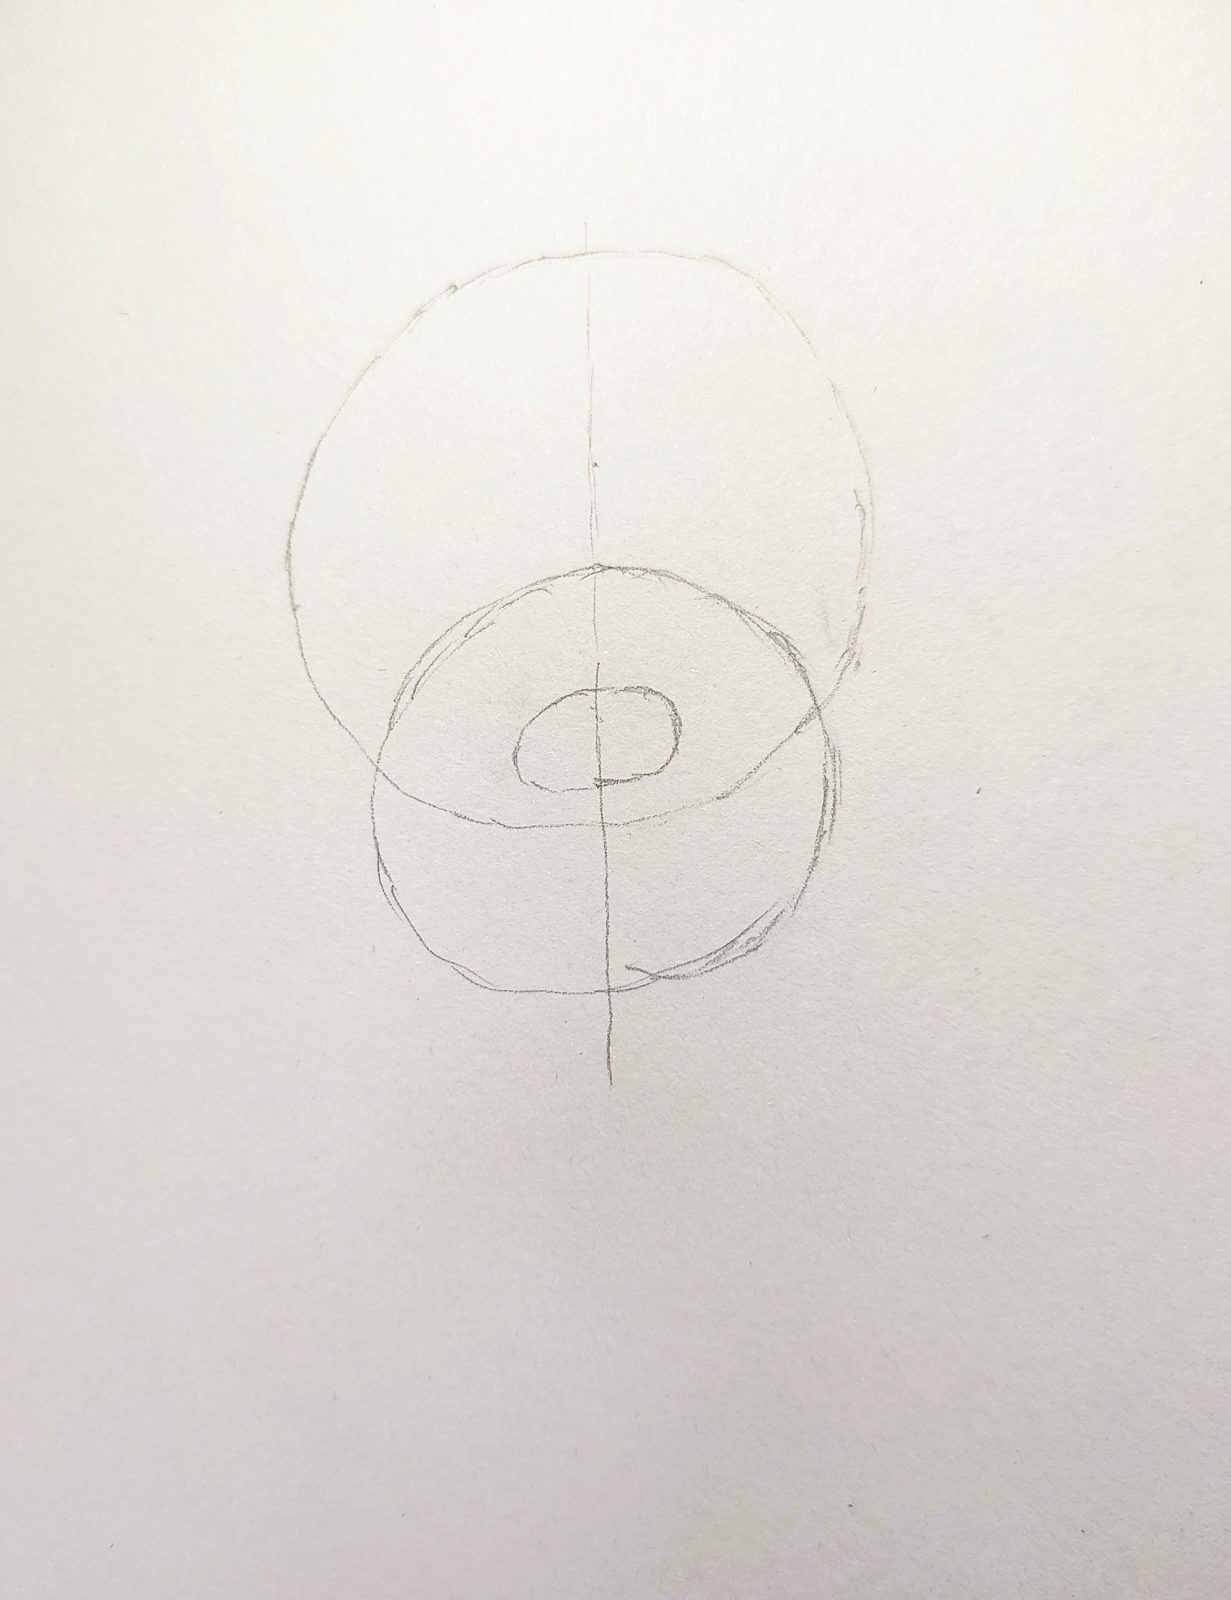
Then draw a vertical auxiliary line through the center of the circle.
Then we draw the outline of the dog’s nose in the part where the two circles overlap. The dog’s nose is an ellipse.
But it should not be too flat.
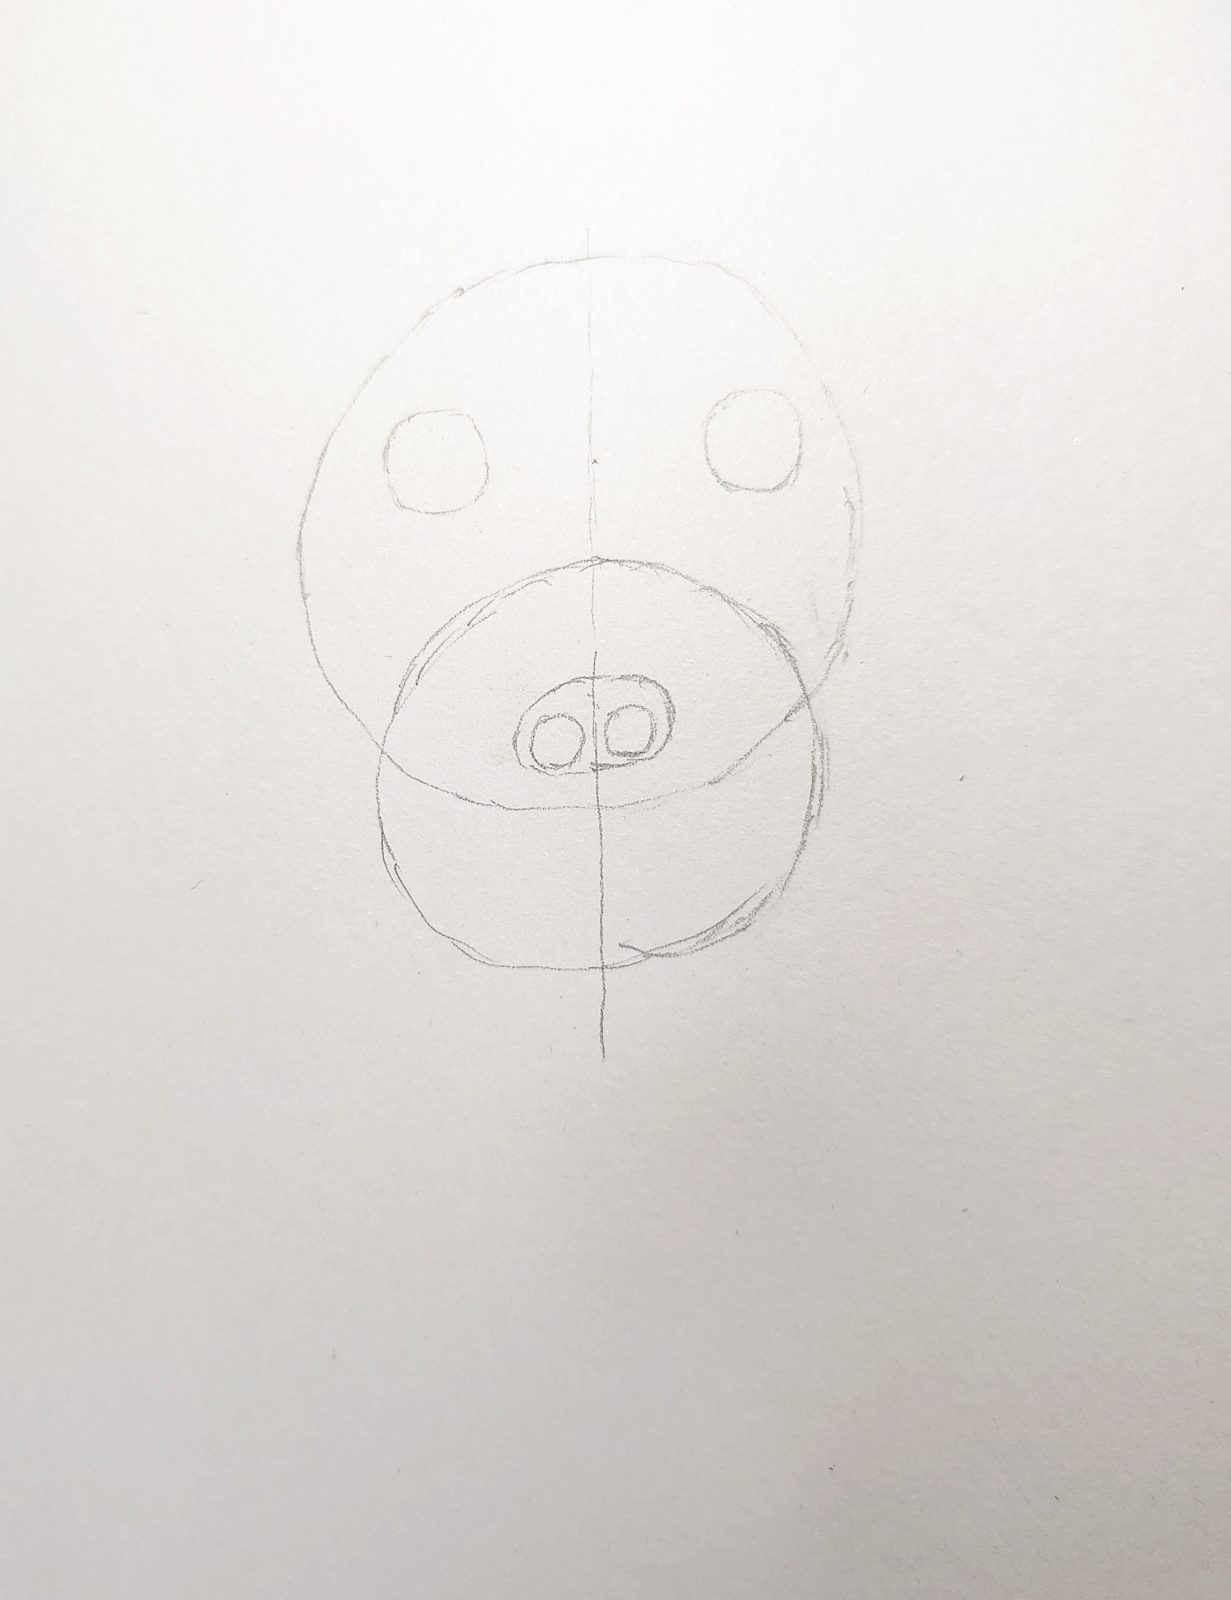
Finally, in the large part of the circle to find a good position, we draw the outline of the dog’s eyes.
2. Drawing the basic outline of a dog’s face
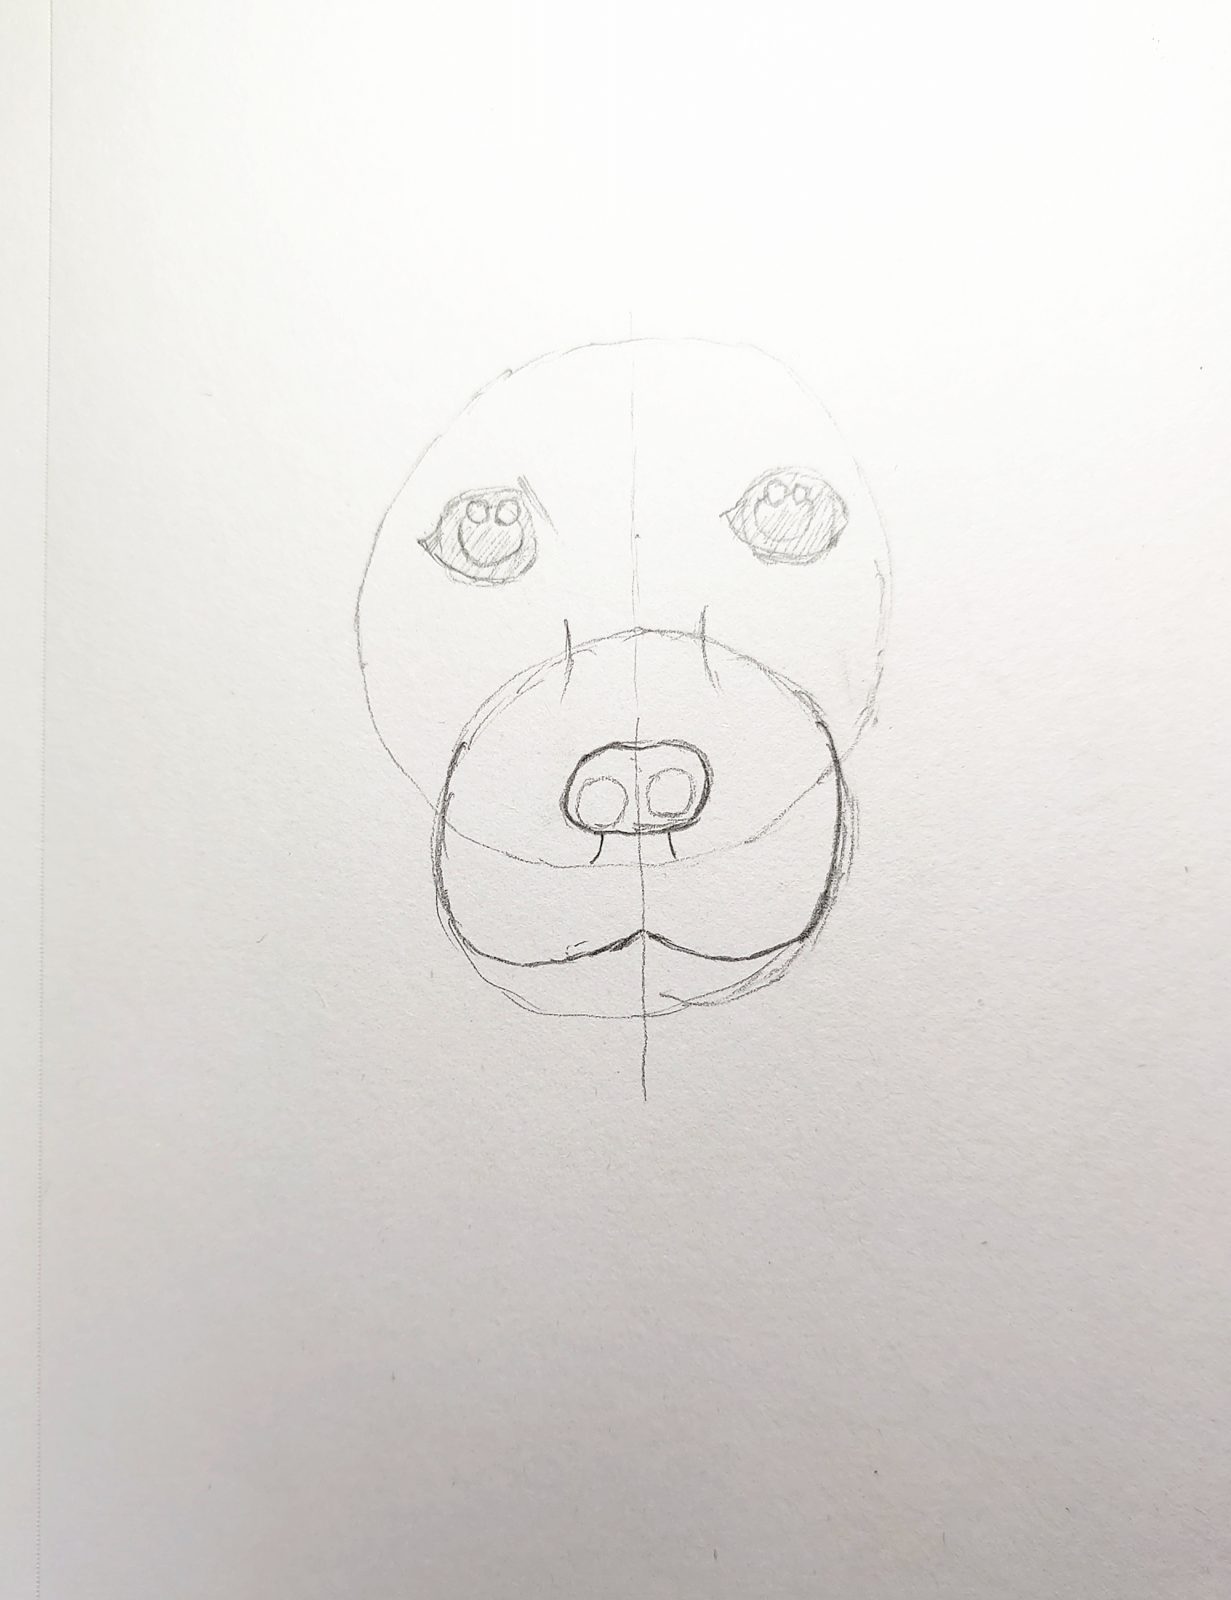
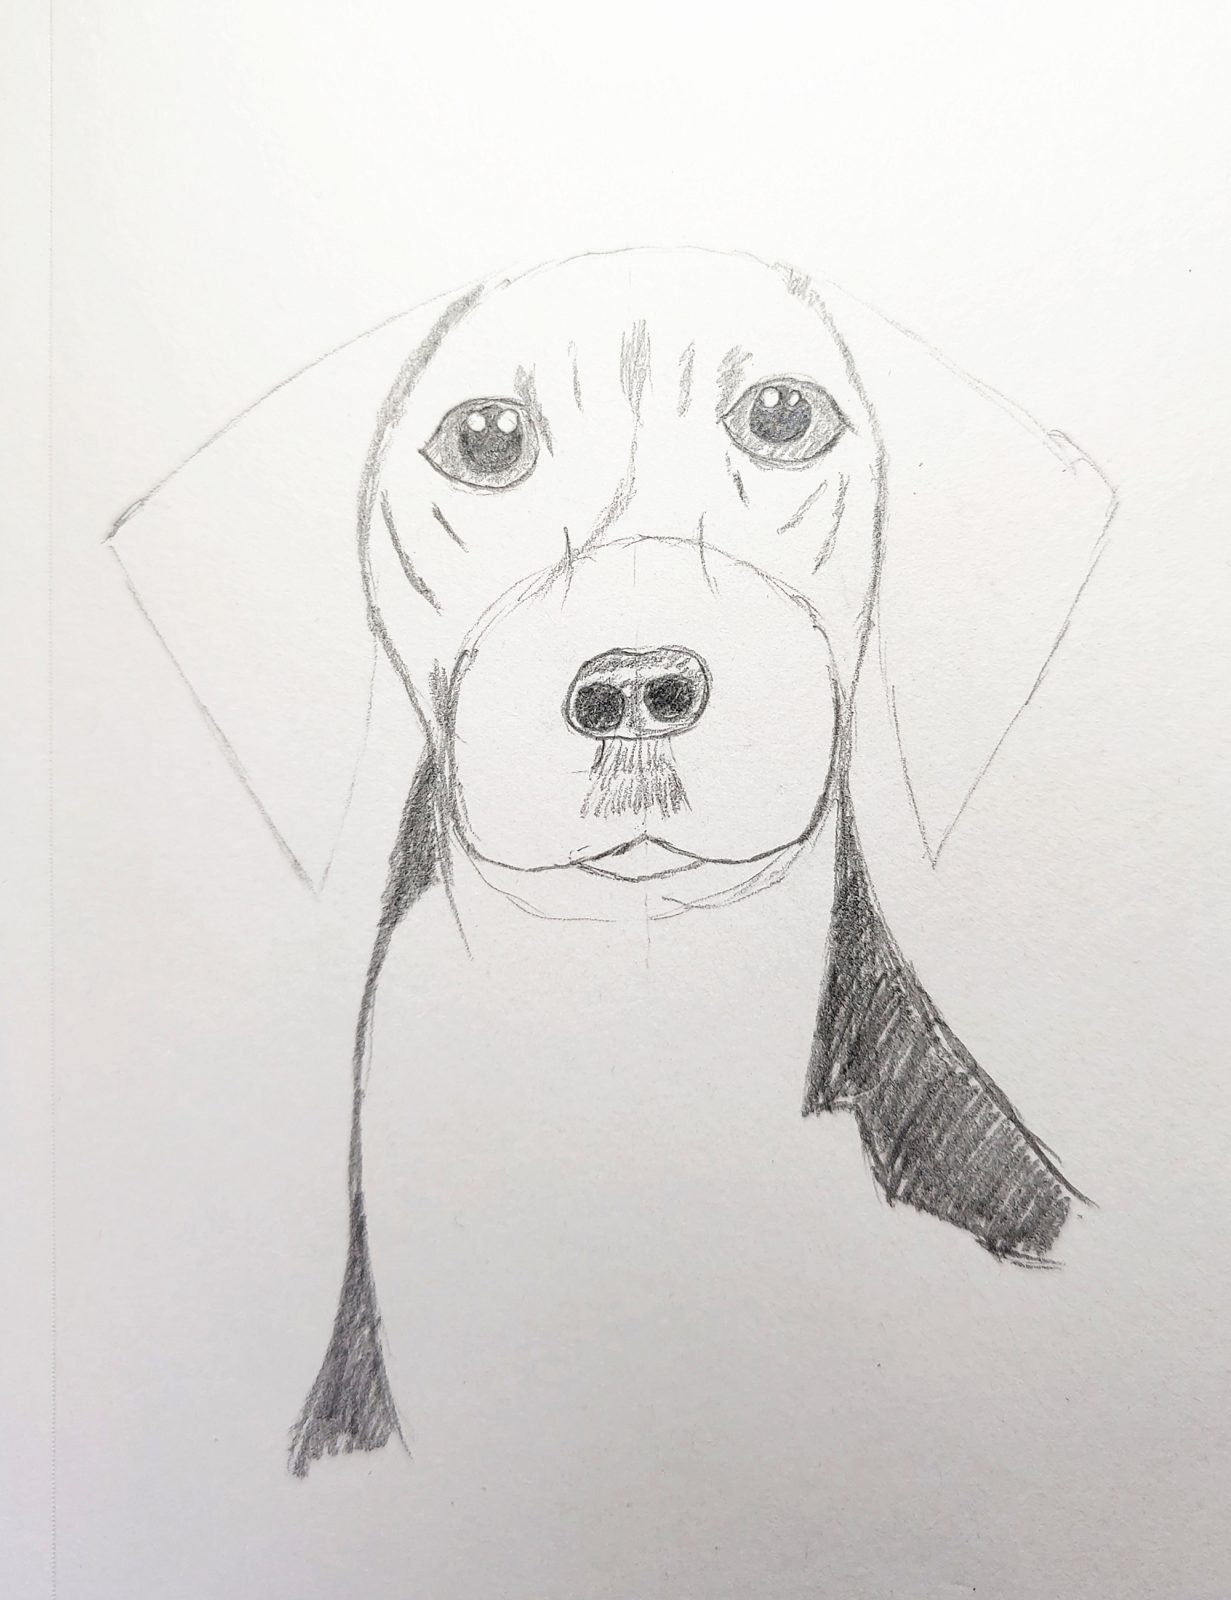
Next, we draw the details of the dog’s eyes.
The dog’s round pupils. And the highlighting part. We draw the position in advance.
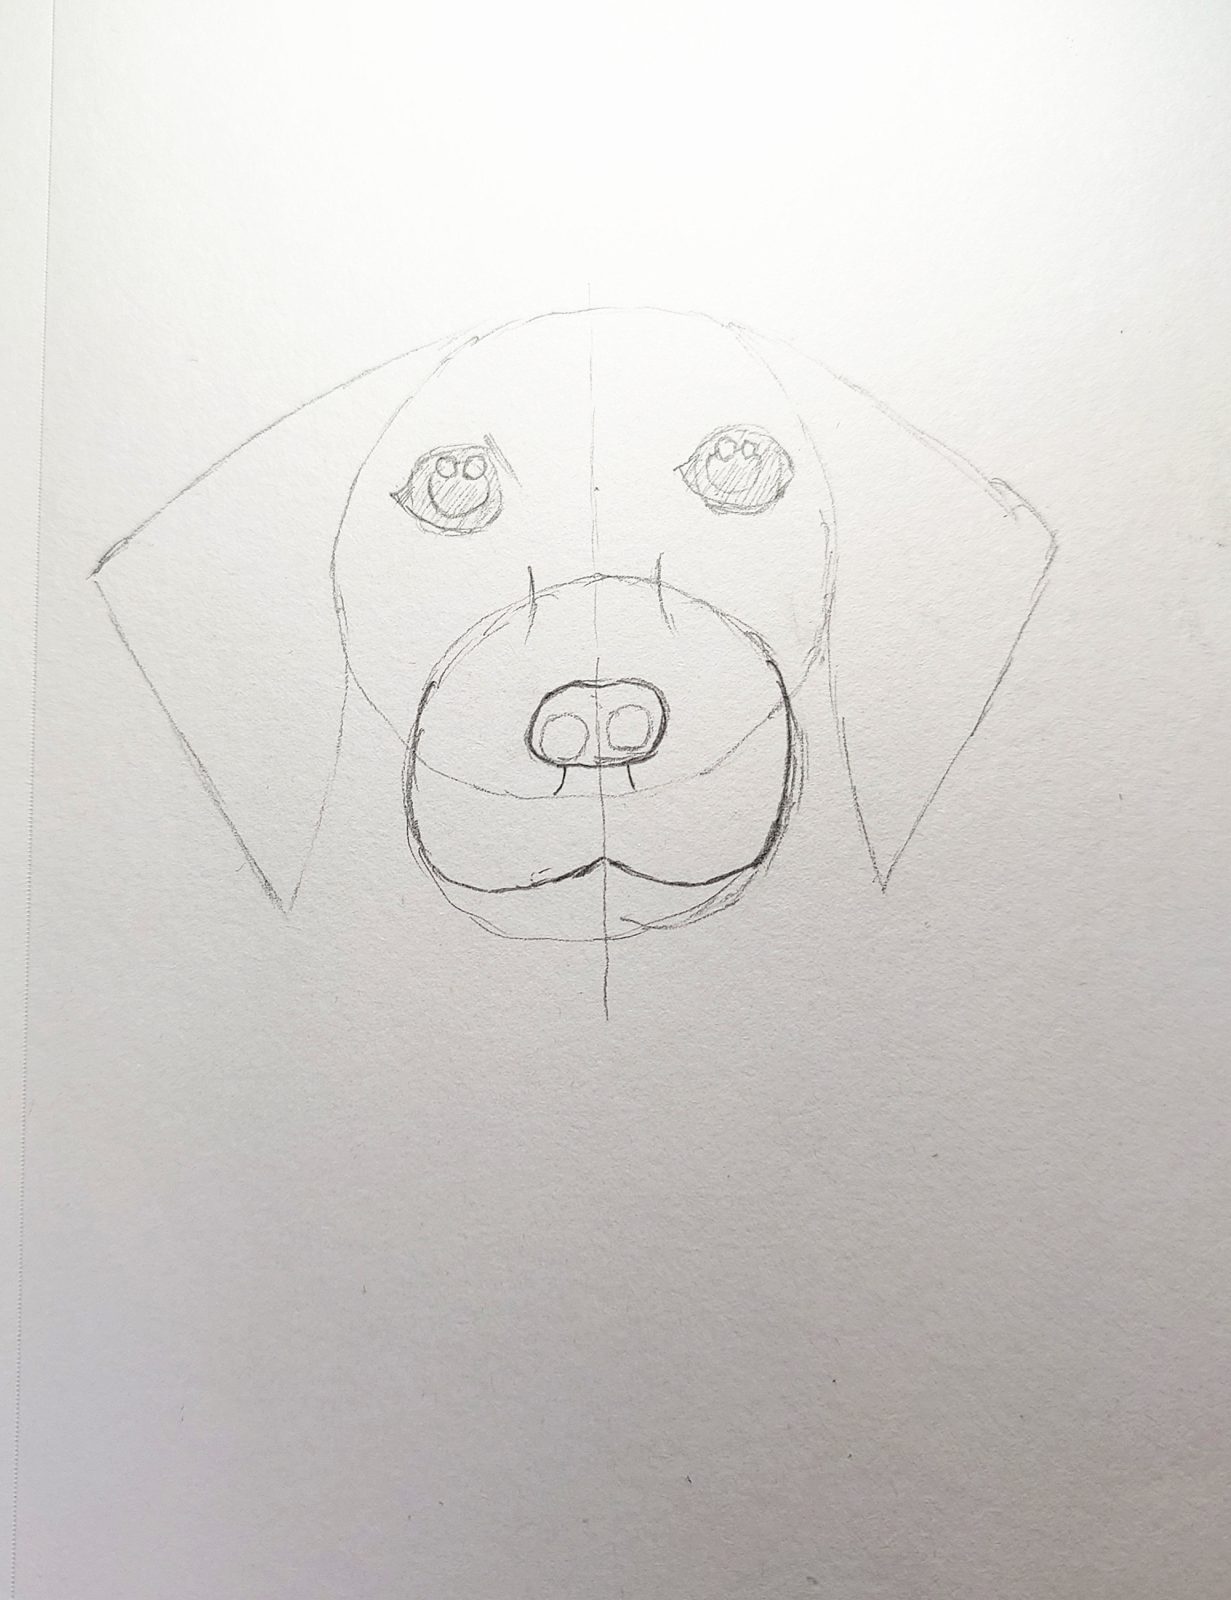
Next, we draw the nostrils, mouth, and the dog’s large ears.
These are very easy to complete.
Now we have a rough image of our dog painting.
3. Draw a dog – drawing shadows and details
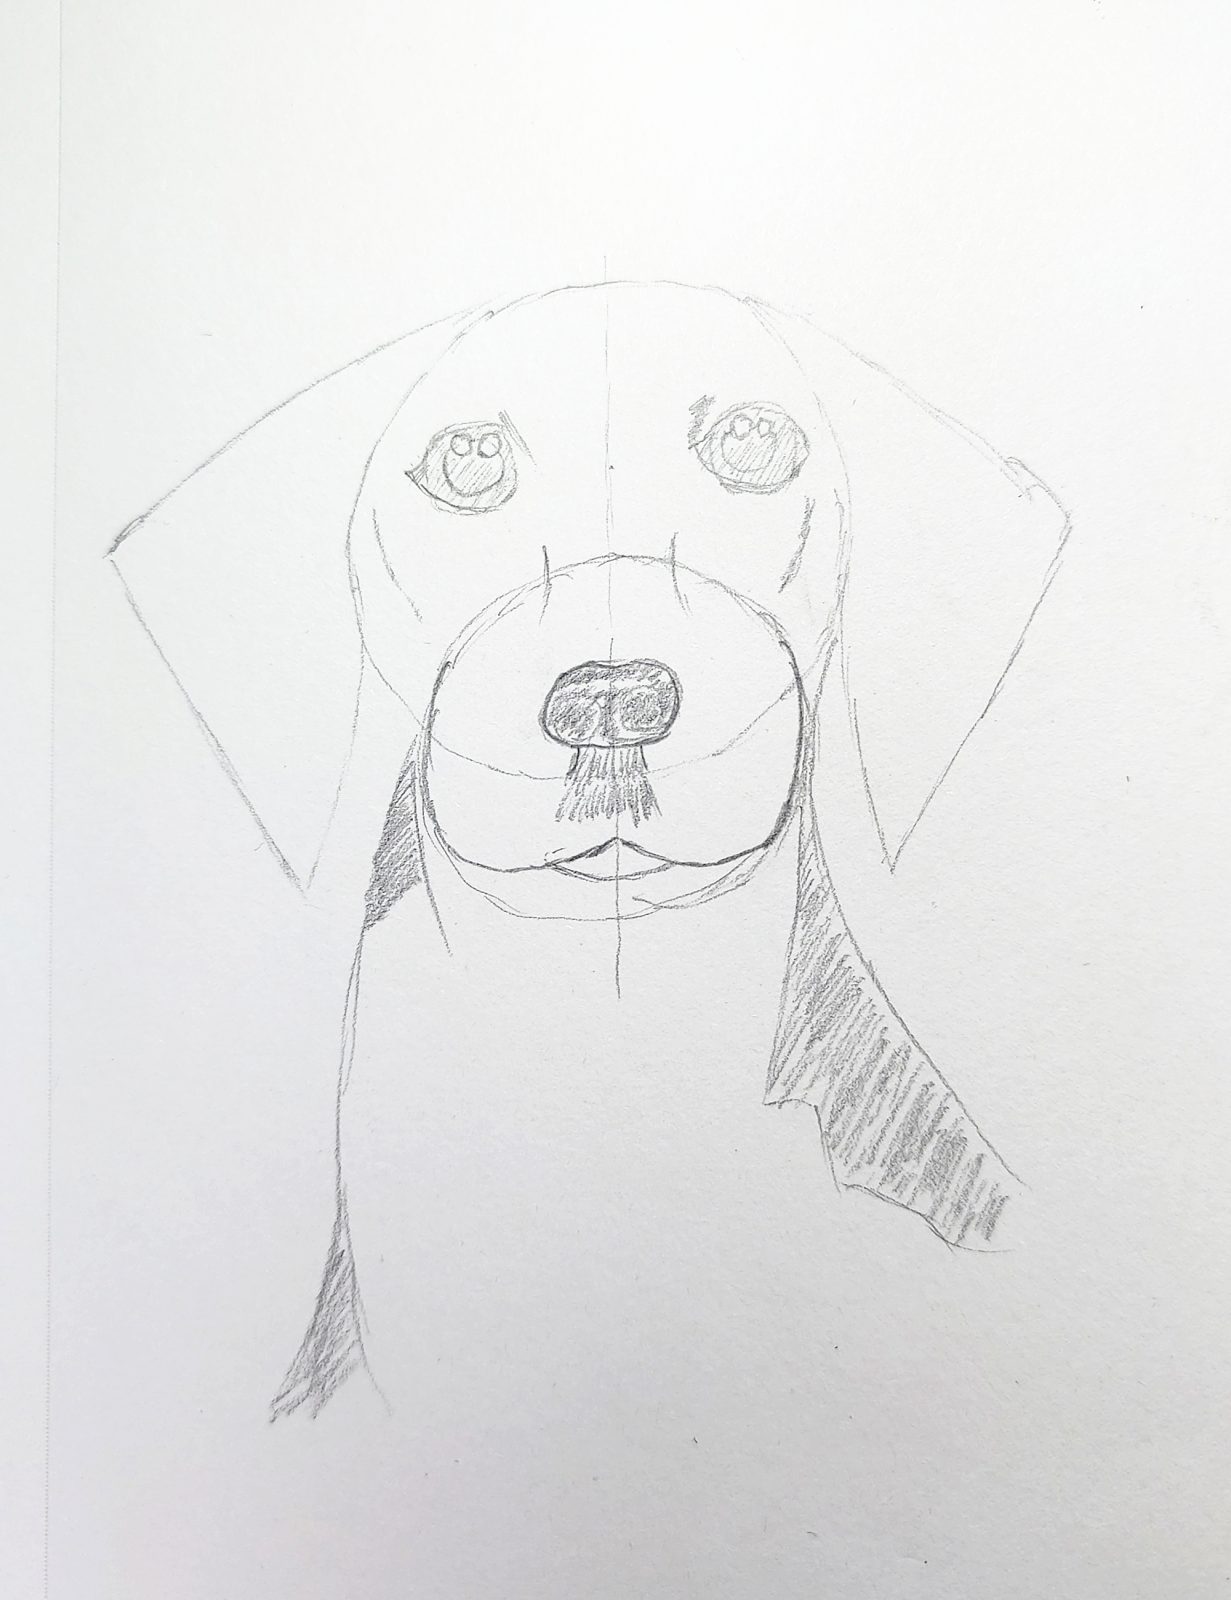
Next, we start drawing details and shadows.
First, we draw the shadow of the nose. Complete the dog’s mouth.
Then we draw part of the body.
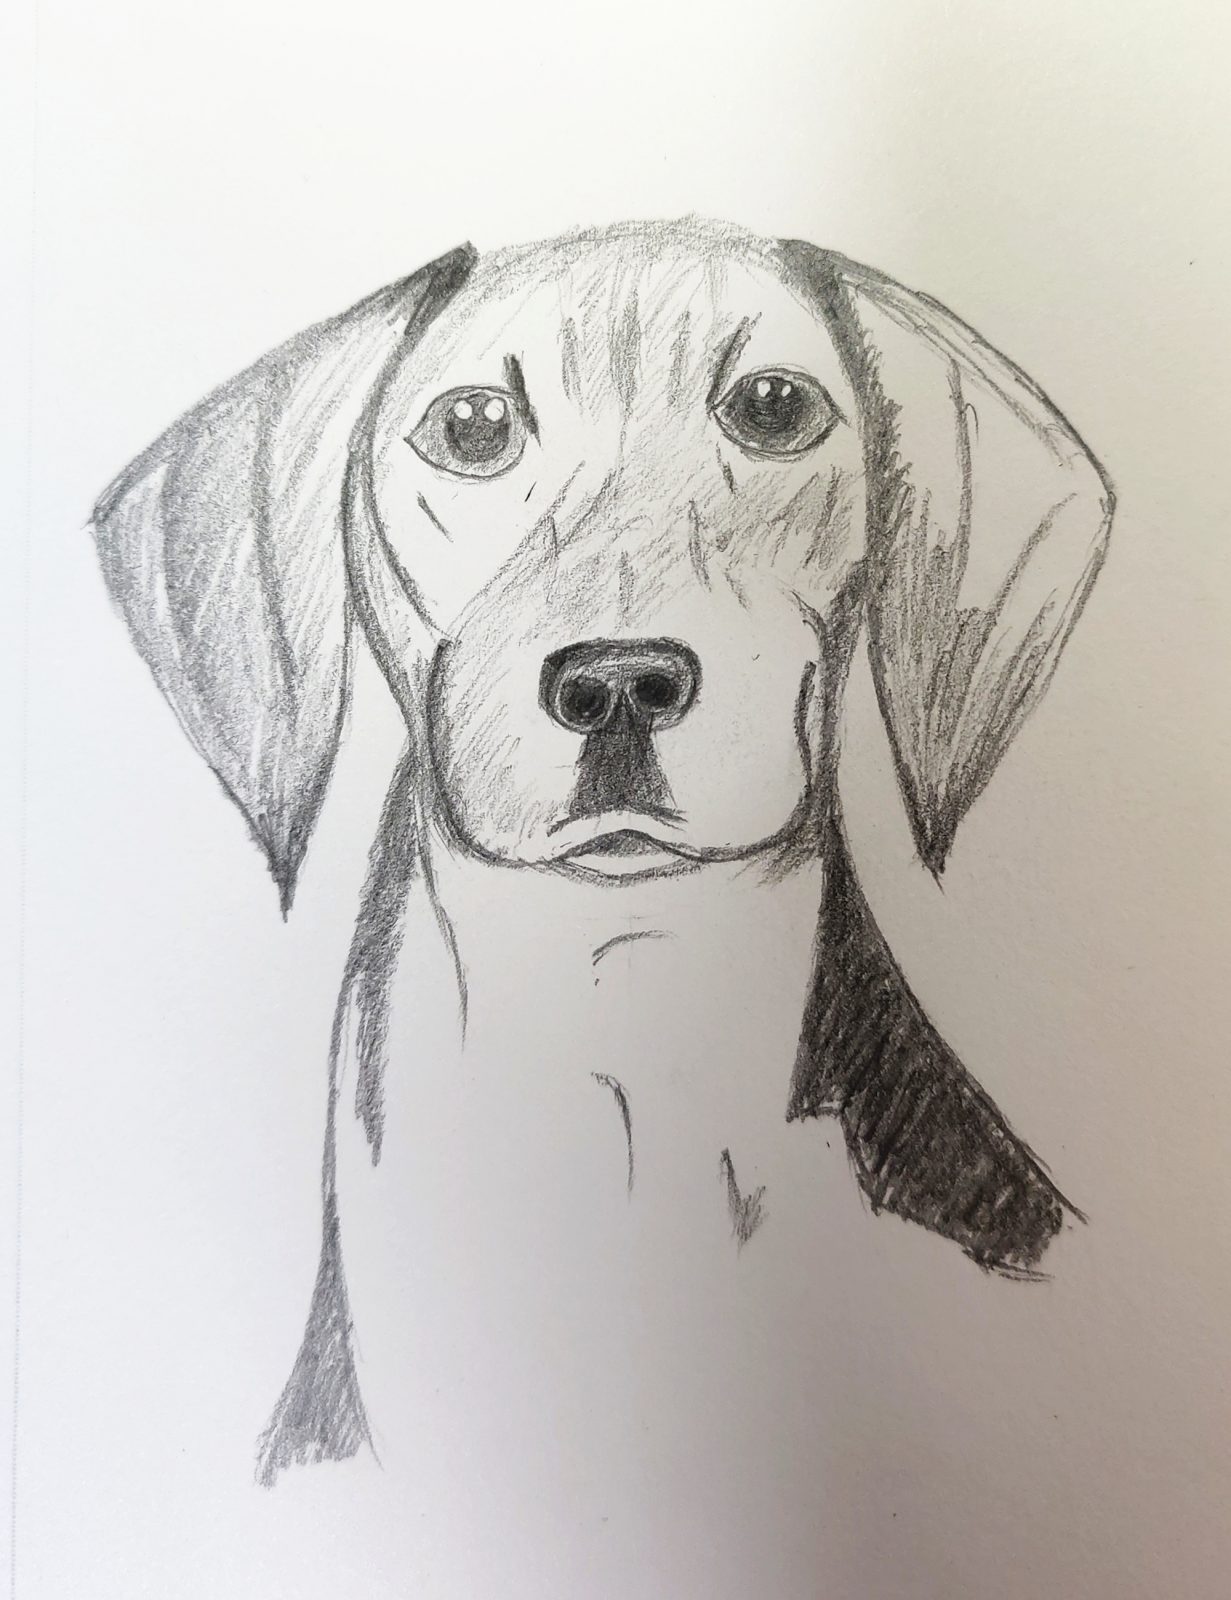
Then we do the final shading.
The shading of the eyes. The shading of the nose.
Some contour shading of the dog’s face. This gives the dog a much more three-dimensional look.
Take your time and experiment with these details.
Finally, we draw the shadows of the ears and the shadows of the dog’s body.
