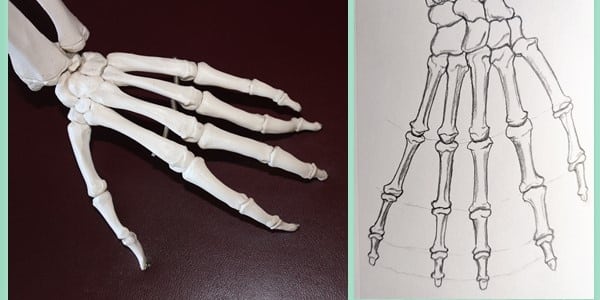
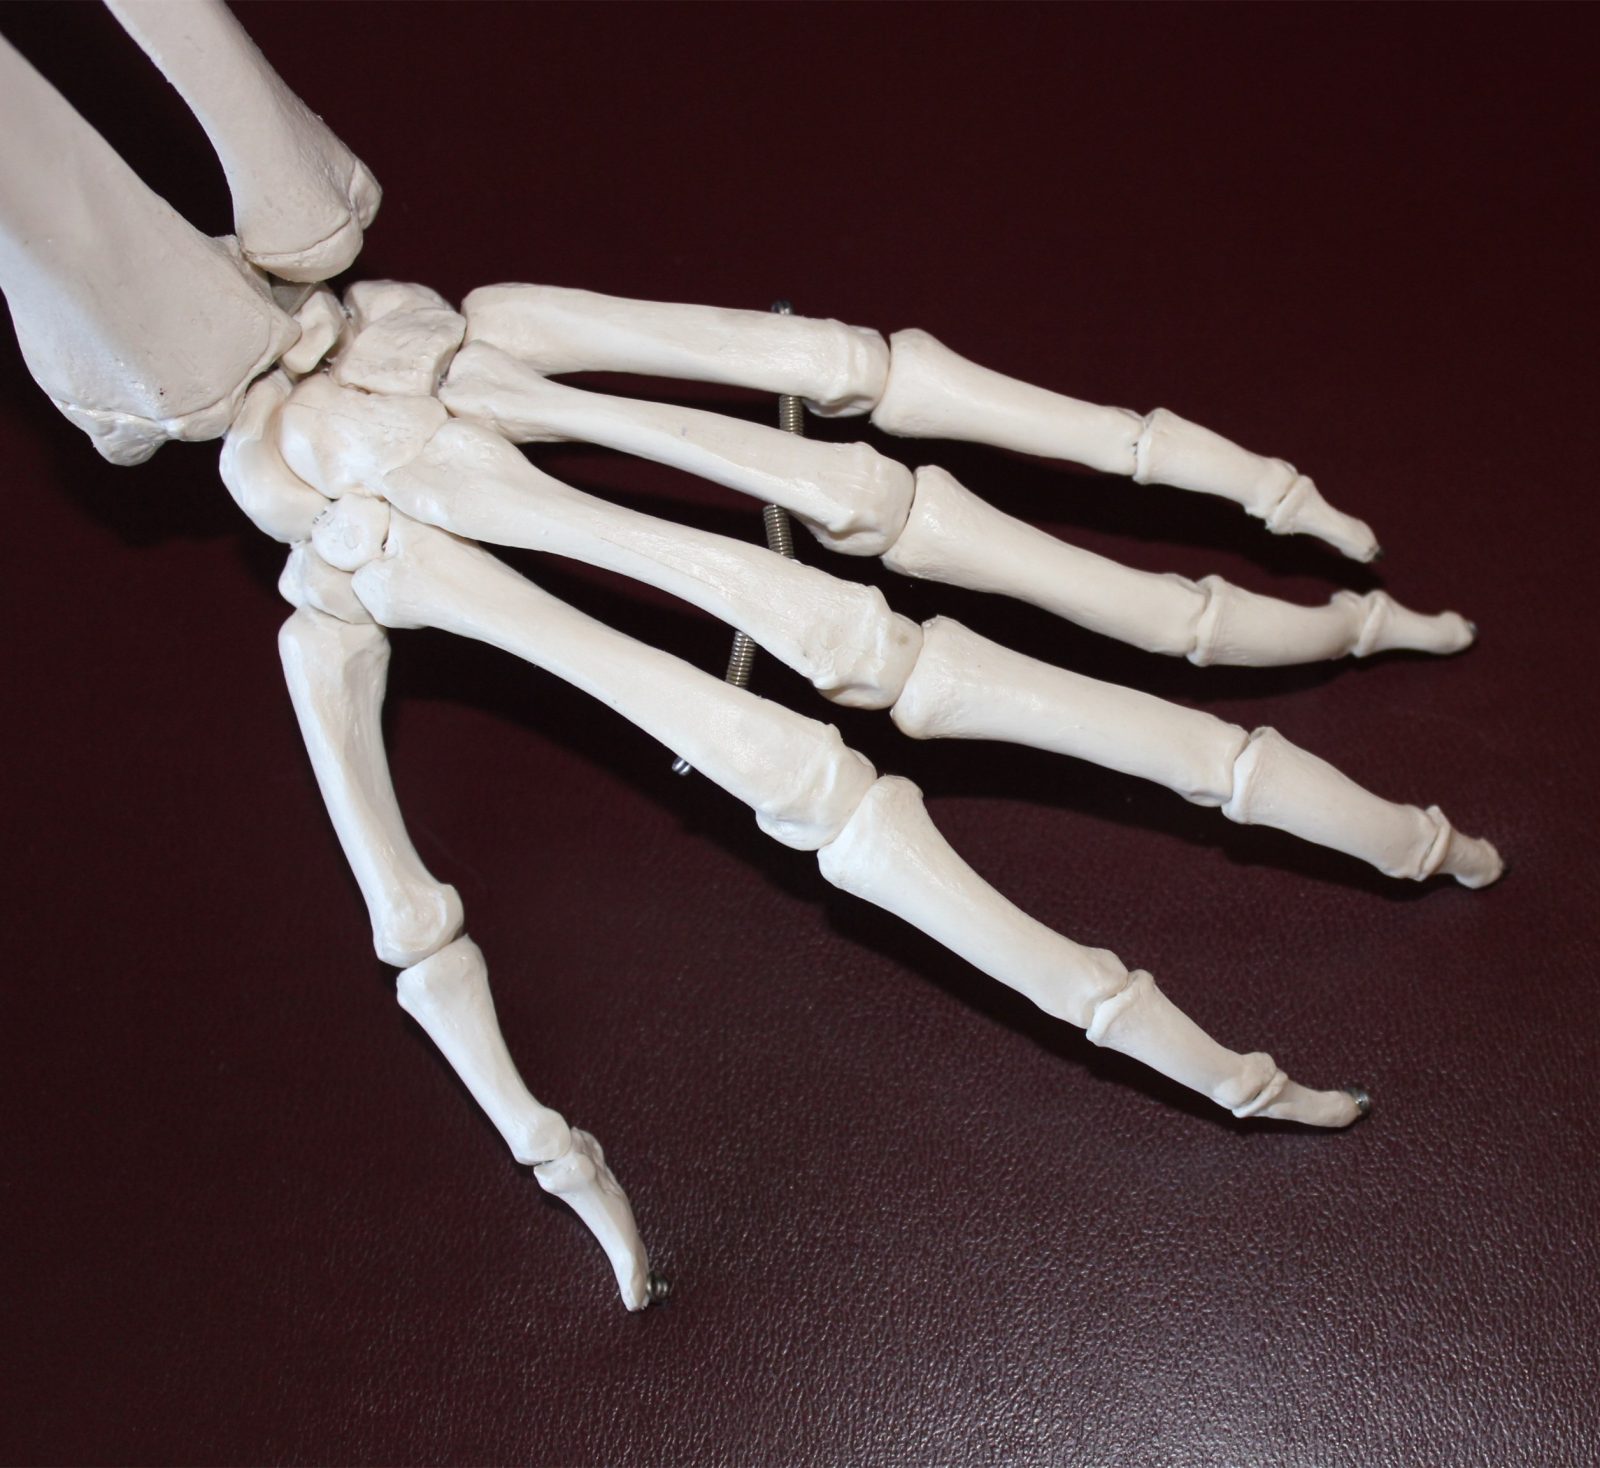
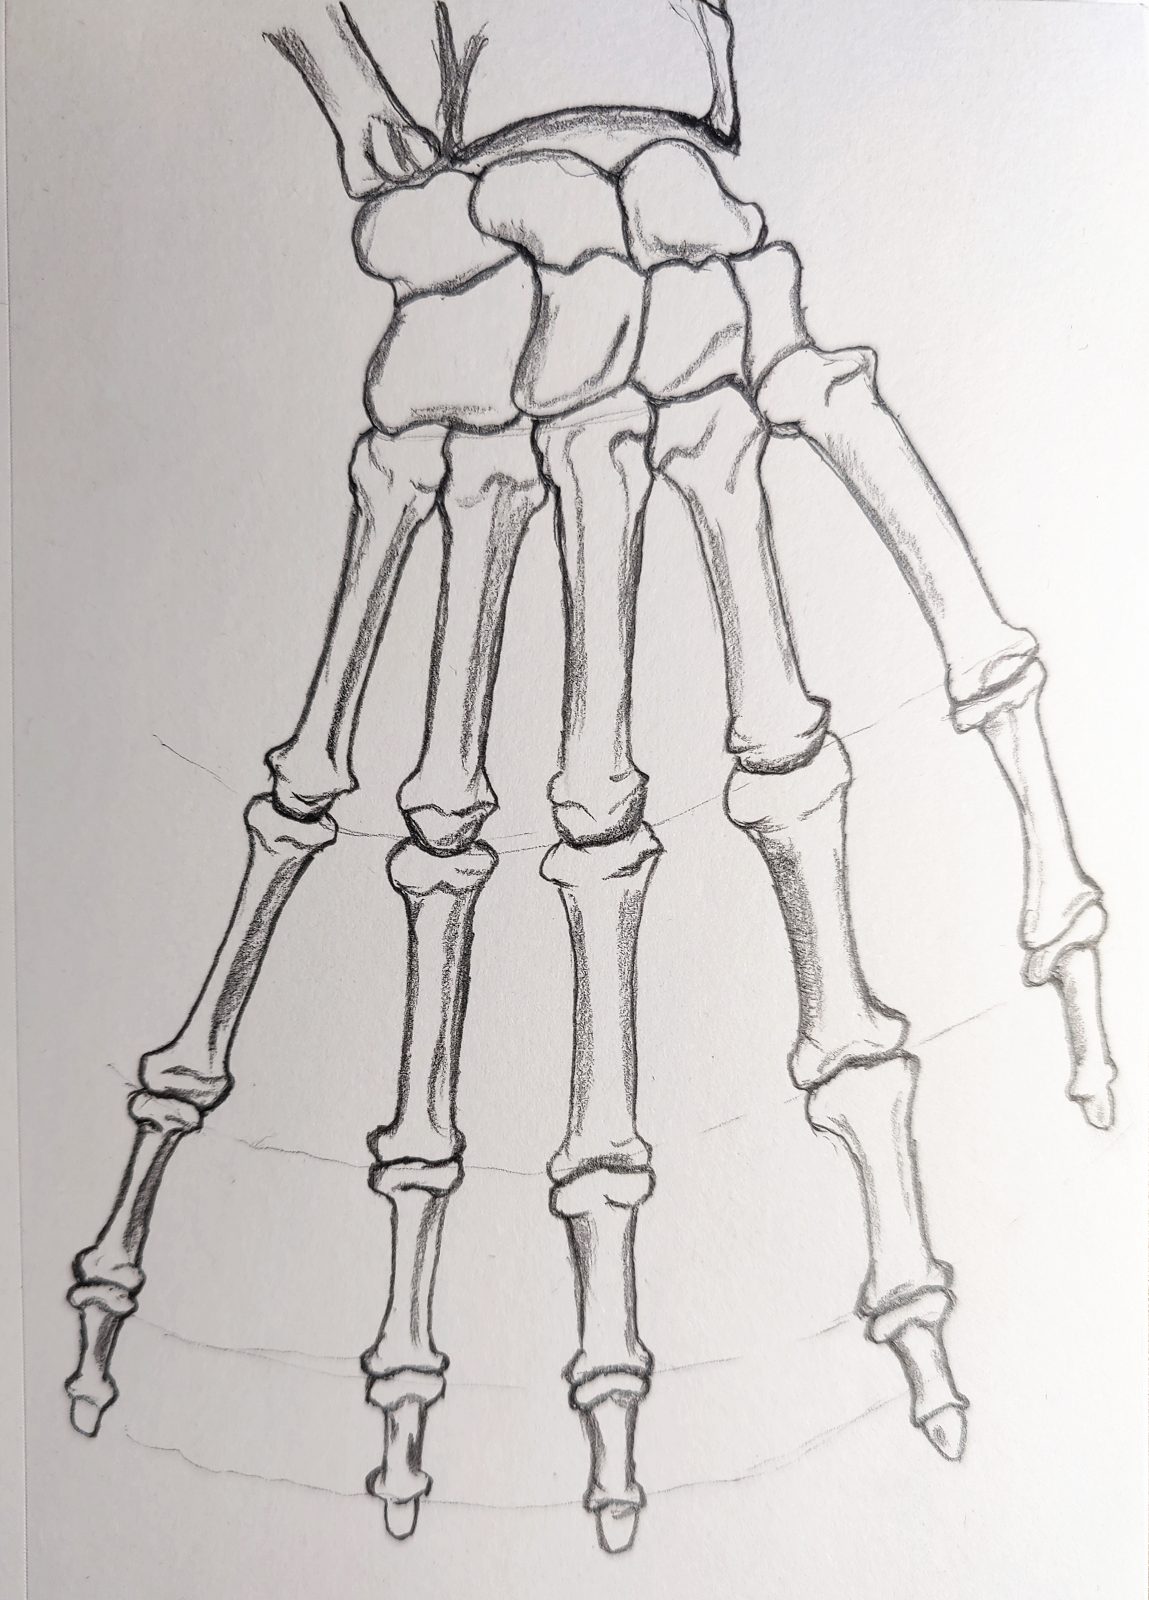
The human hand is very flexible and creative. Today we will draw a Skeleton hand. The reason why the hand is so flexible is because of its complex skeletal system.
Let’s start with a picture of a hand skeleton.
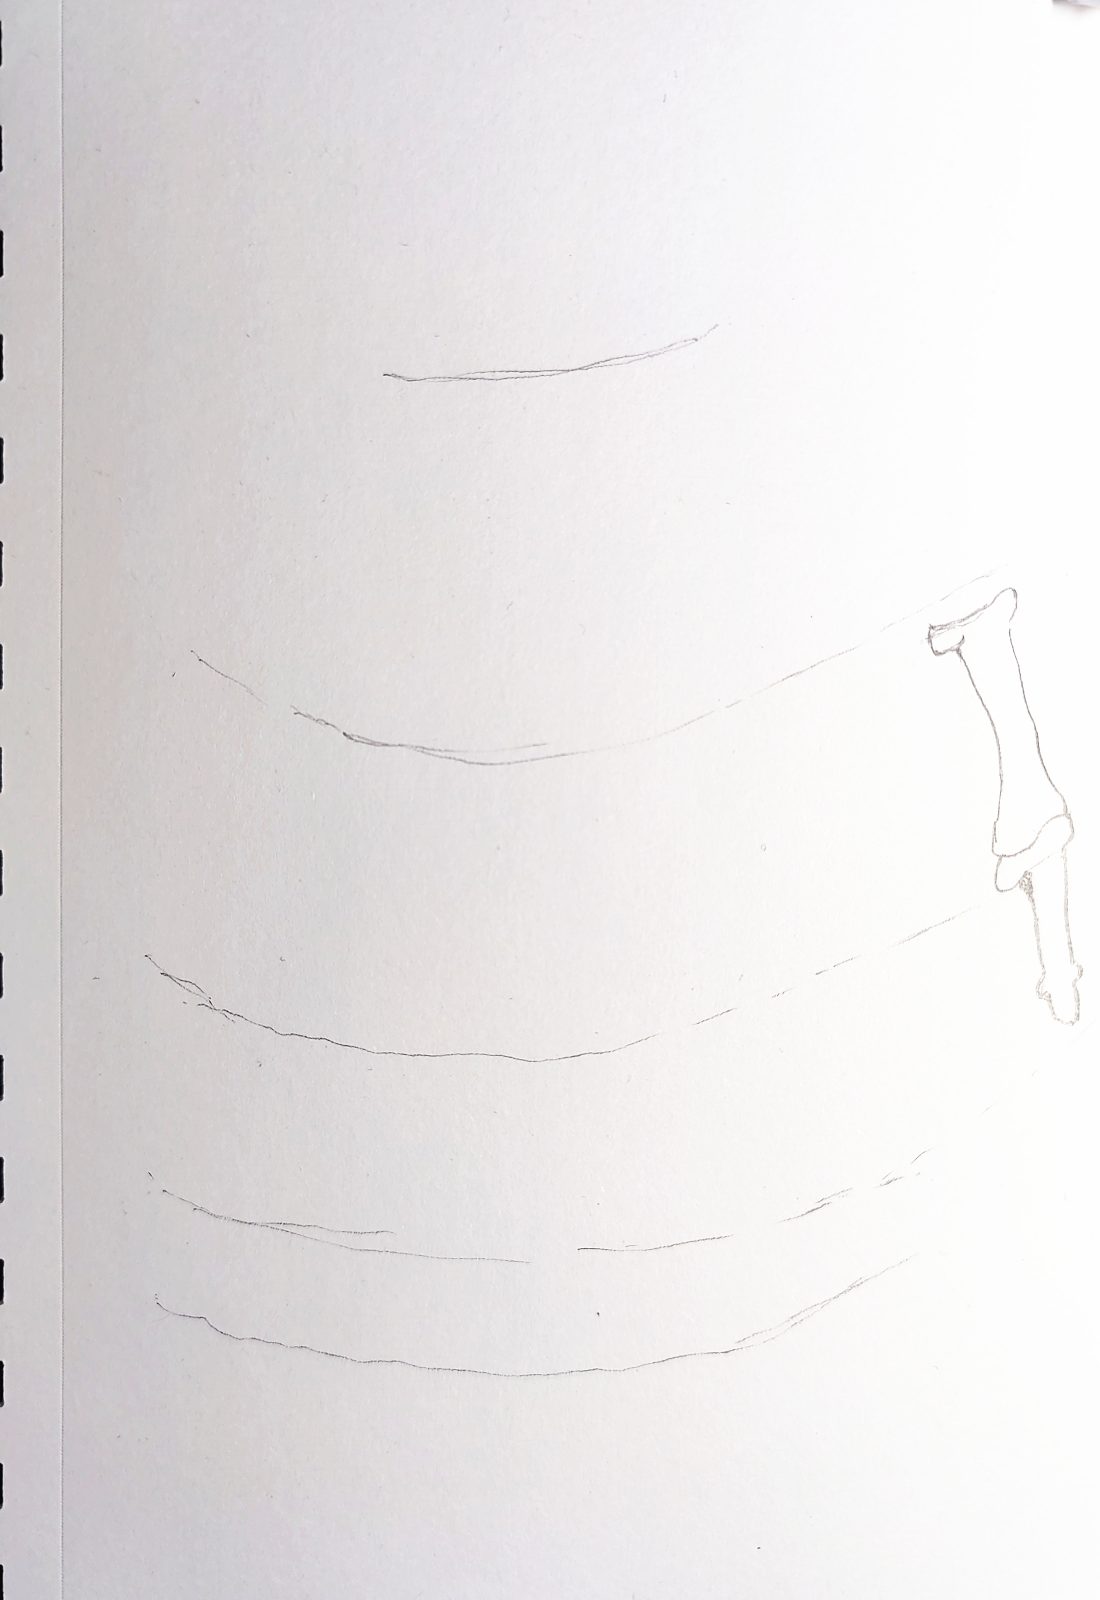
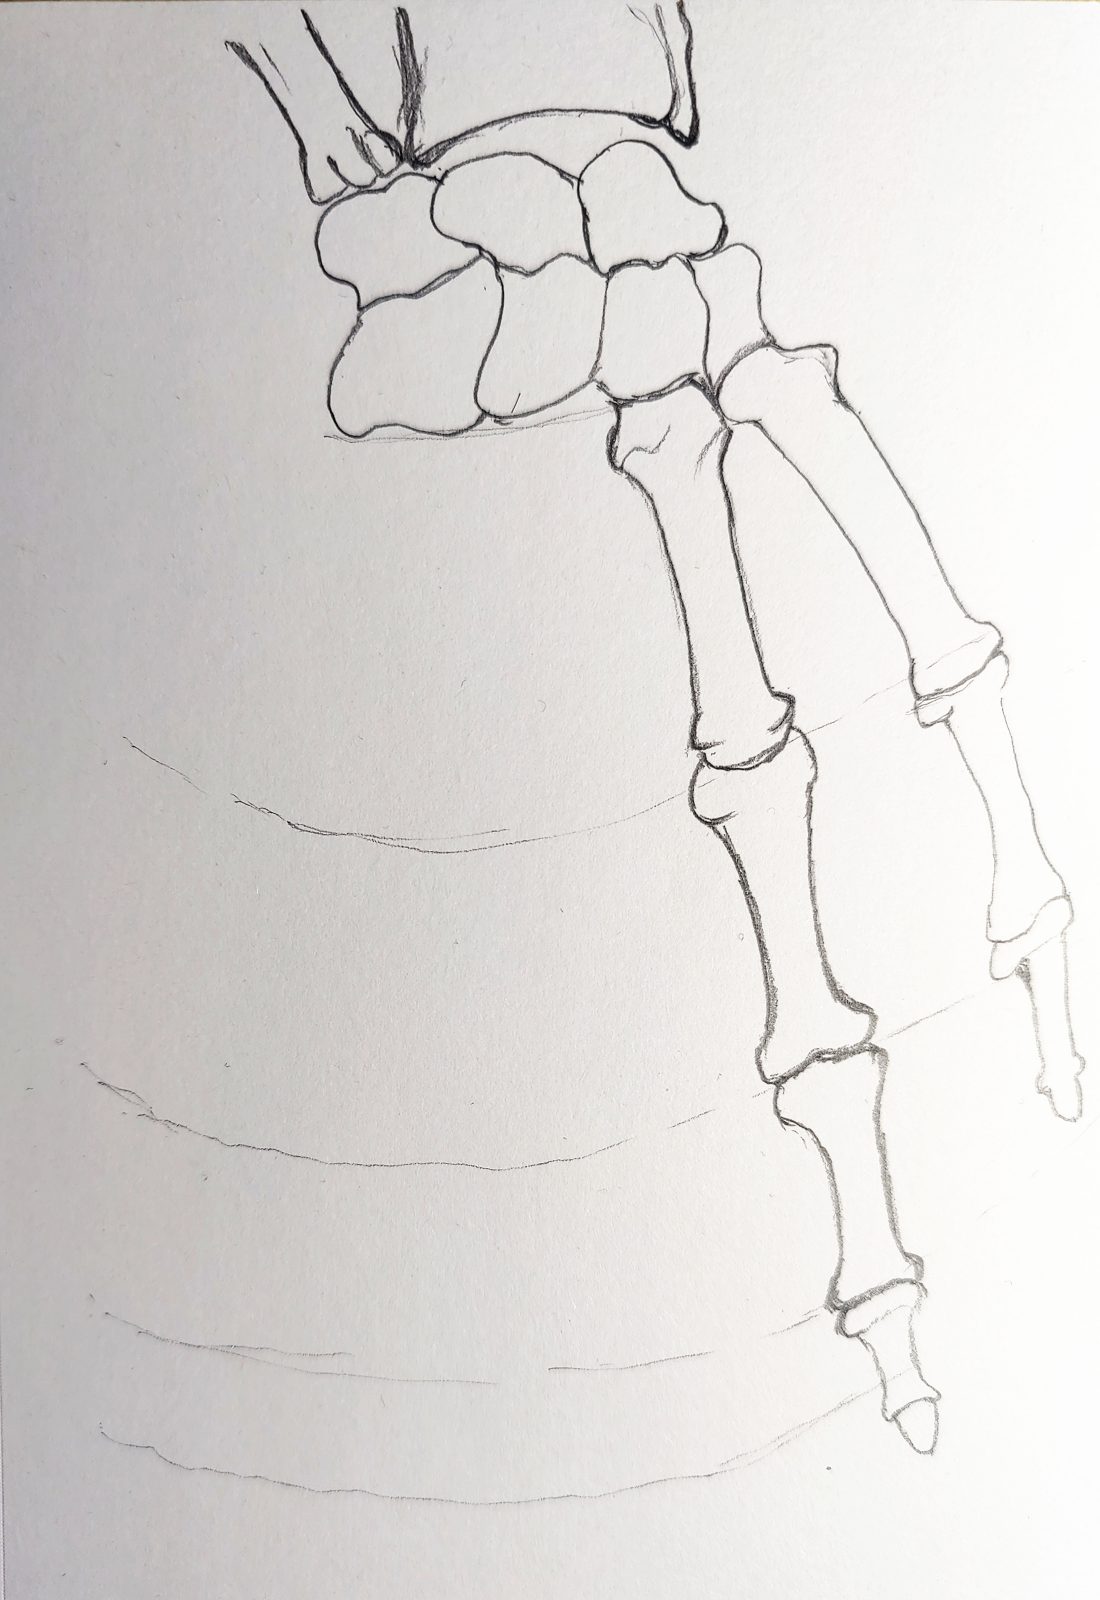
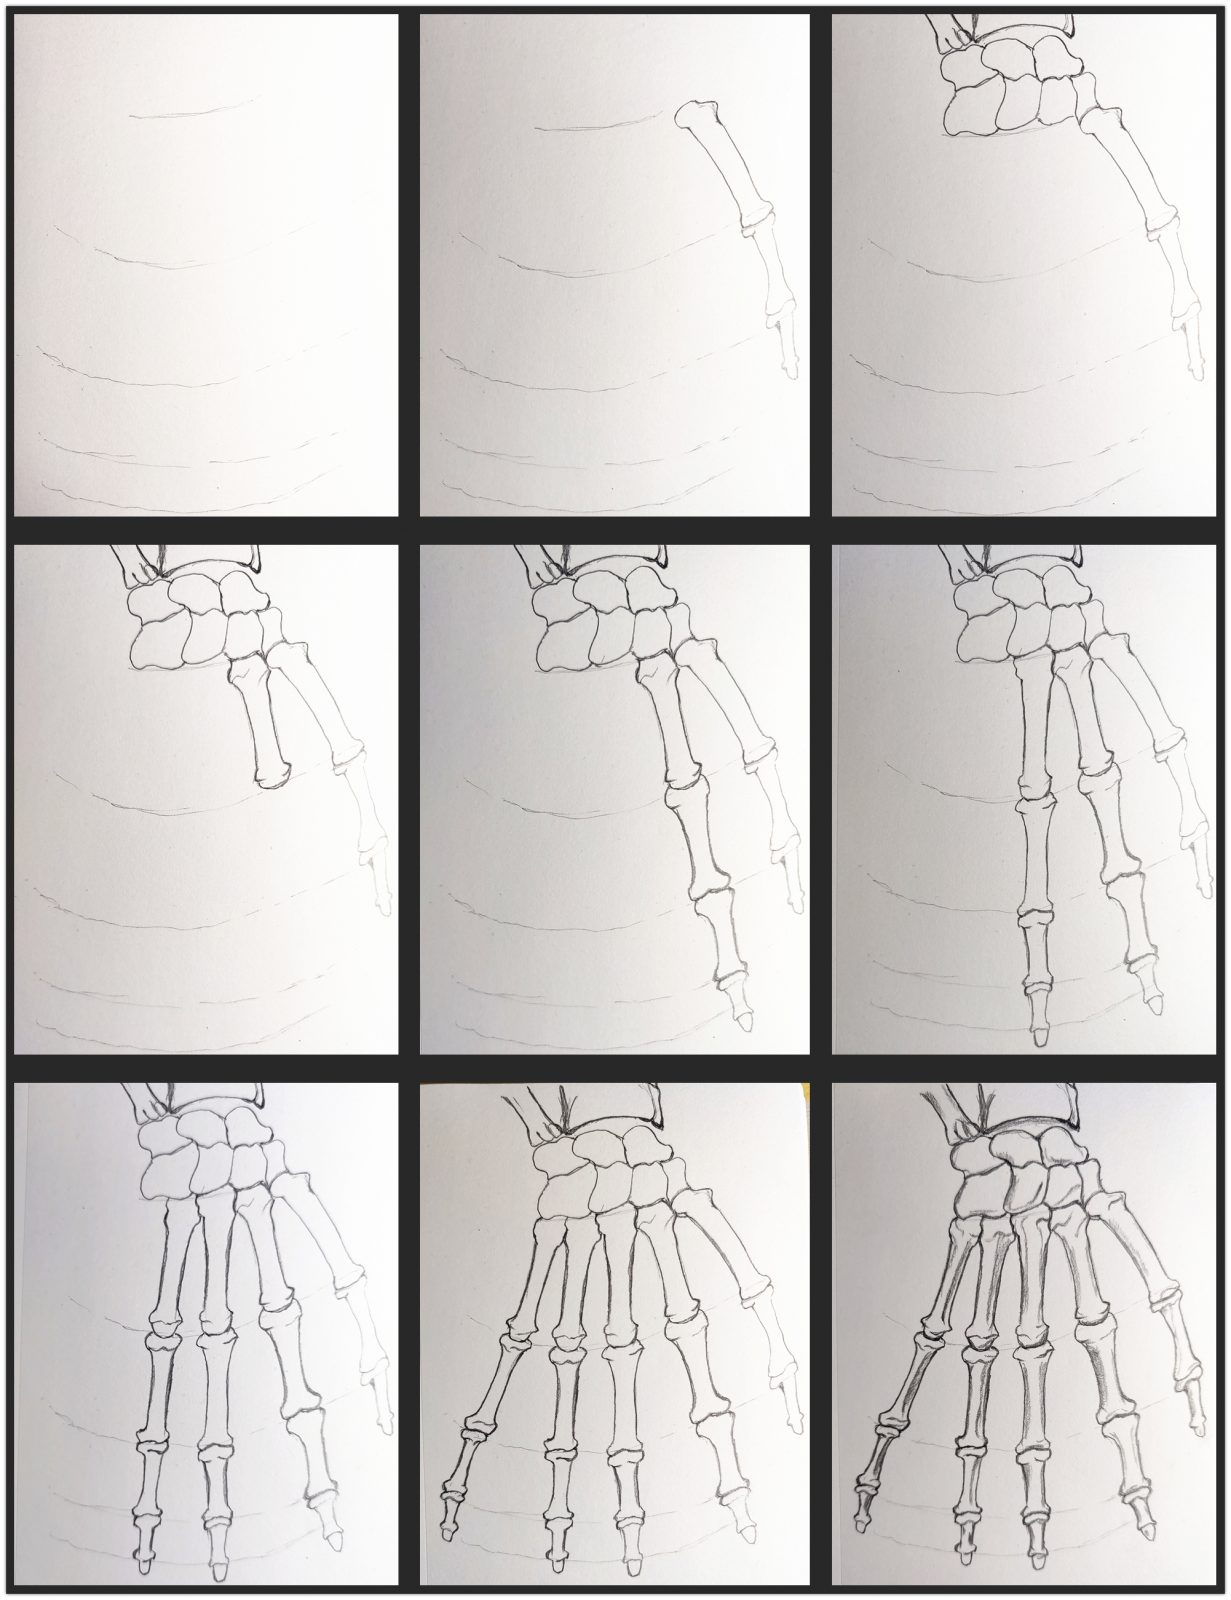
1.Draw a skeletal hand – auxiliary lines
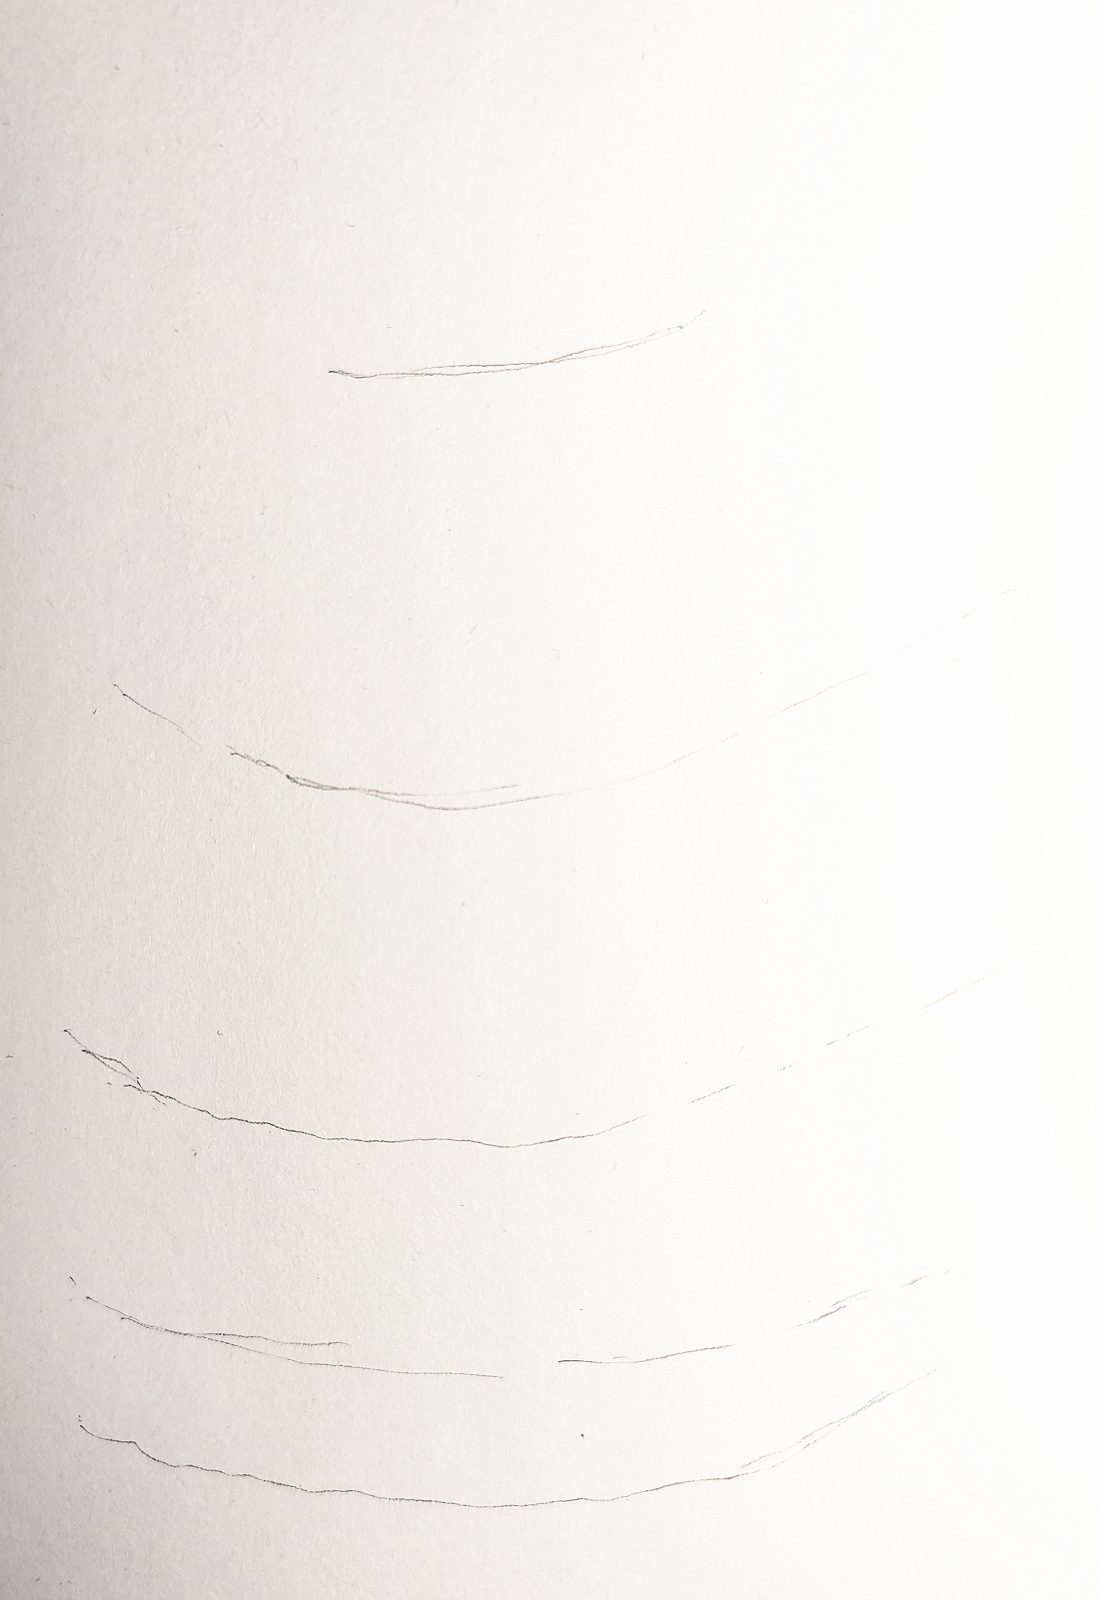
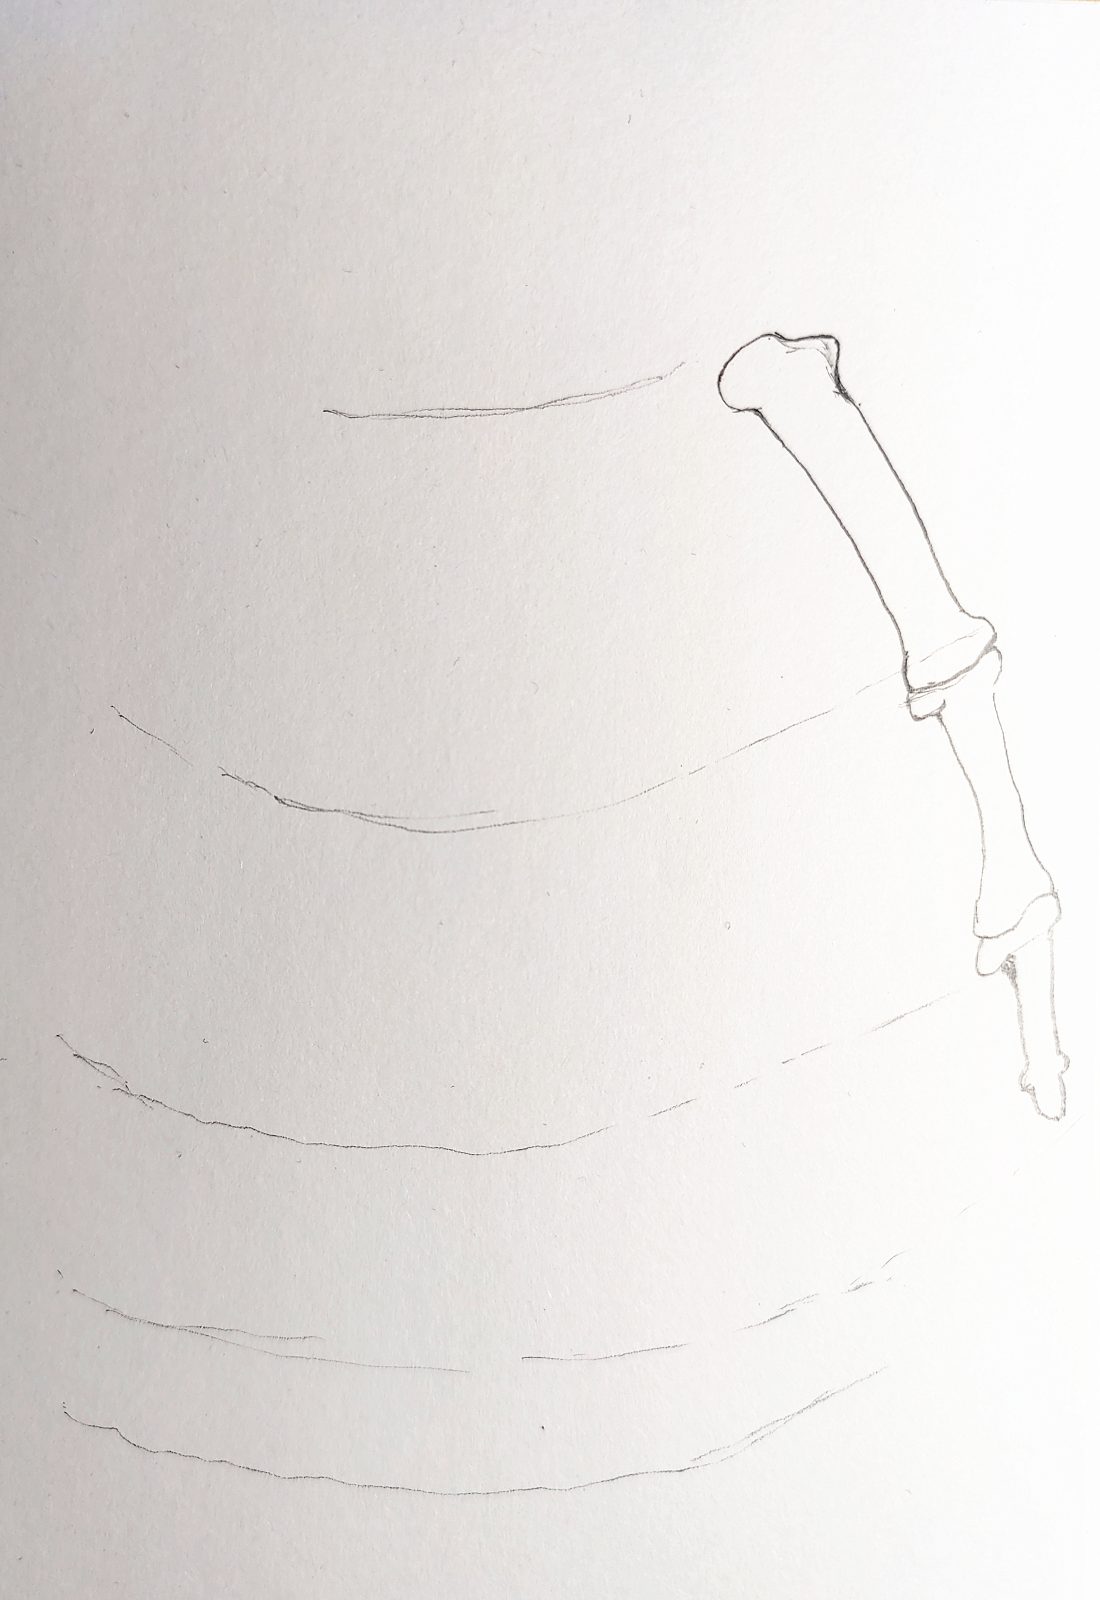
First, we draw five curved auxiliary lines. The top arcs are slightly shorter, while the lower ones need to be longer.
And pay attention to the spacing, the lower spacing needs to be shorter.
Then we start to draw the right thumb bone.
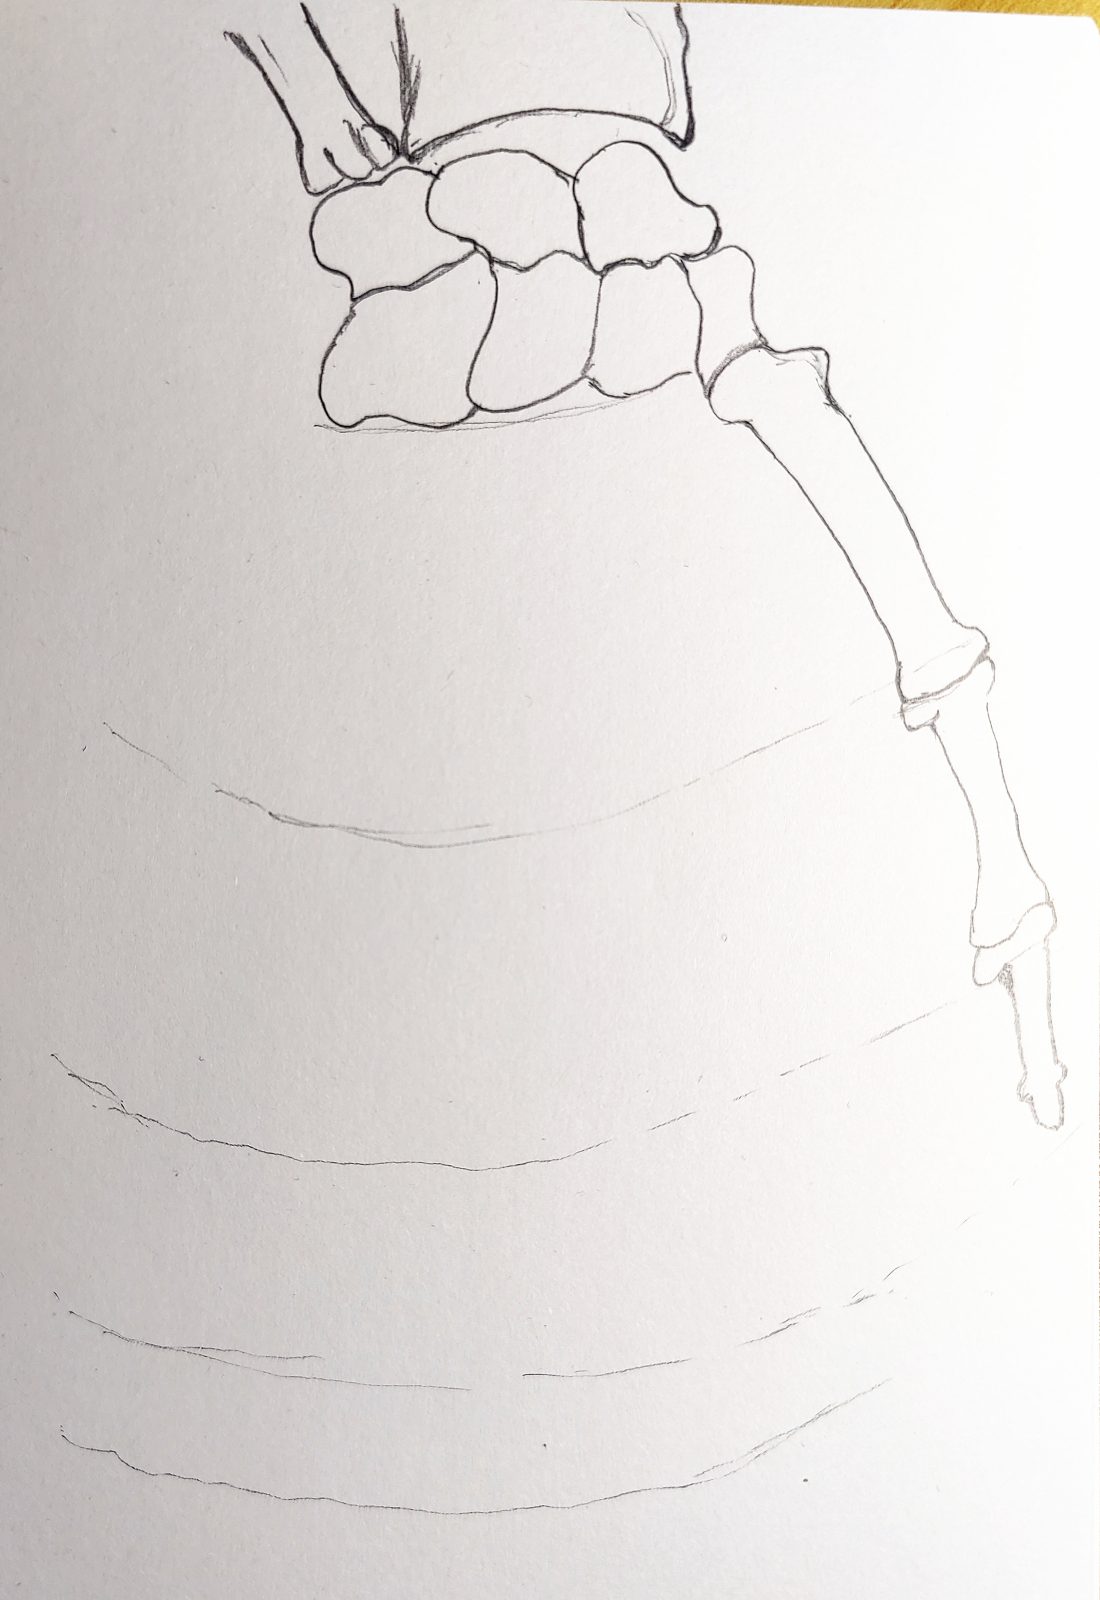
2. Drawing the wrist bone
Next, we start to draw the wrist bone.
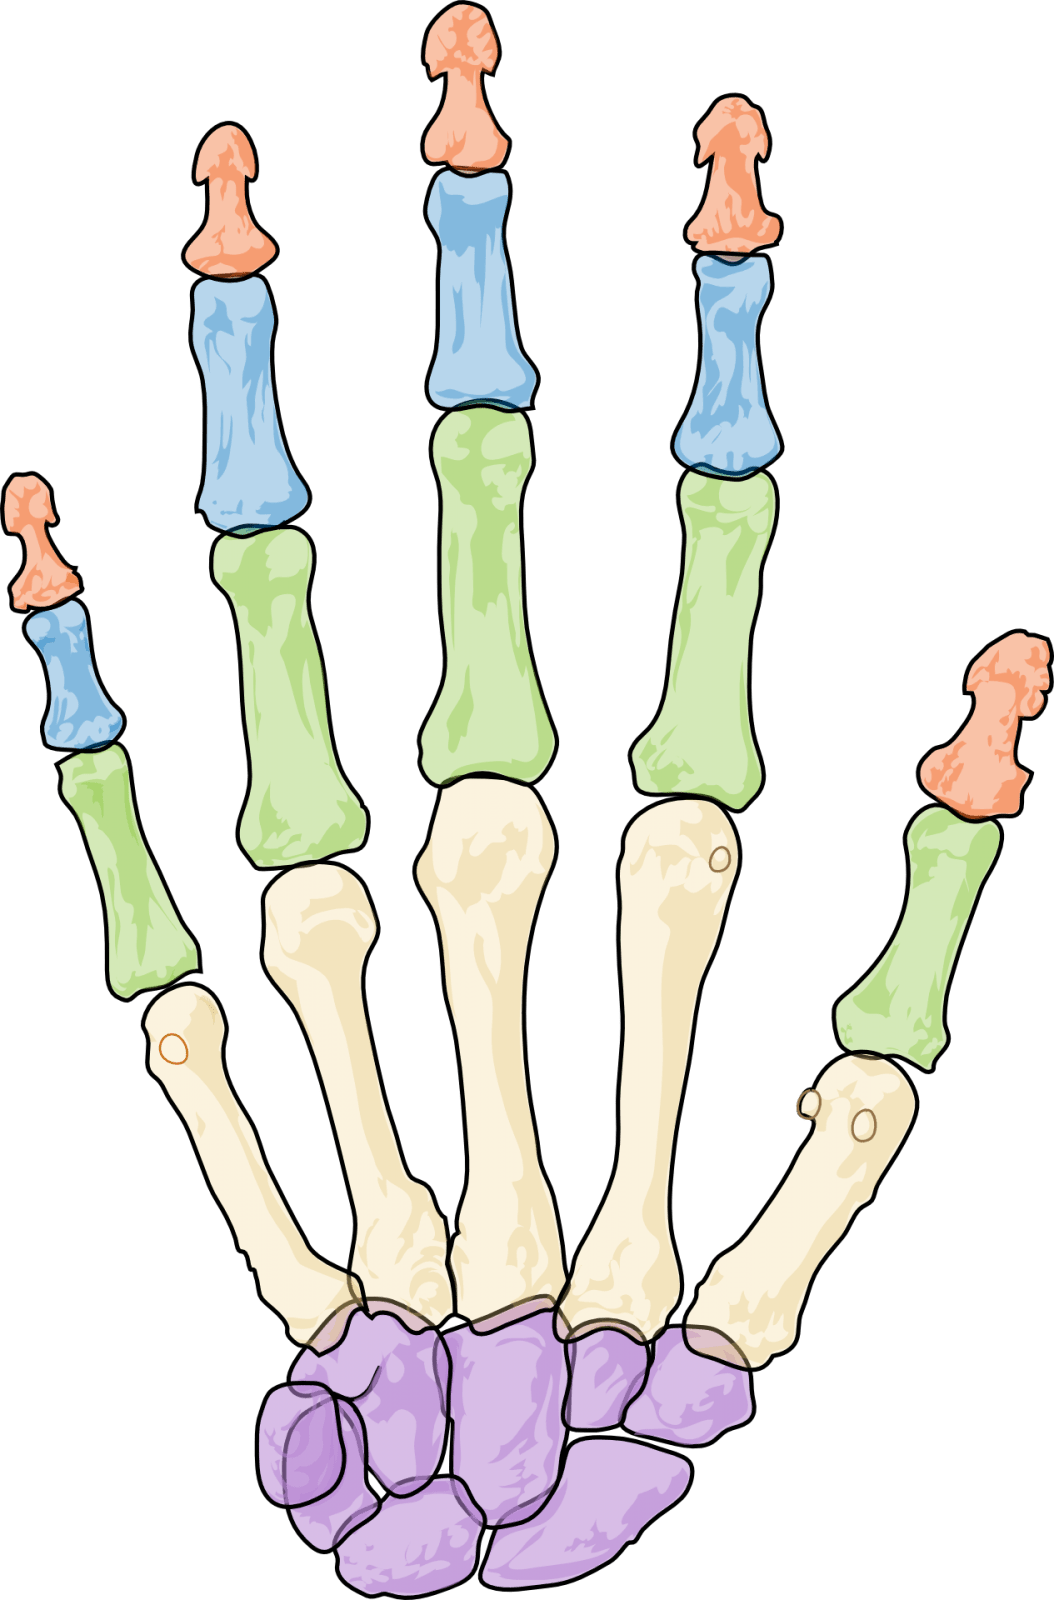
There are eight in total. But we only drew seven of them.
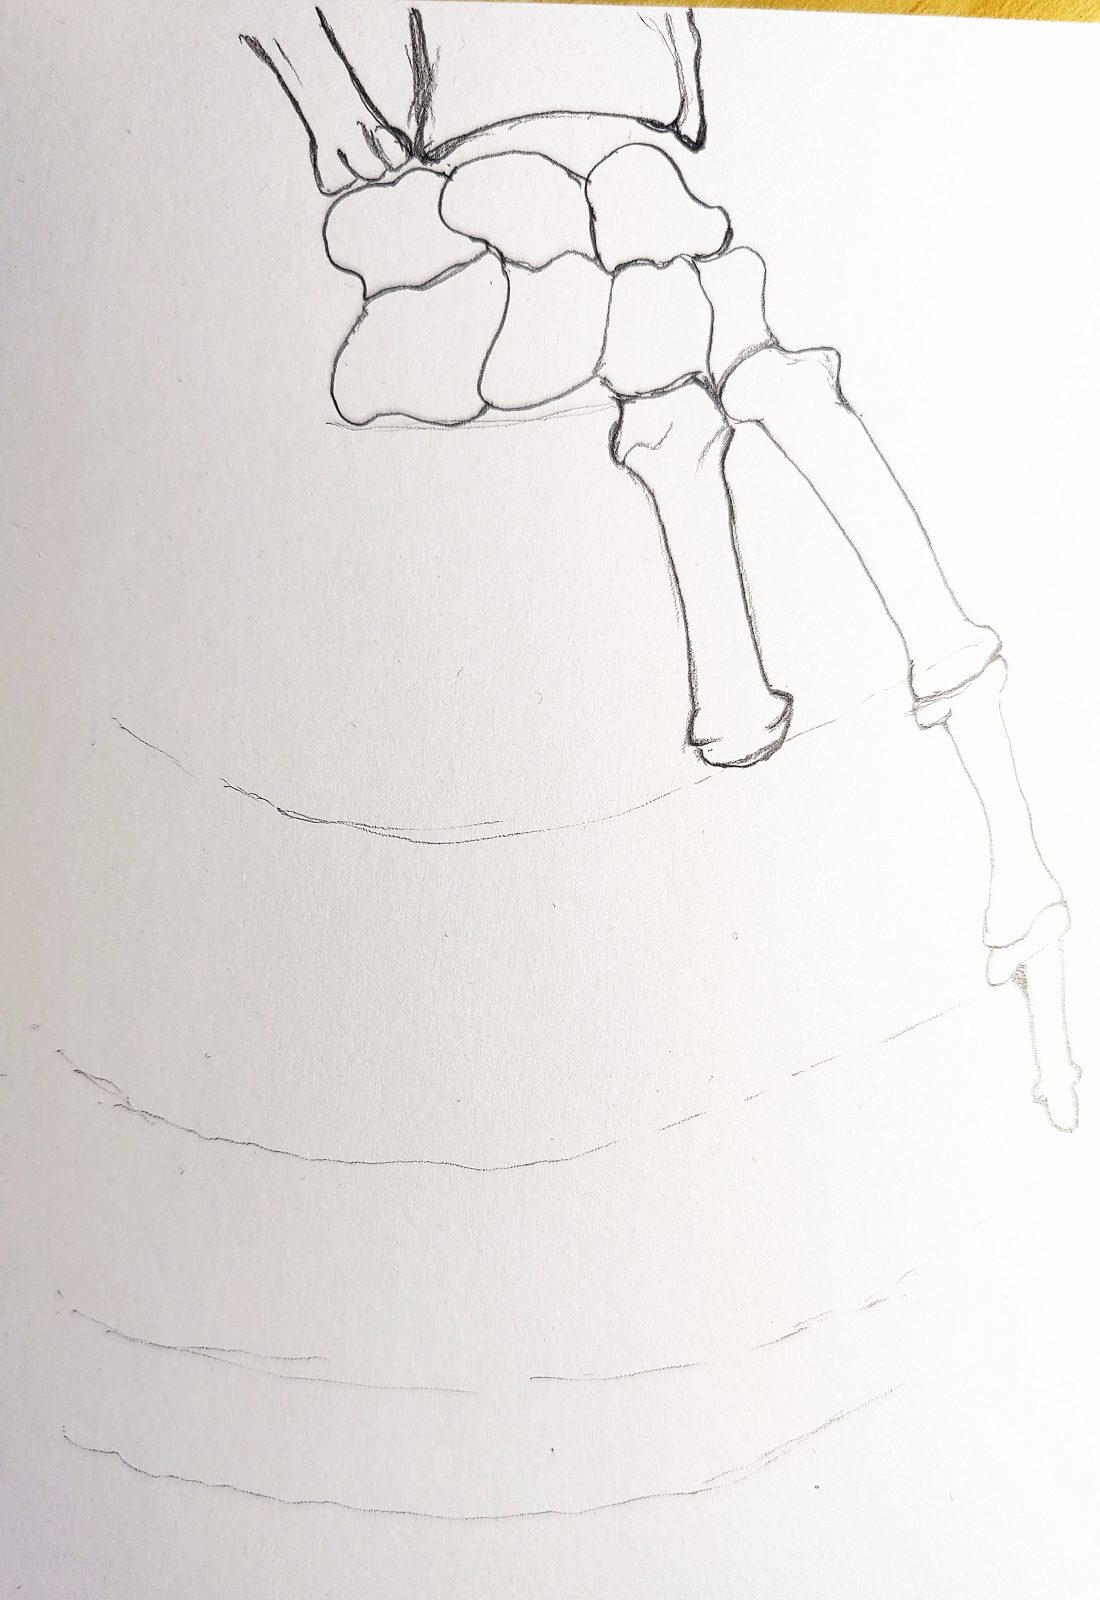
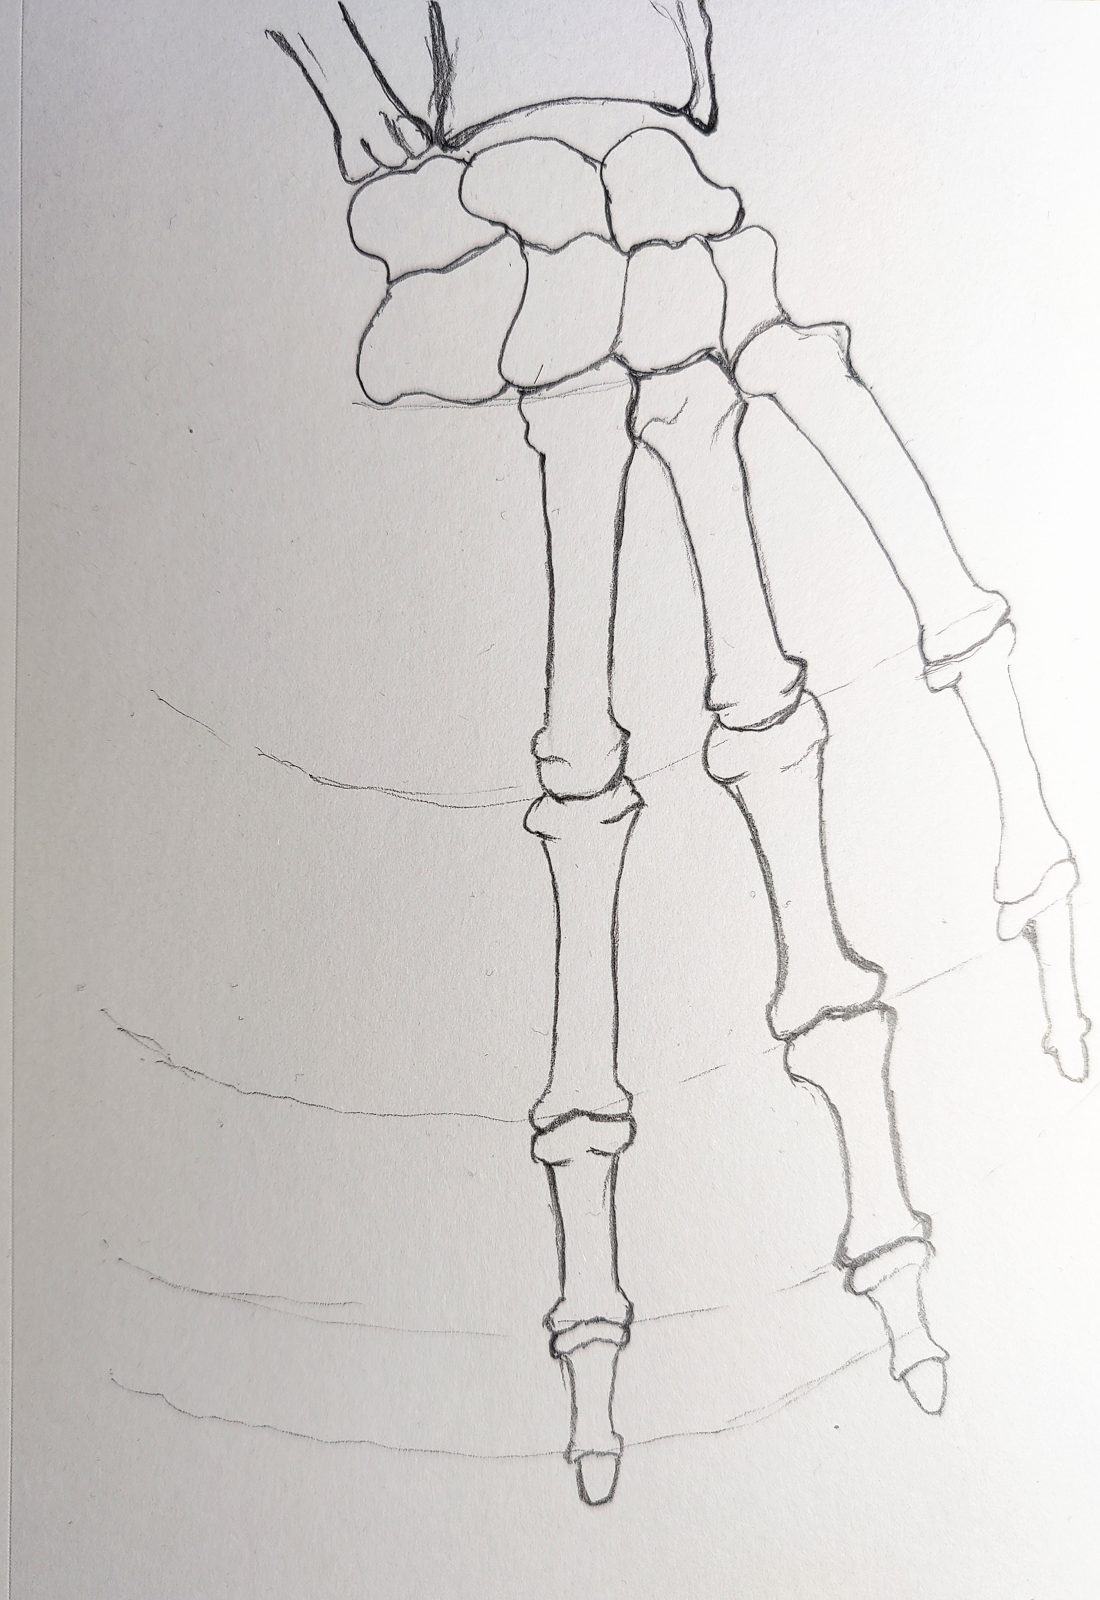
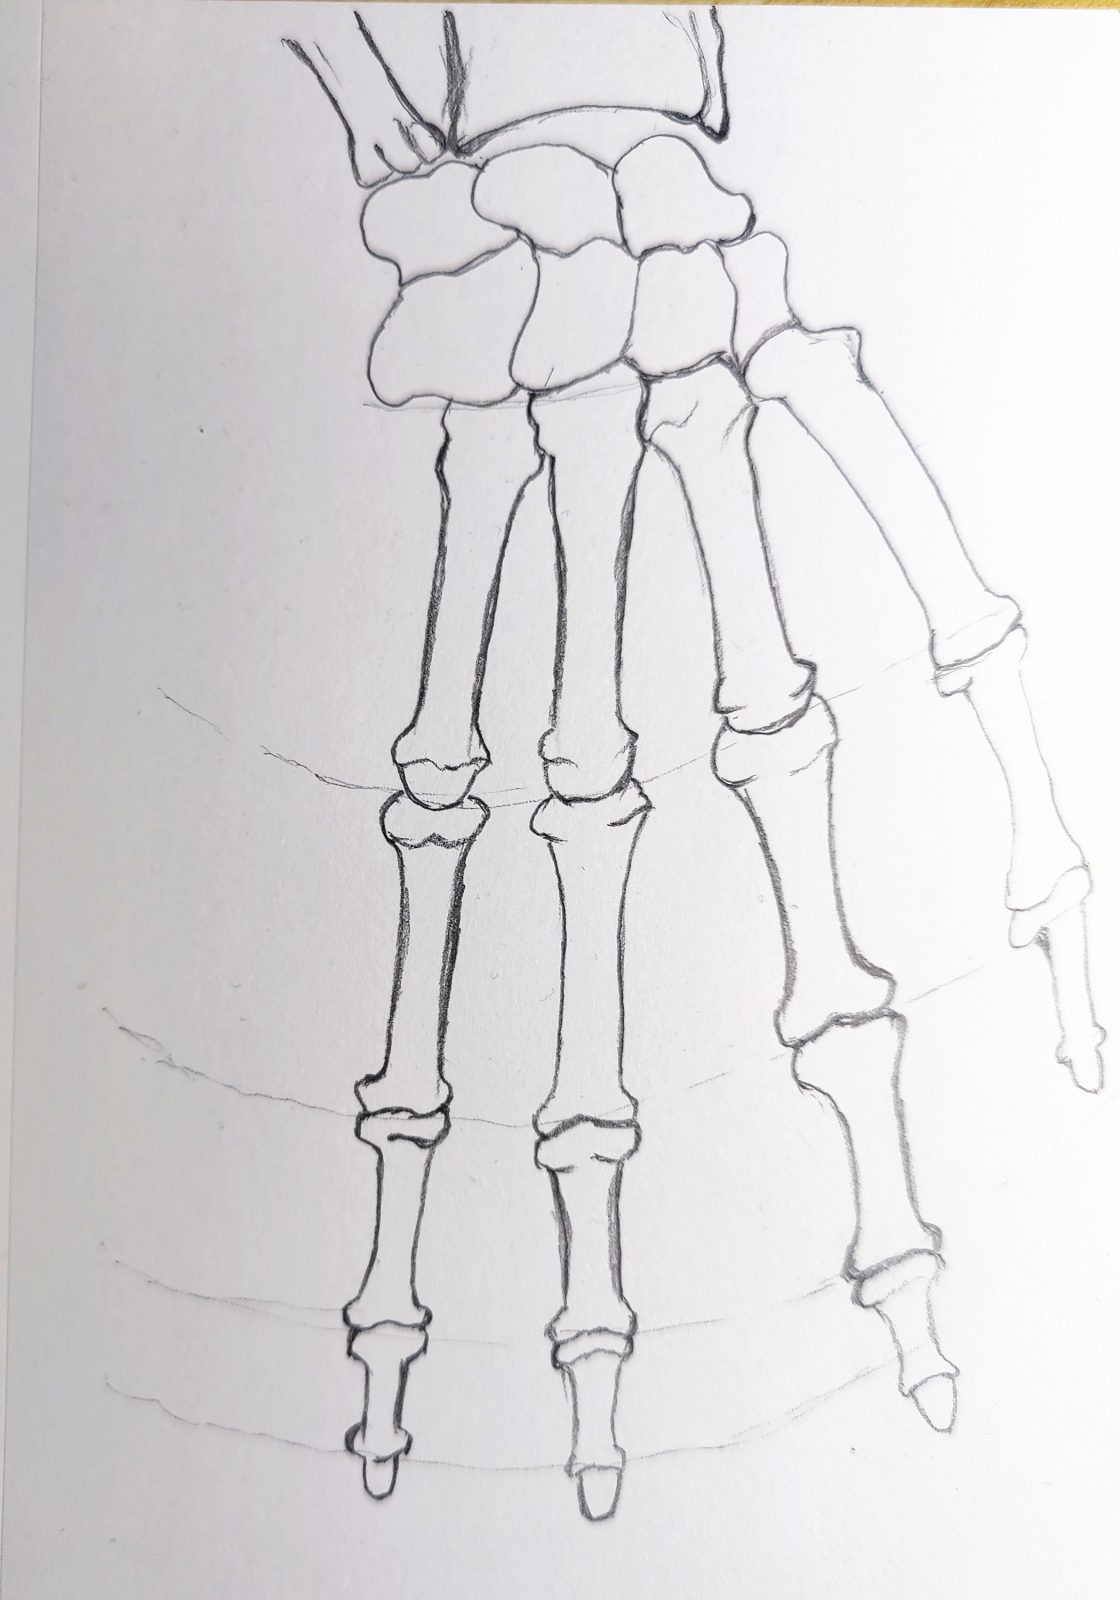
Then we started to draw the index finger bones. Note the shape of the ends of the bones.
The length of each bone follows the interval of the curved auxiliary line.
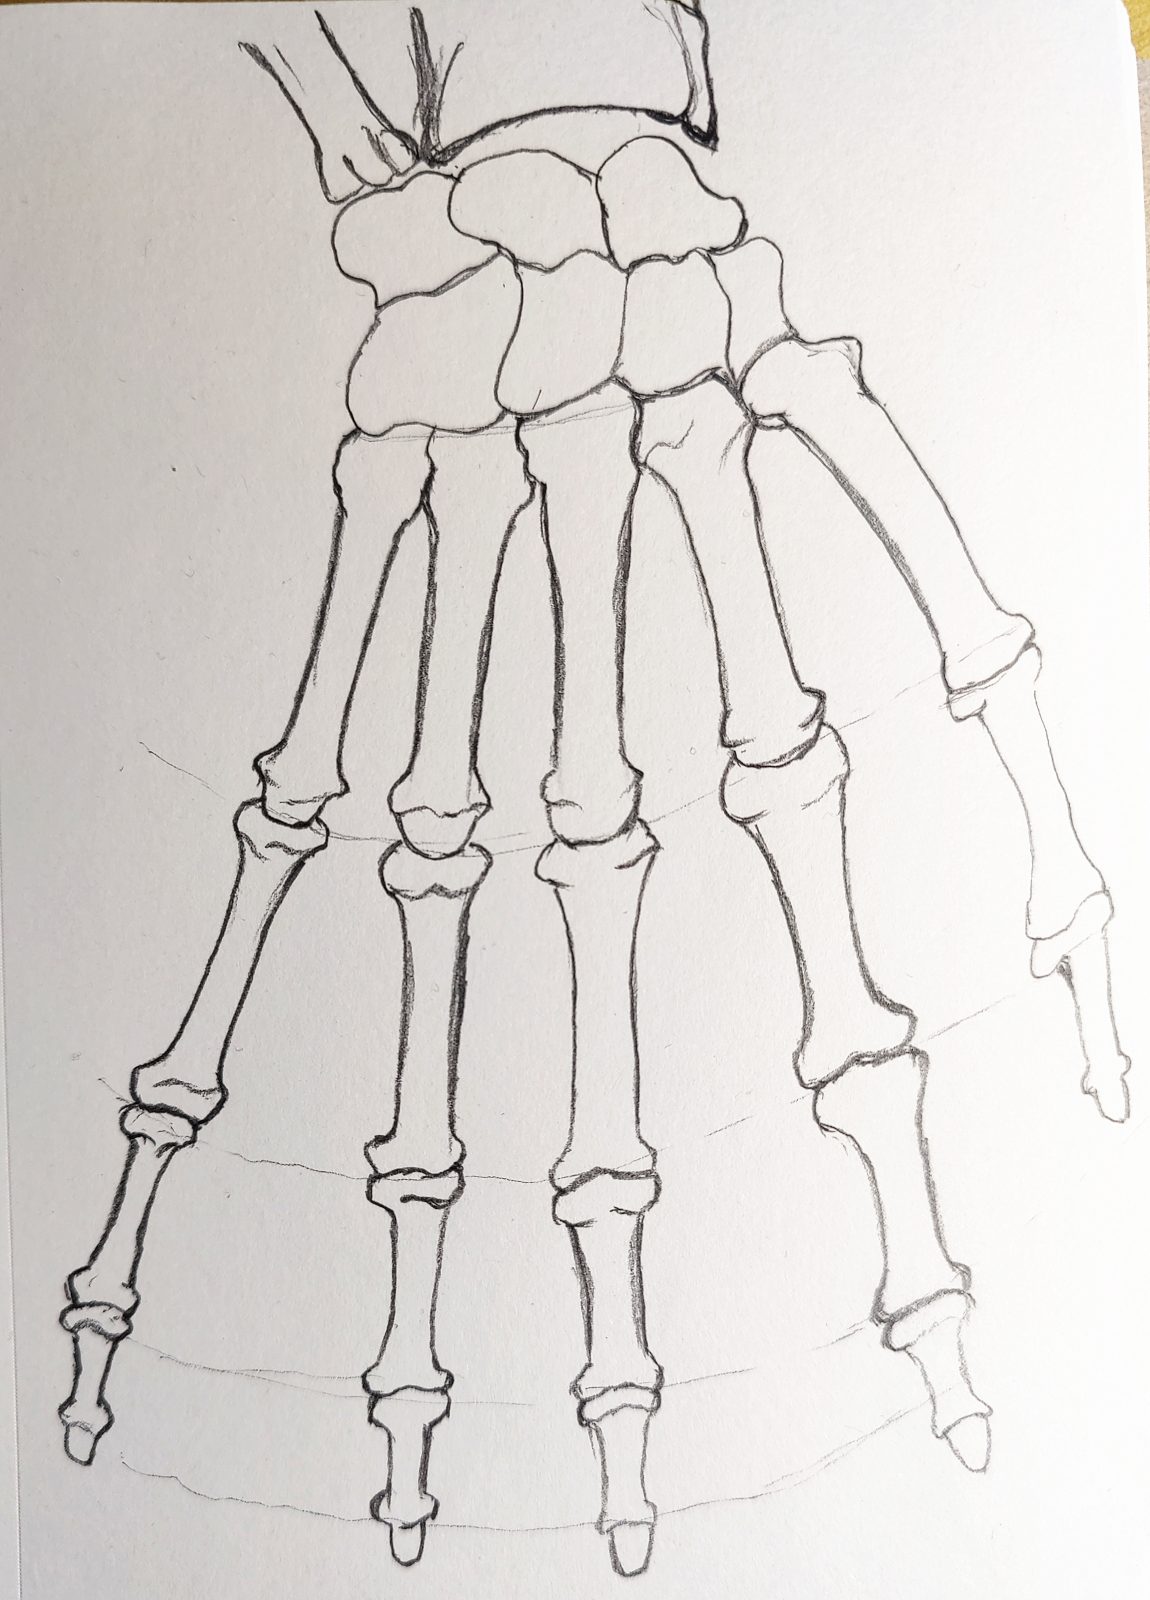
3. Draw a skeleton finger – complete the whole hand
Then we finish drawing the rest of the fingers.
But we have a problem with the auxiliary lines. So the little finger skeleton is a bit on the long side.
Next time we draw the hand skeleton we can pay attention to improve it.
4. Drawing shadows
Finally, we draw some shadow variations for the hand bones.
