Today we have prepared a beginner’s guide to draw perspective. Perspective can make your drawings more realistic and impactful.
And perspective is much easier than you think. Of course, we will start with basic exercises.
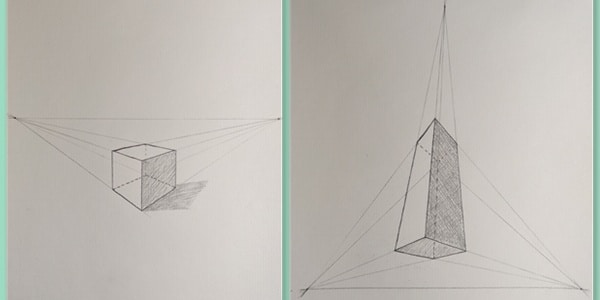
1. One point perspective method
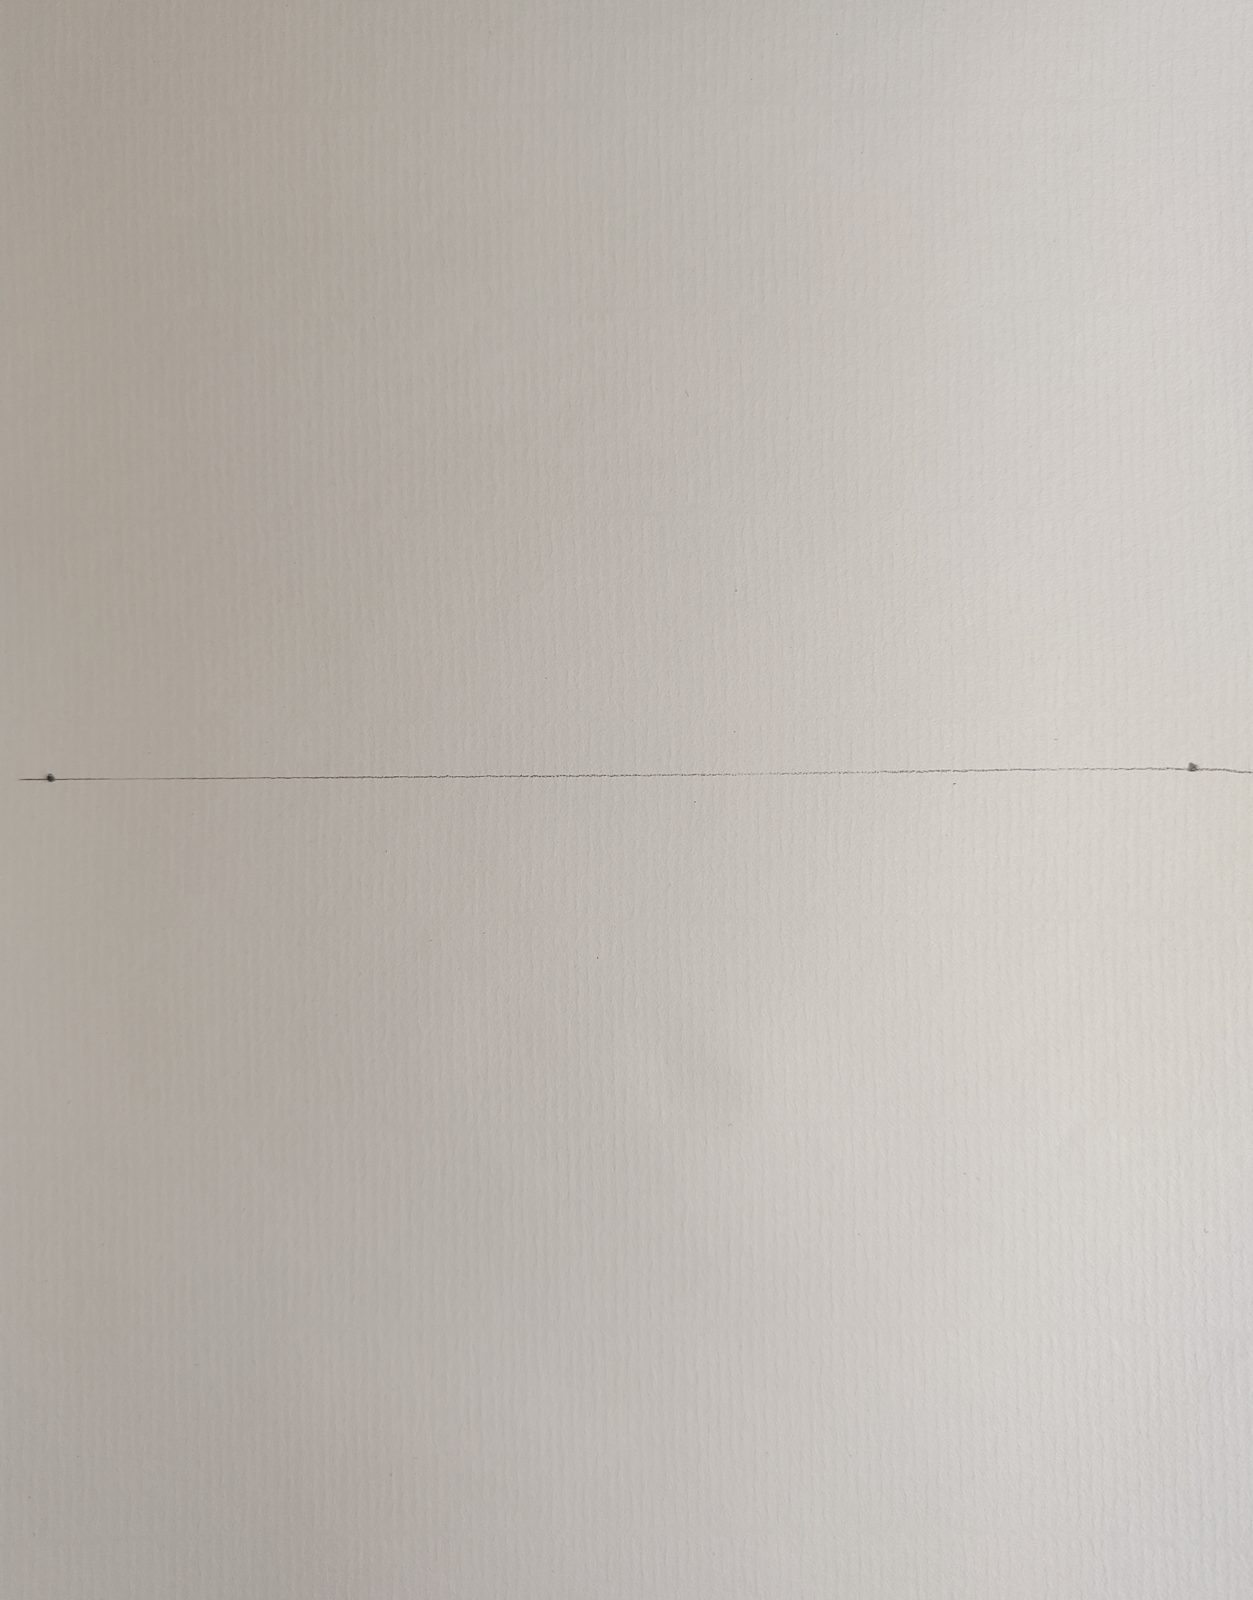
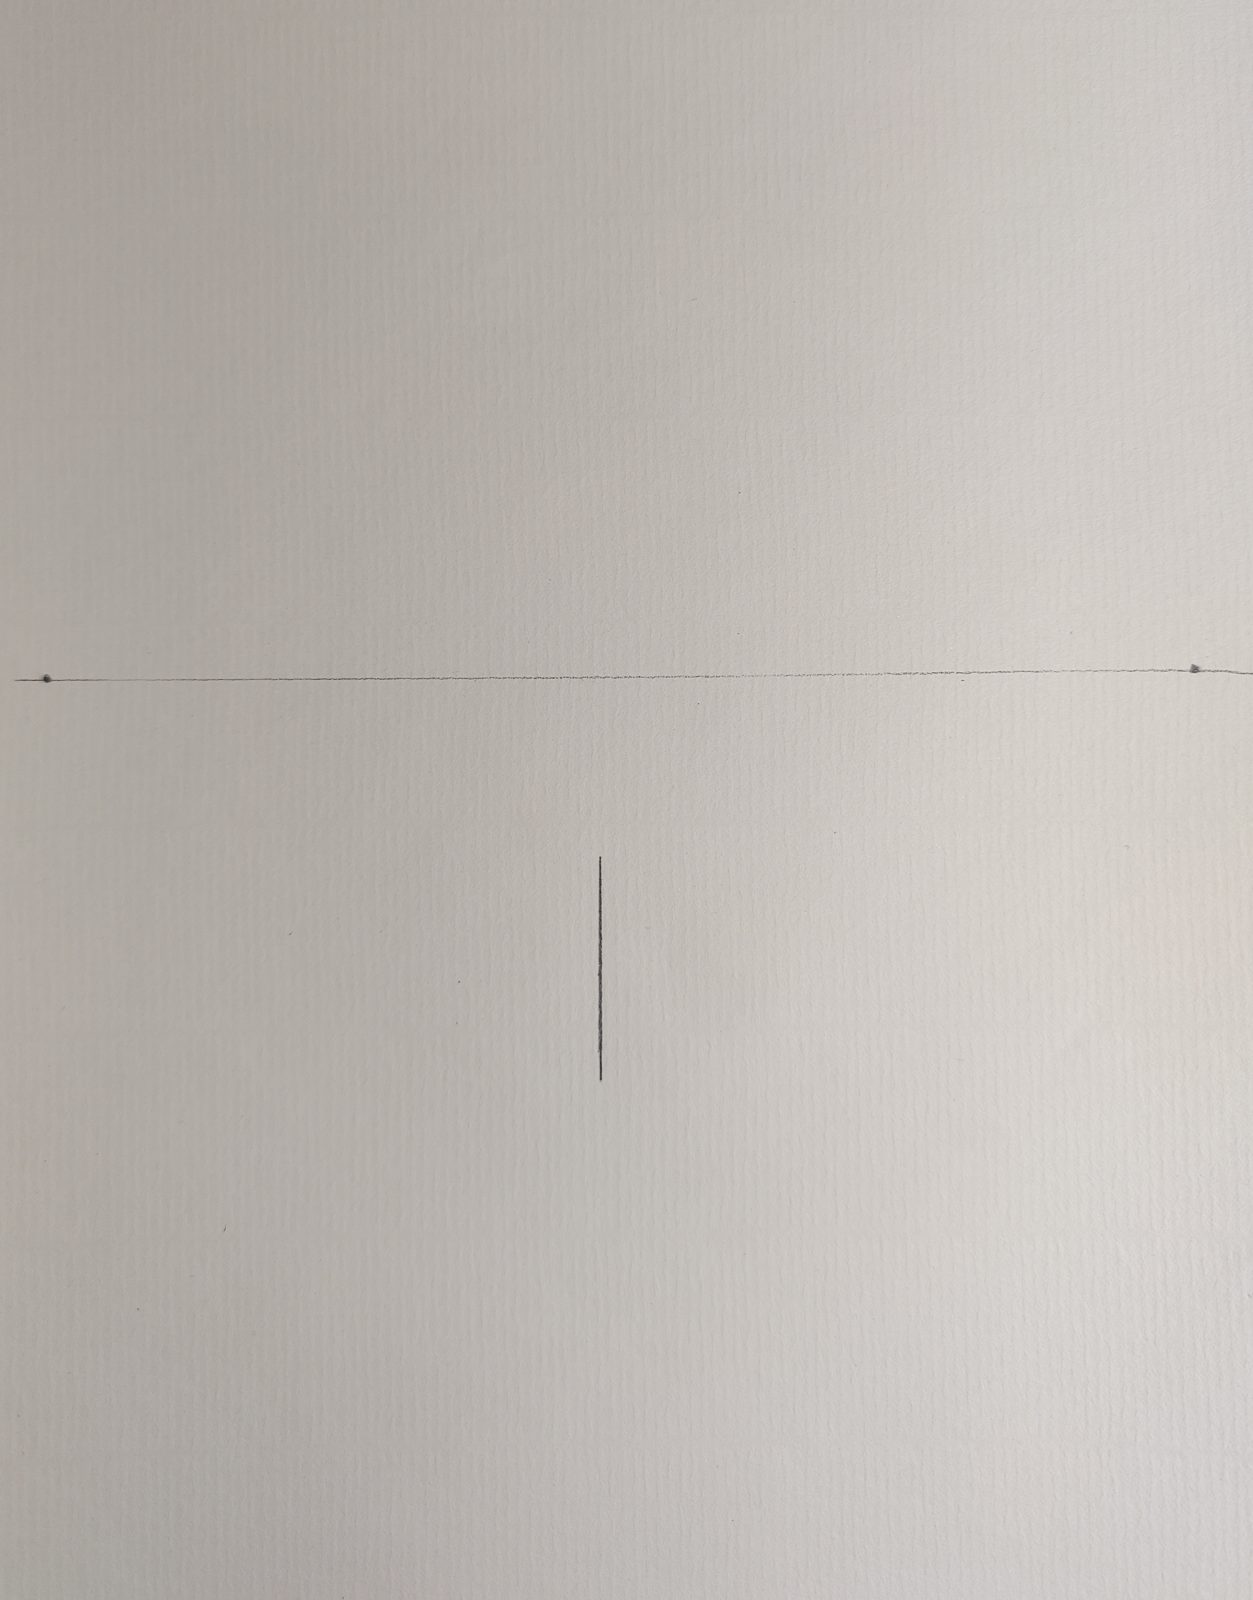
First, we start with the simplest. One-point perspective, as the name implies, is a point where the lines of the picture converge. It is also known as the vanishing point.
Take a look at the cuboid we drew below. With a little perspective, this cuboid looks more realistic, doesn’t it?

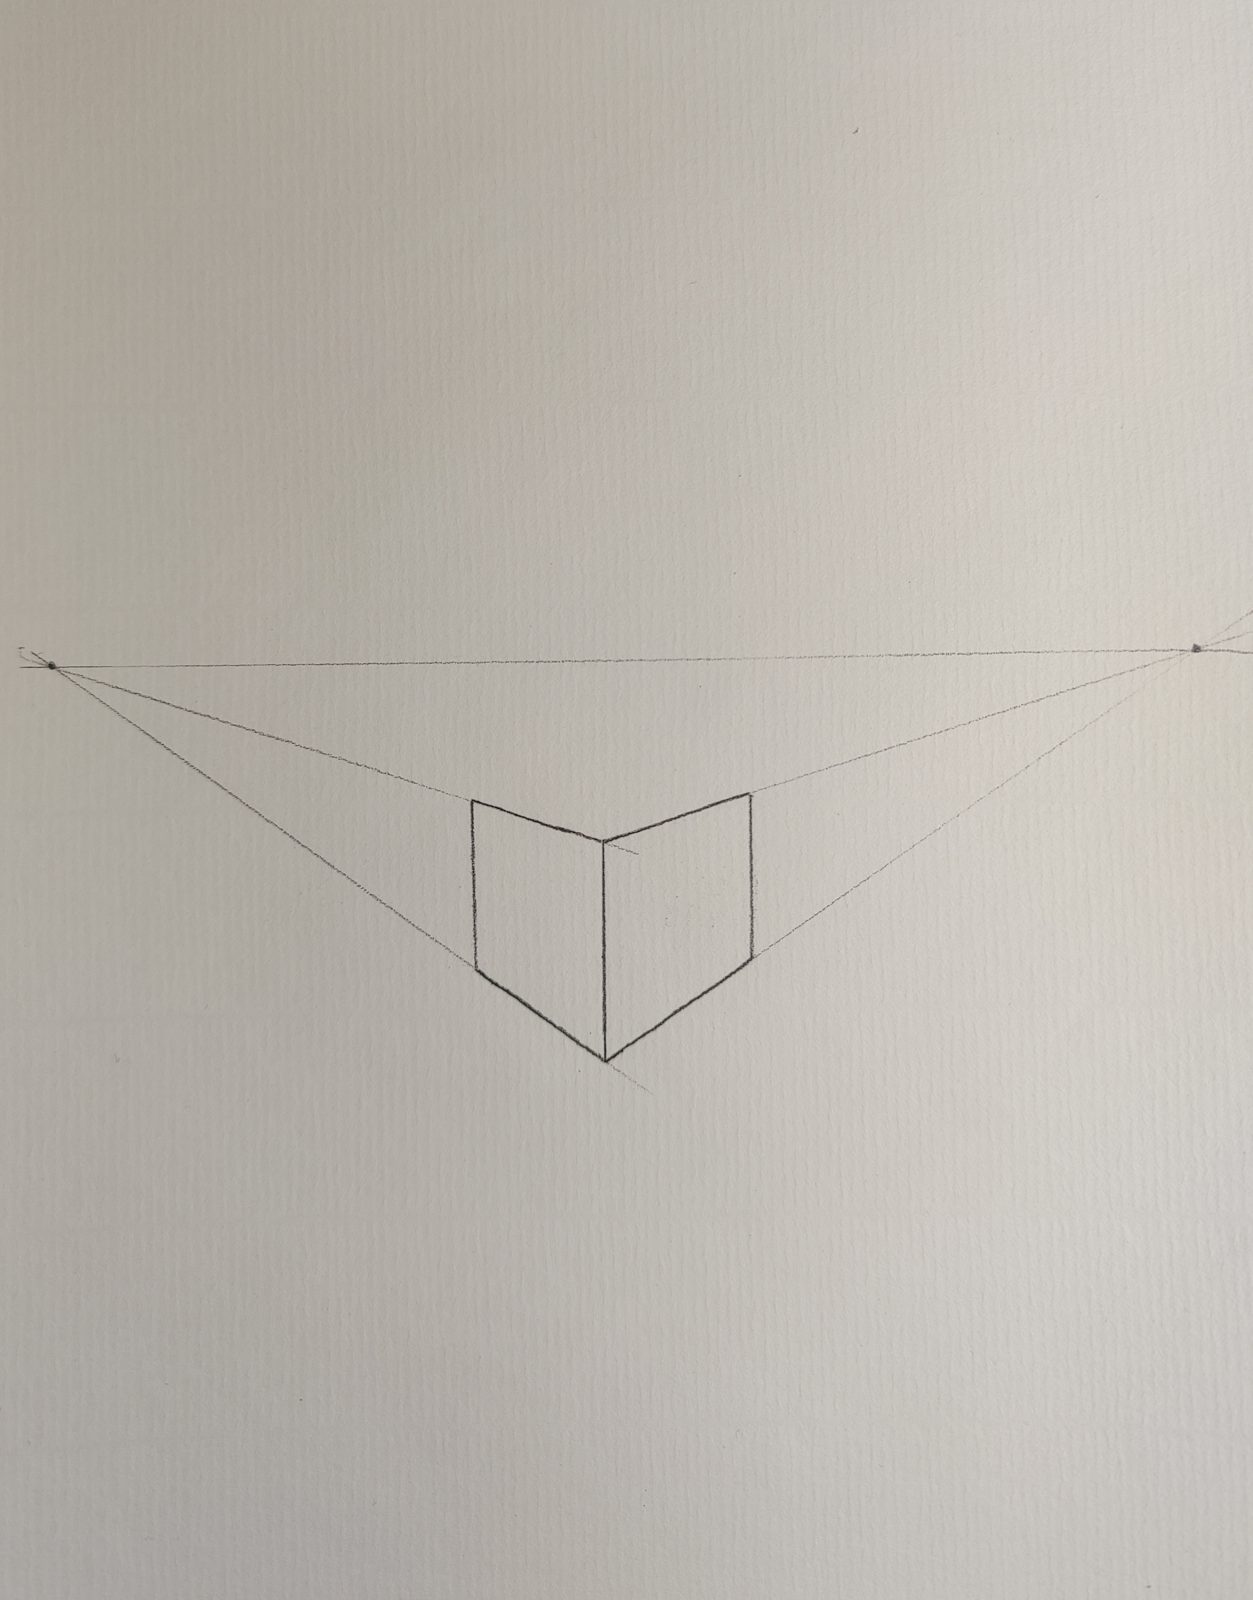
2. Drawing Perspective – Two Point Perspective
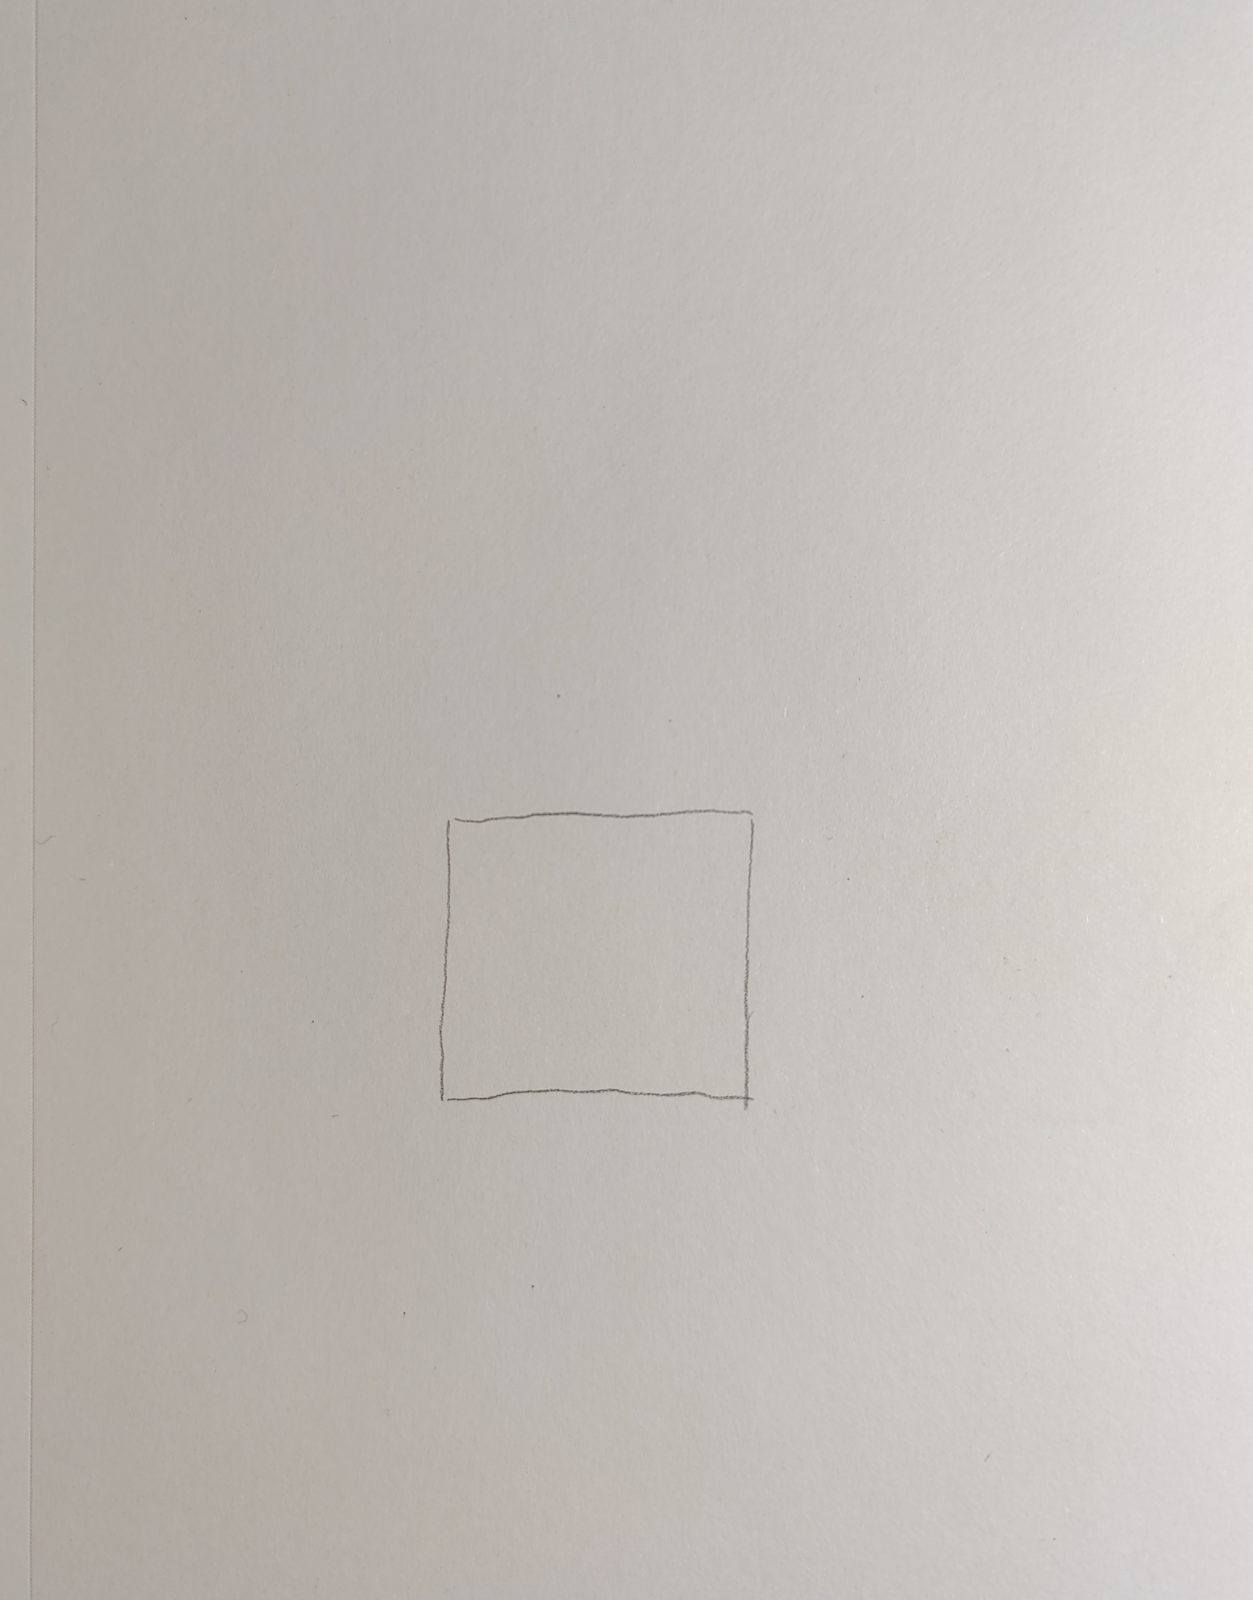
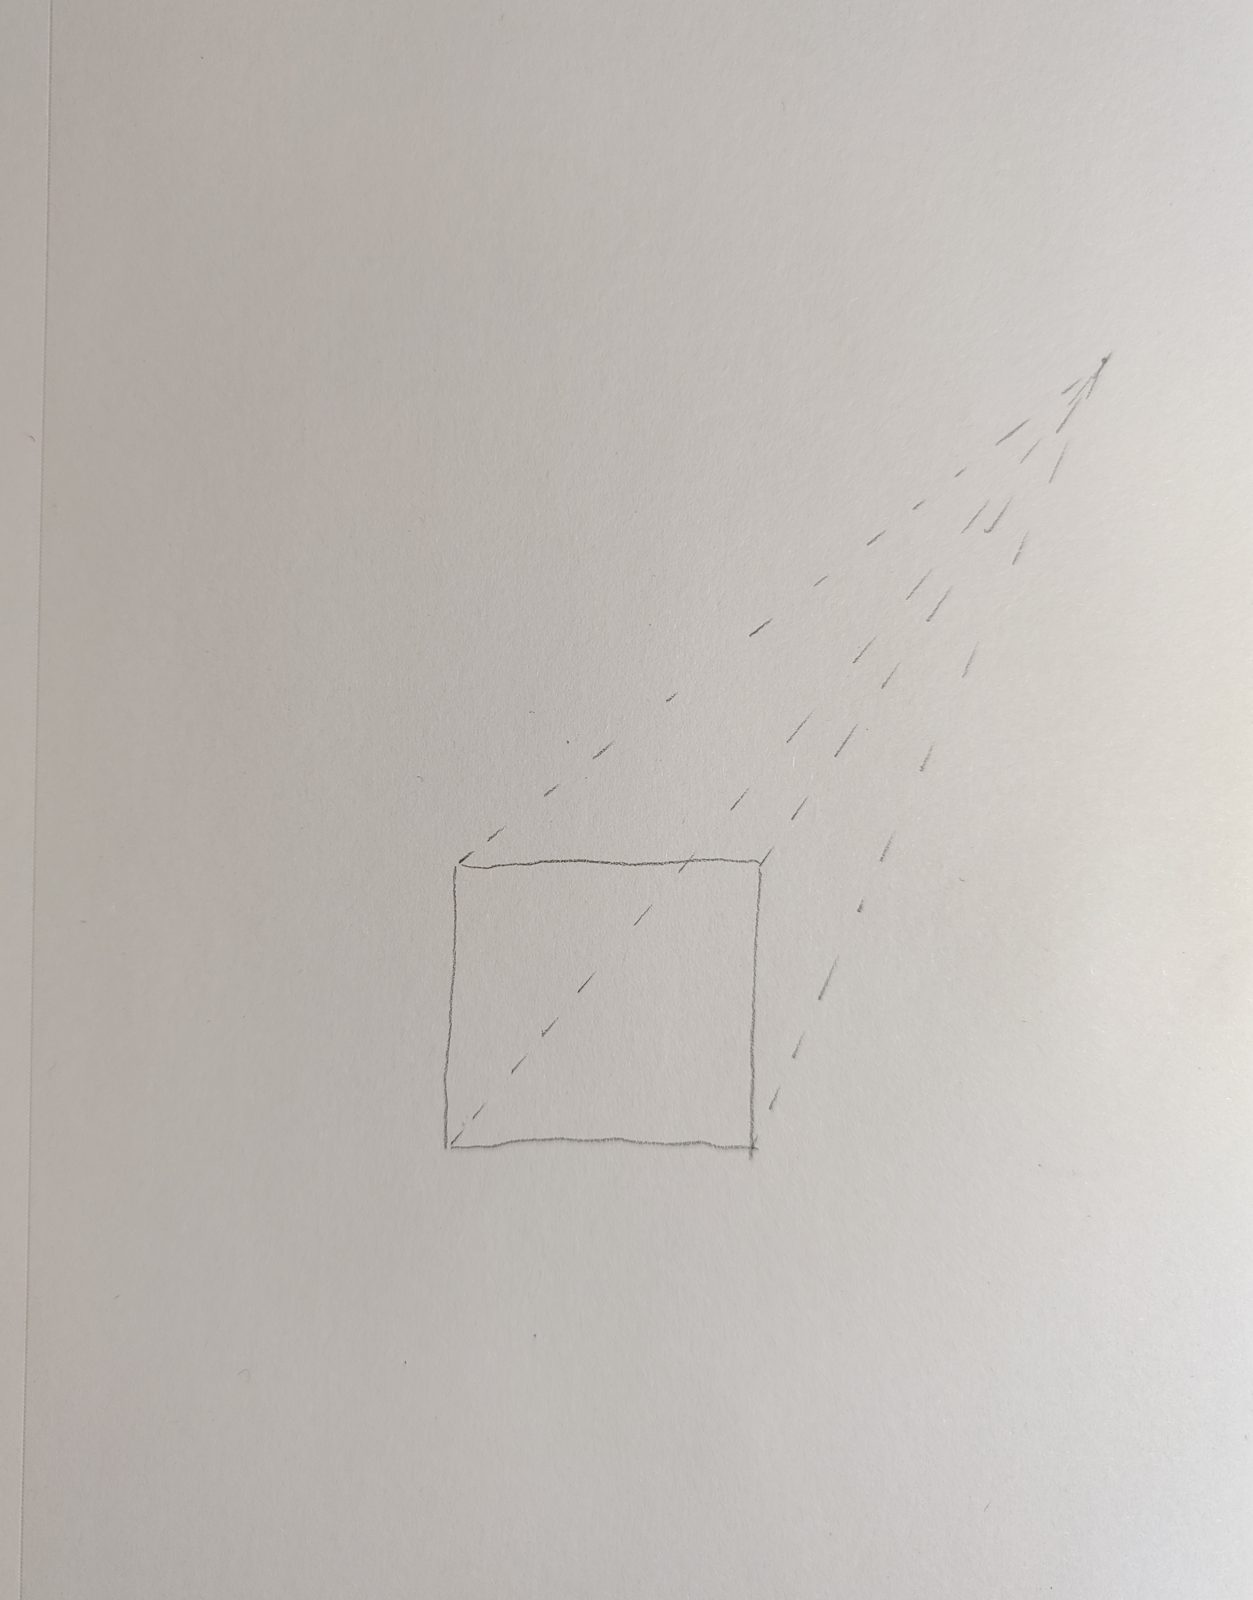
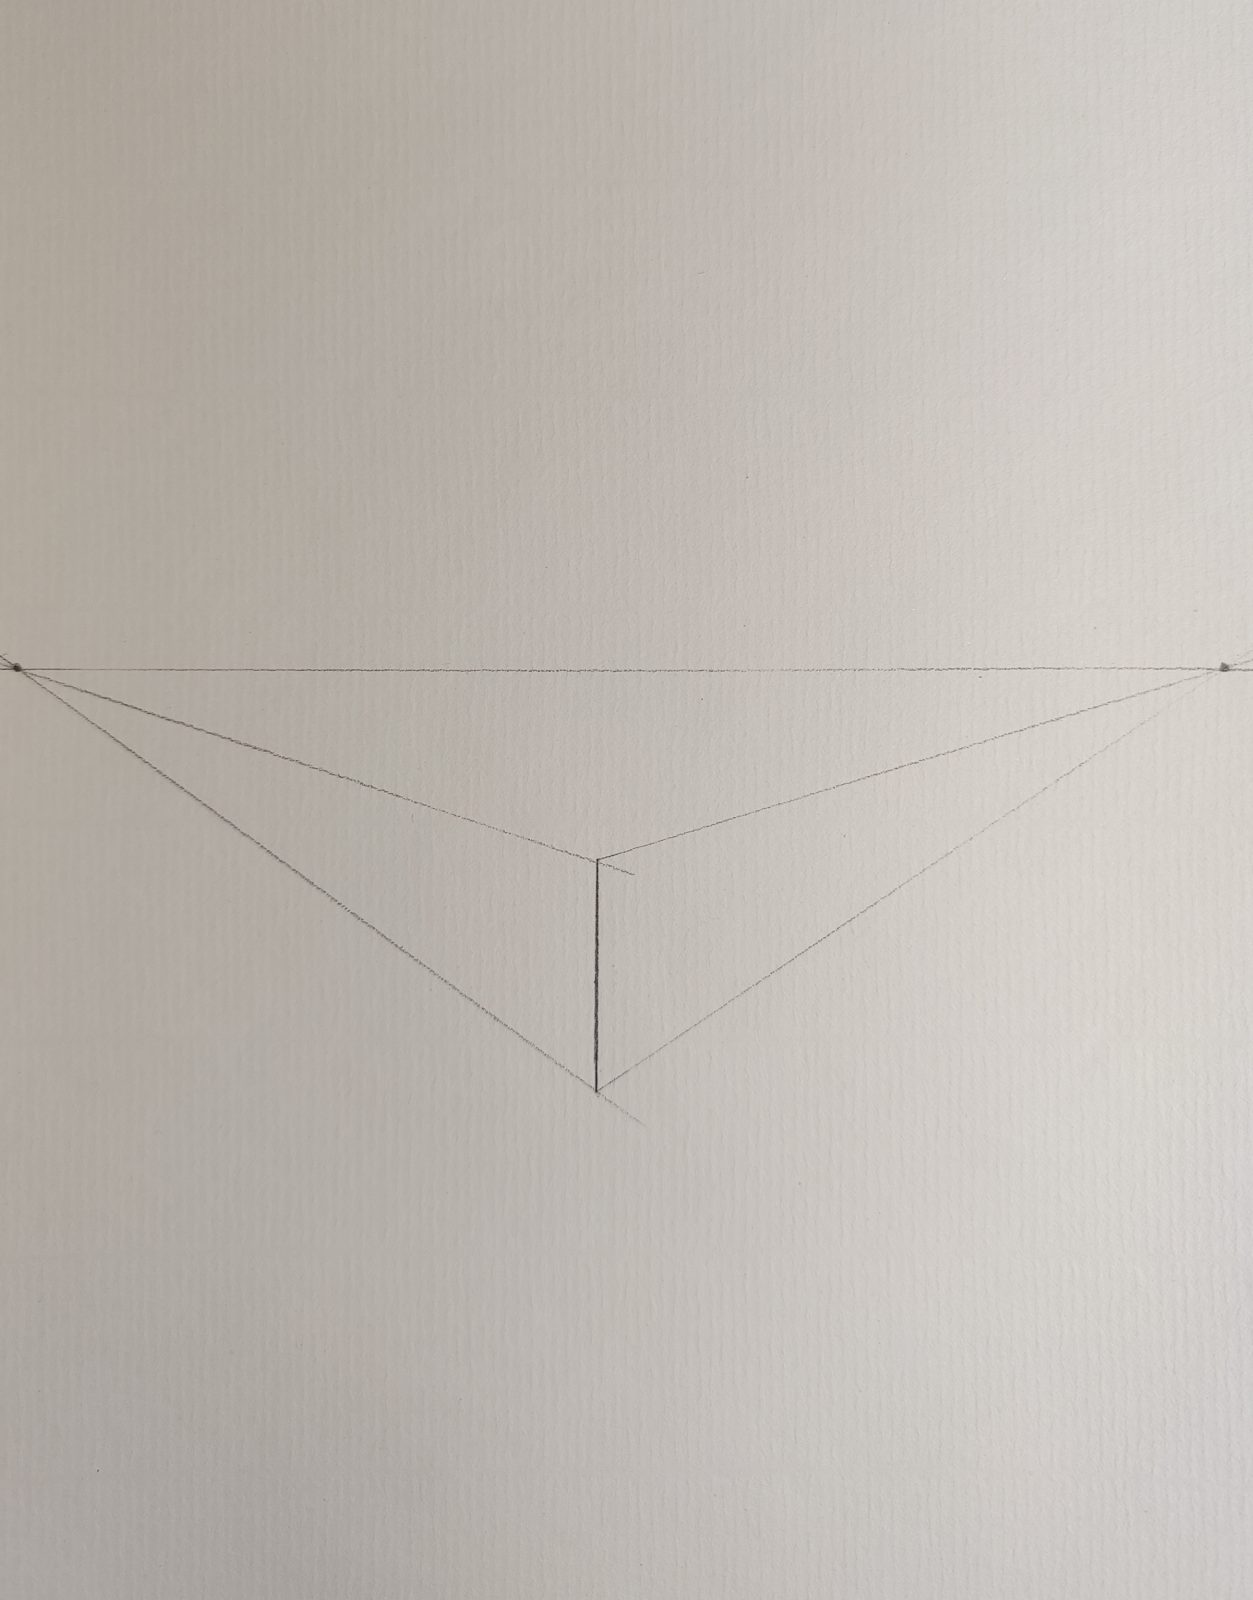
2.a. Next, we practice the two-point perspective. As you should have quickly figured out, we need two vanishing points.
First, we draw these two vanishing points. Then we connect these two points with a light auxiliary line.
Next, we draw a vertical line segment underneath.
Then we can draw the auxiliary line through the vanishing point.
Then we draw the edge of the two faces on top of the auxiliary line.
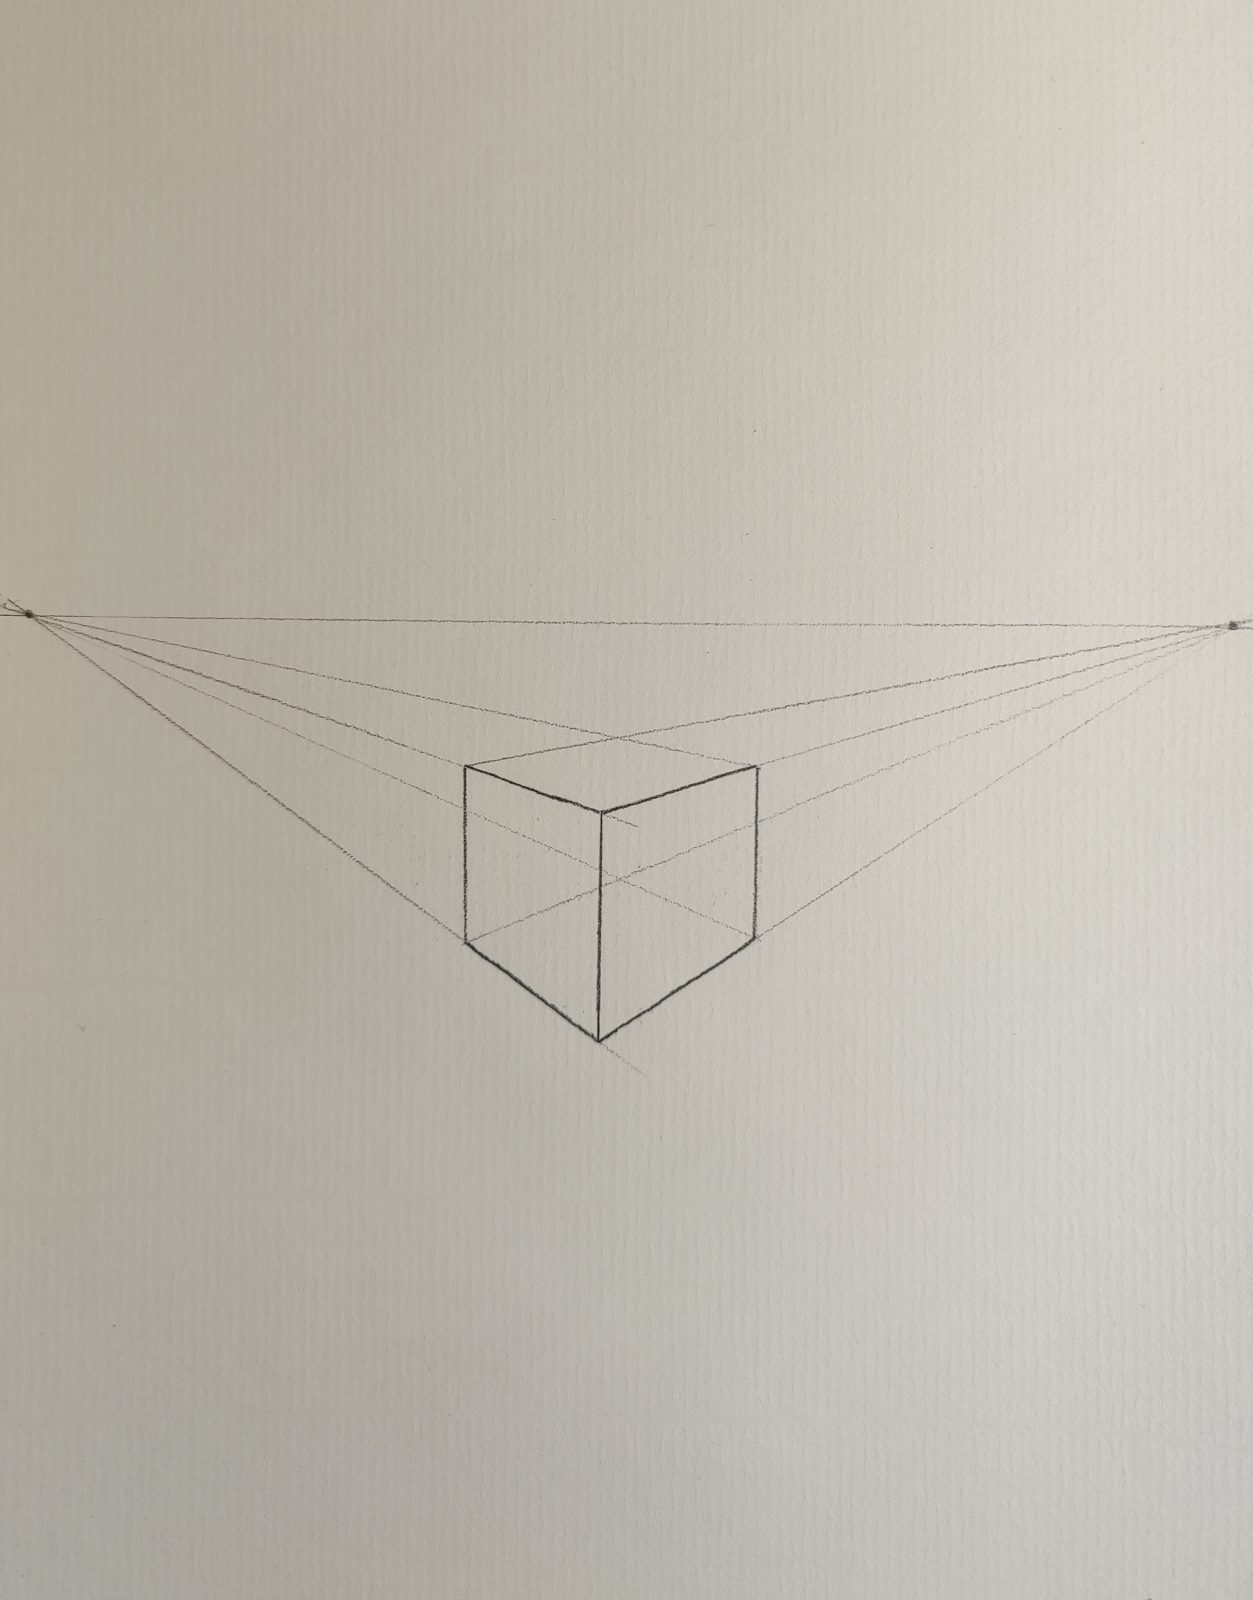
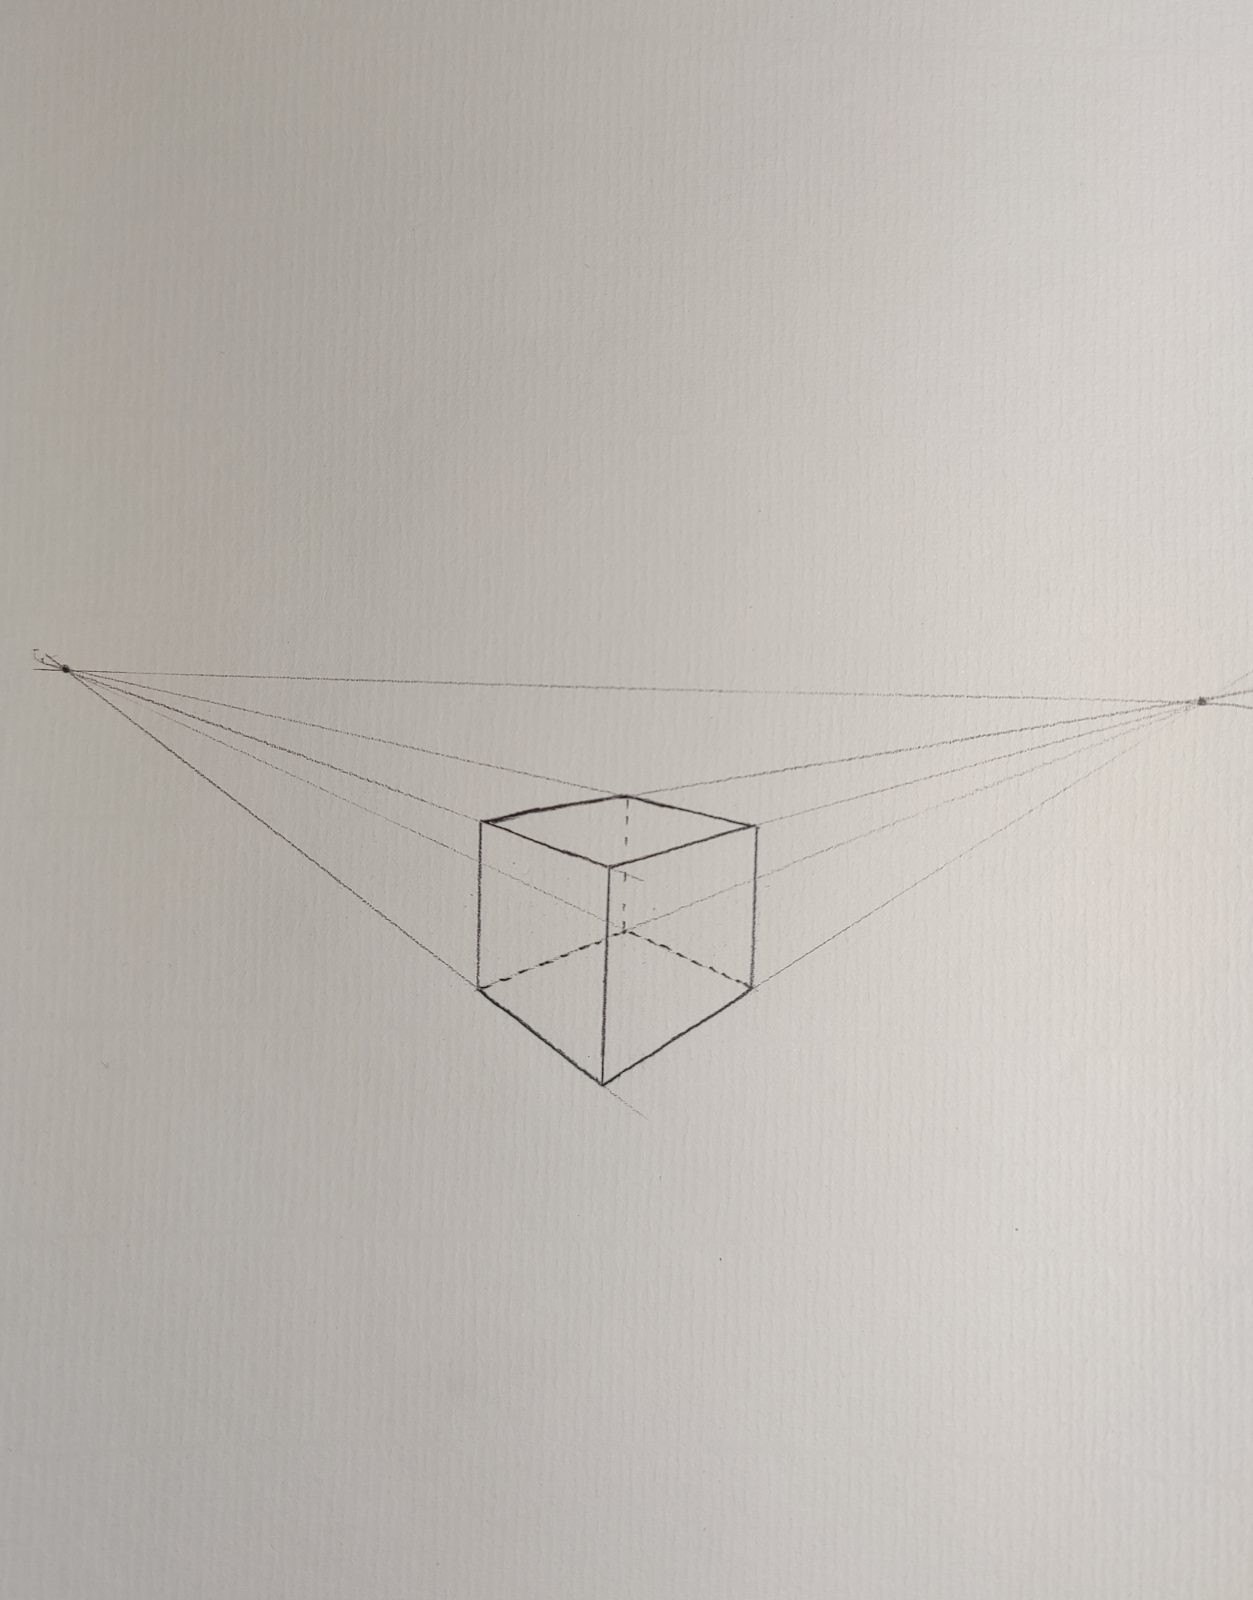
2.b. Note one thing, the perpendicular line segments are parallel.
Then start with the two vertical line segments on the left and right. We draw auxiliary lines, and these lines all intersect at the vanishing point as well.
Then we follow the guidelines of the auxiliary lines and draw the top face and the bottom face of the cube.
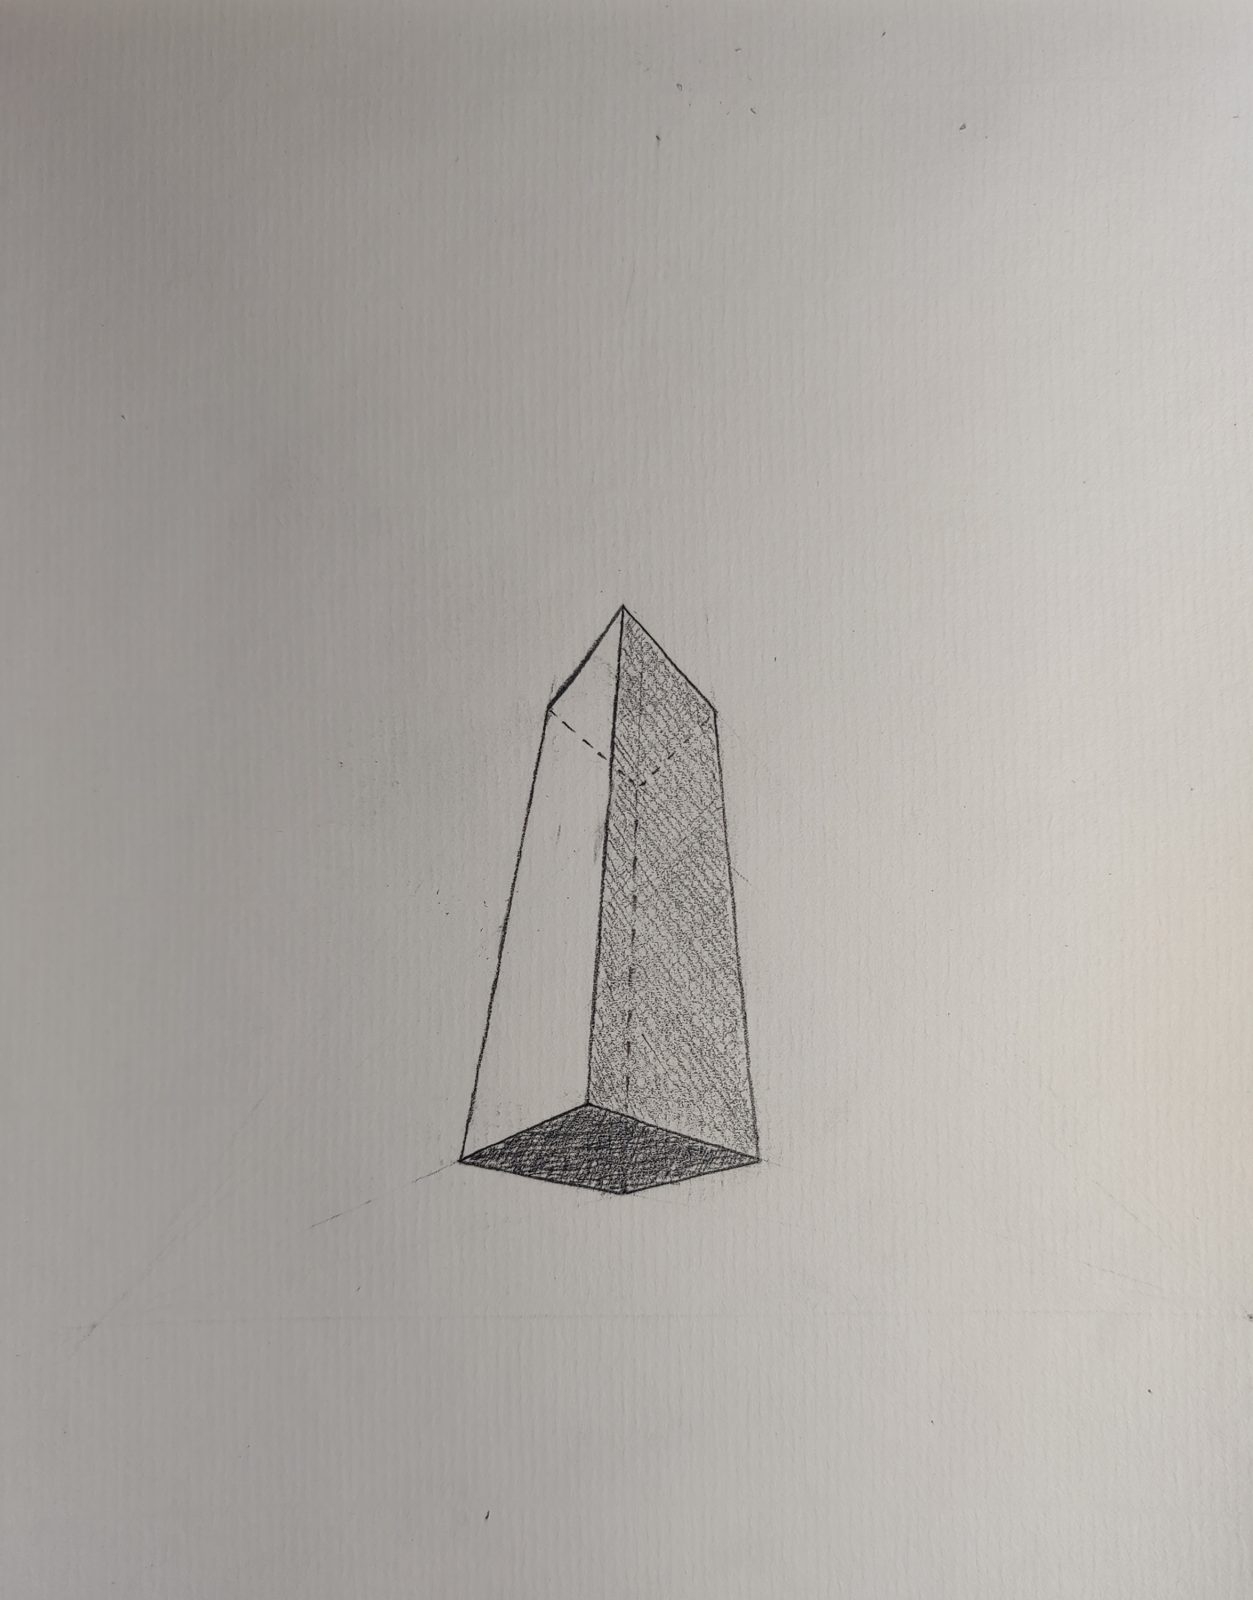
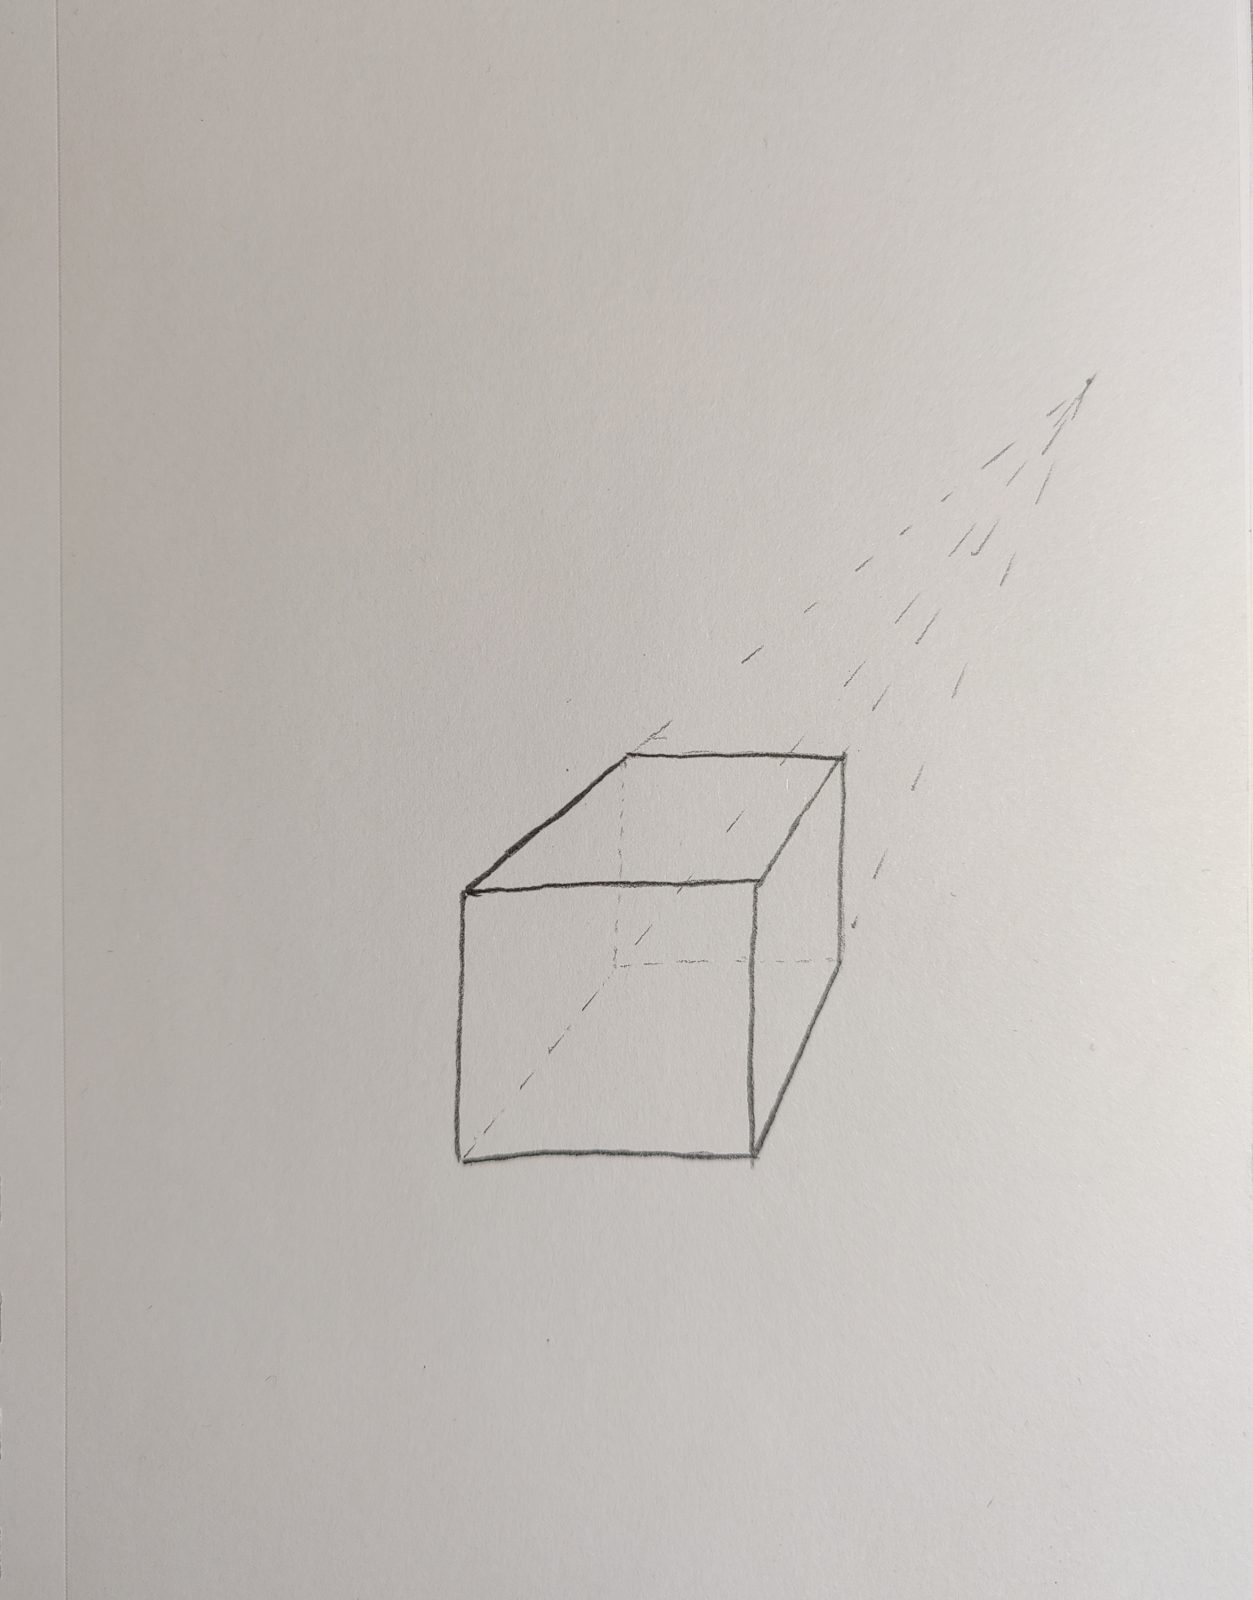
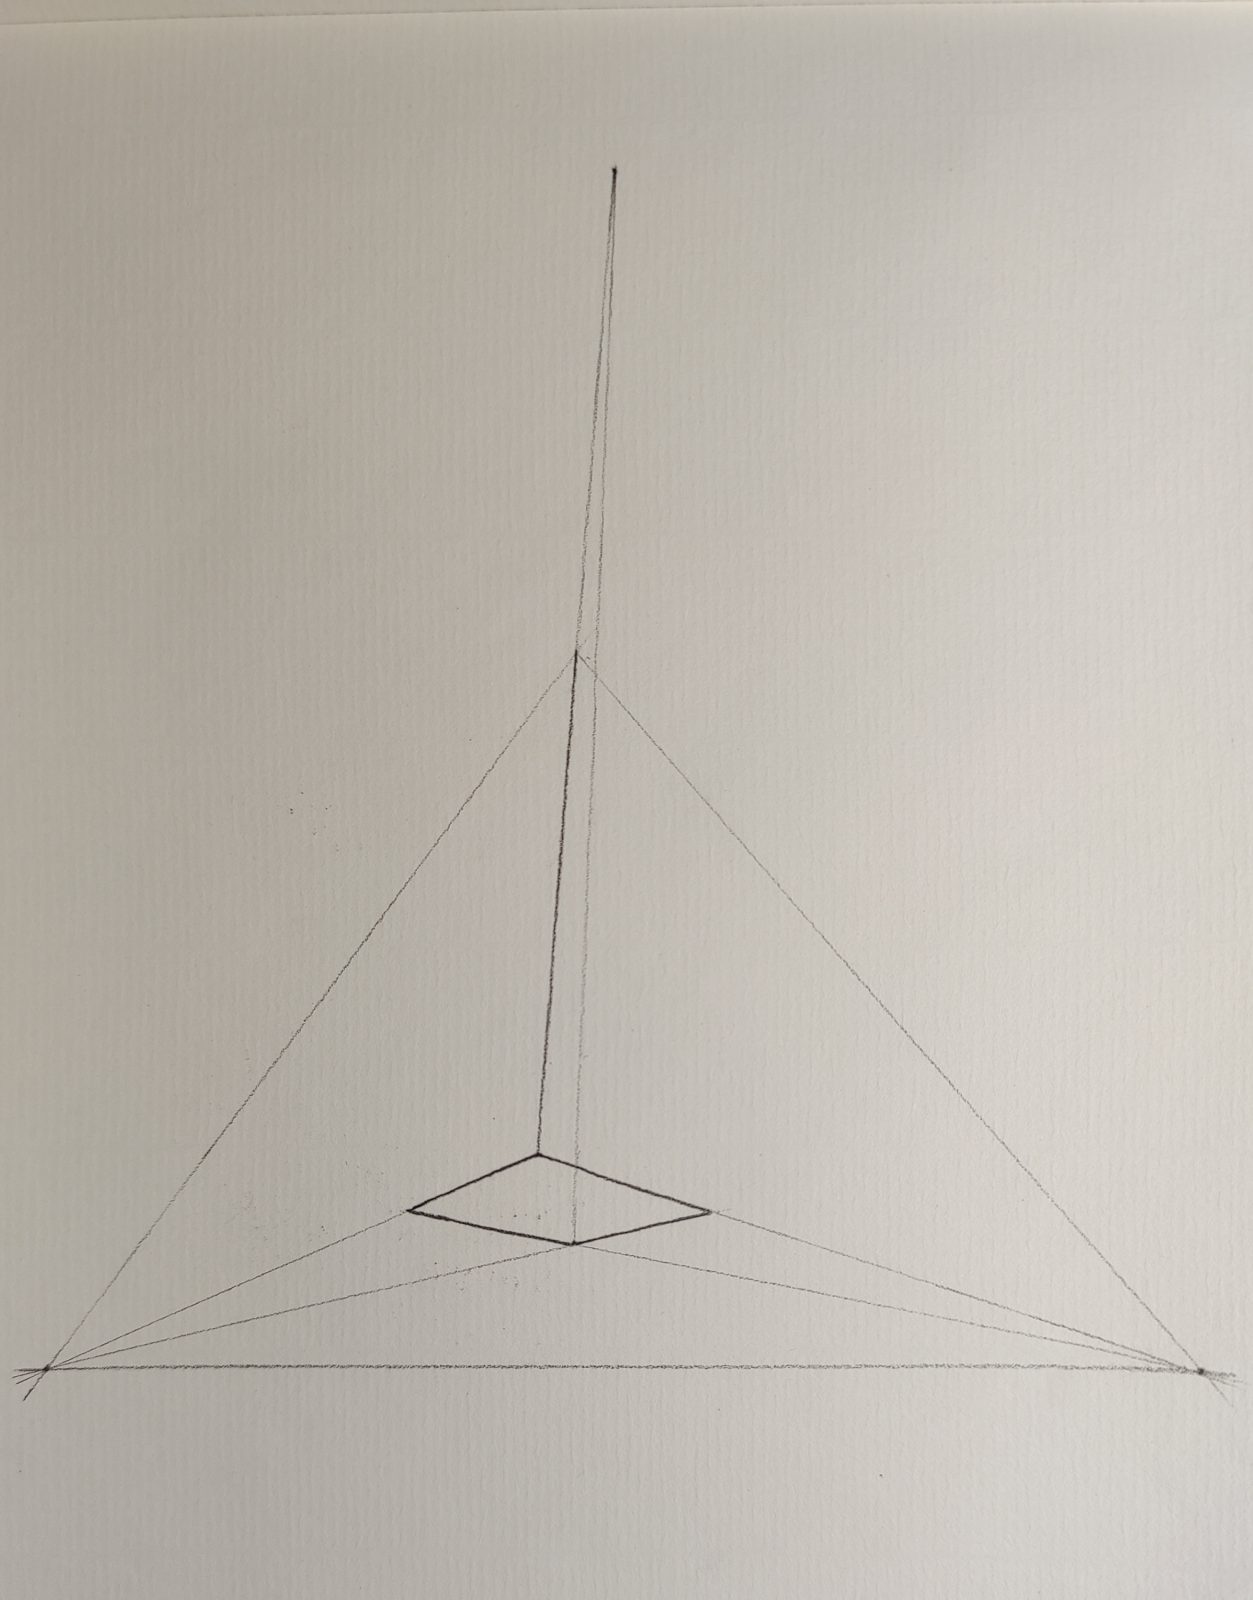
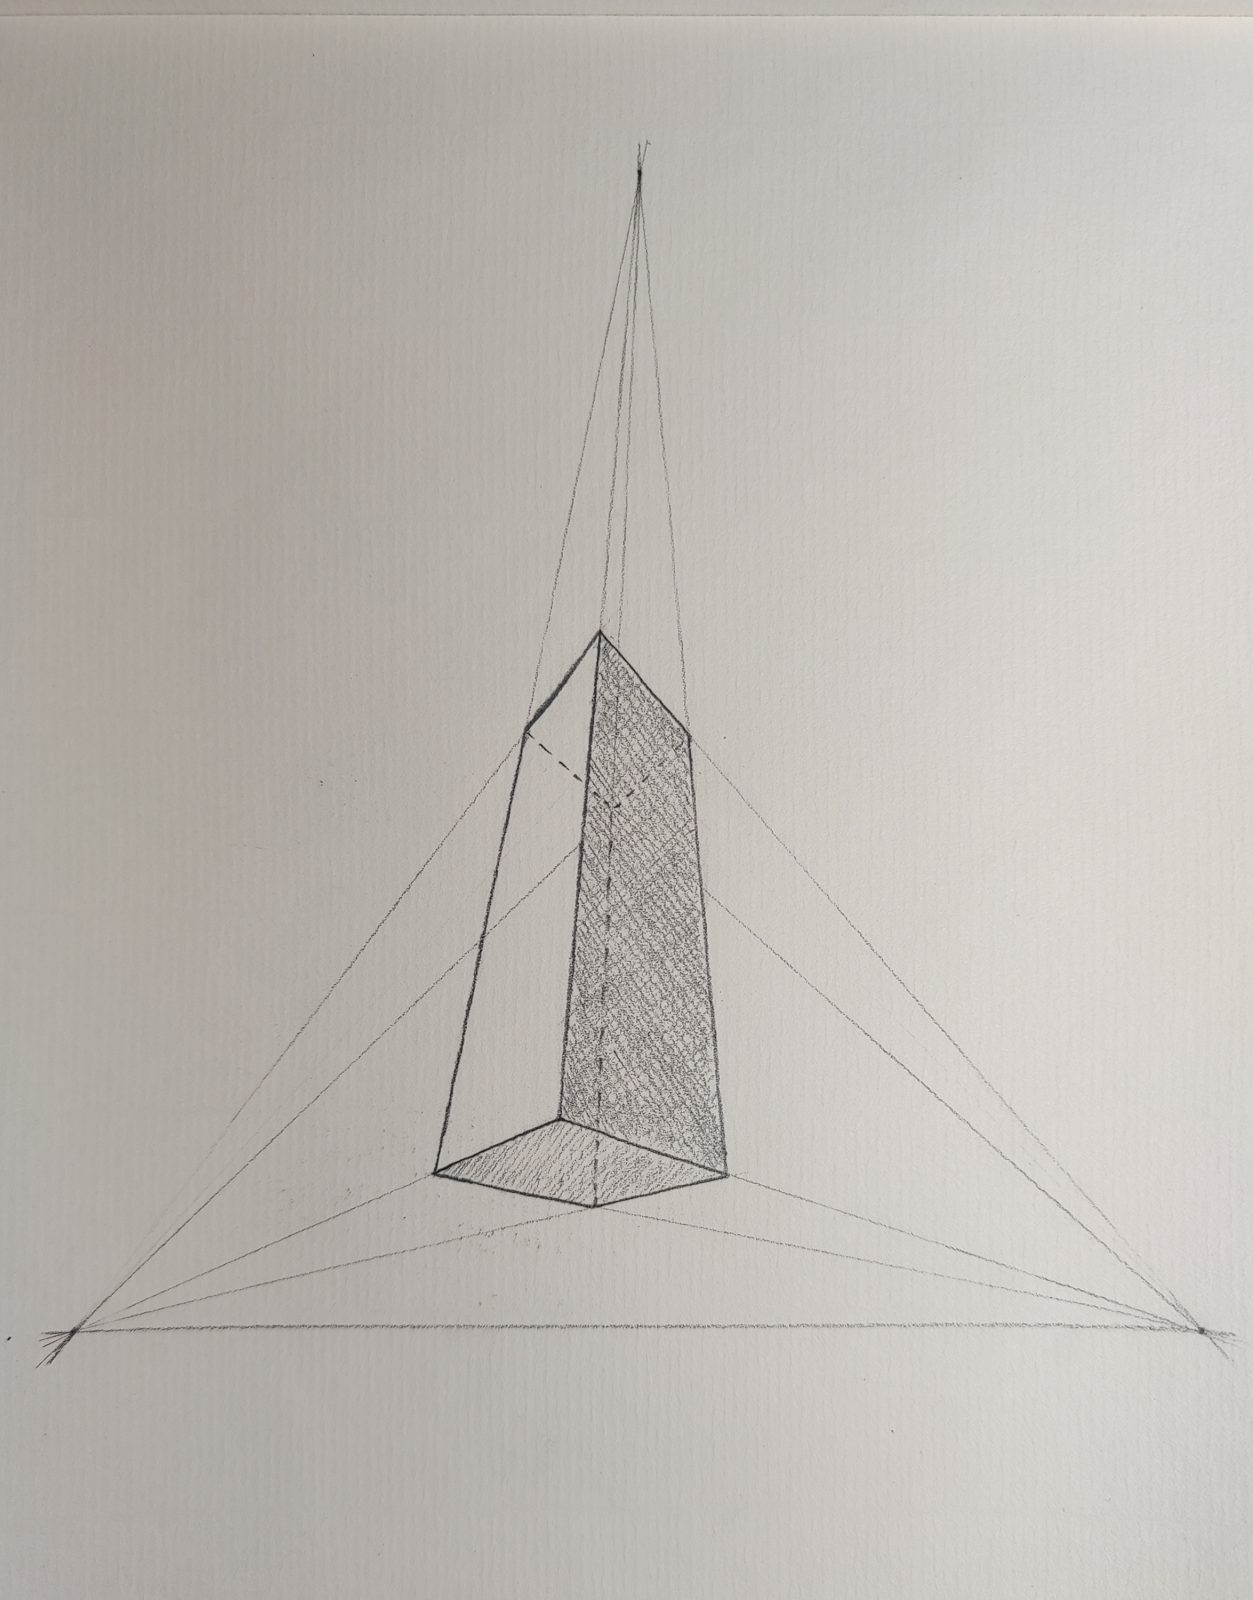
3.Draw Perspective – Three Point Perspective
Three-point perspective is the most three-dimensional perspective drawing method.
Generally, we look up at the high-rise building is the actual feeling of three-point perspective.
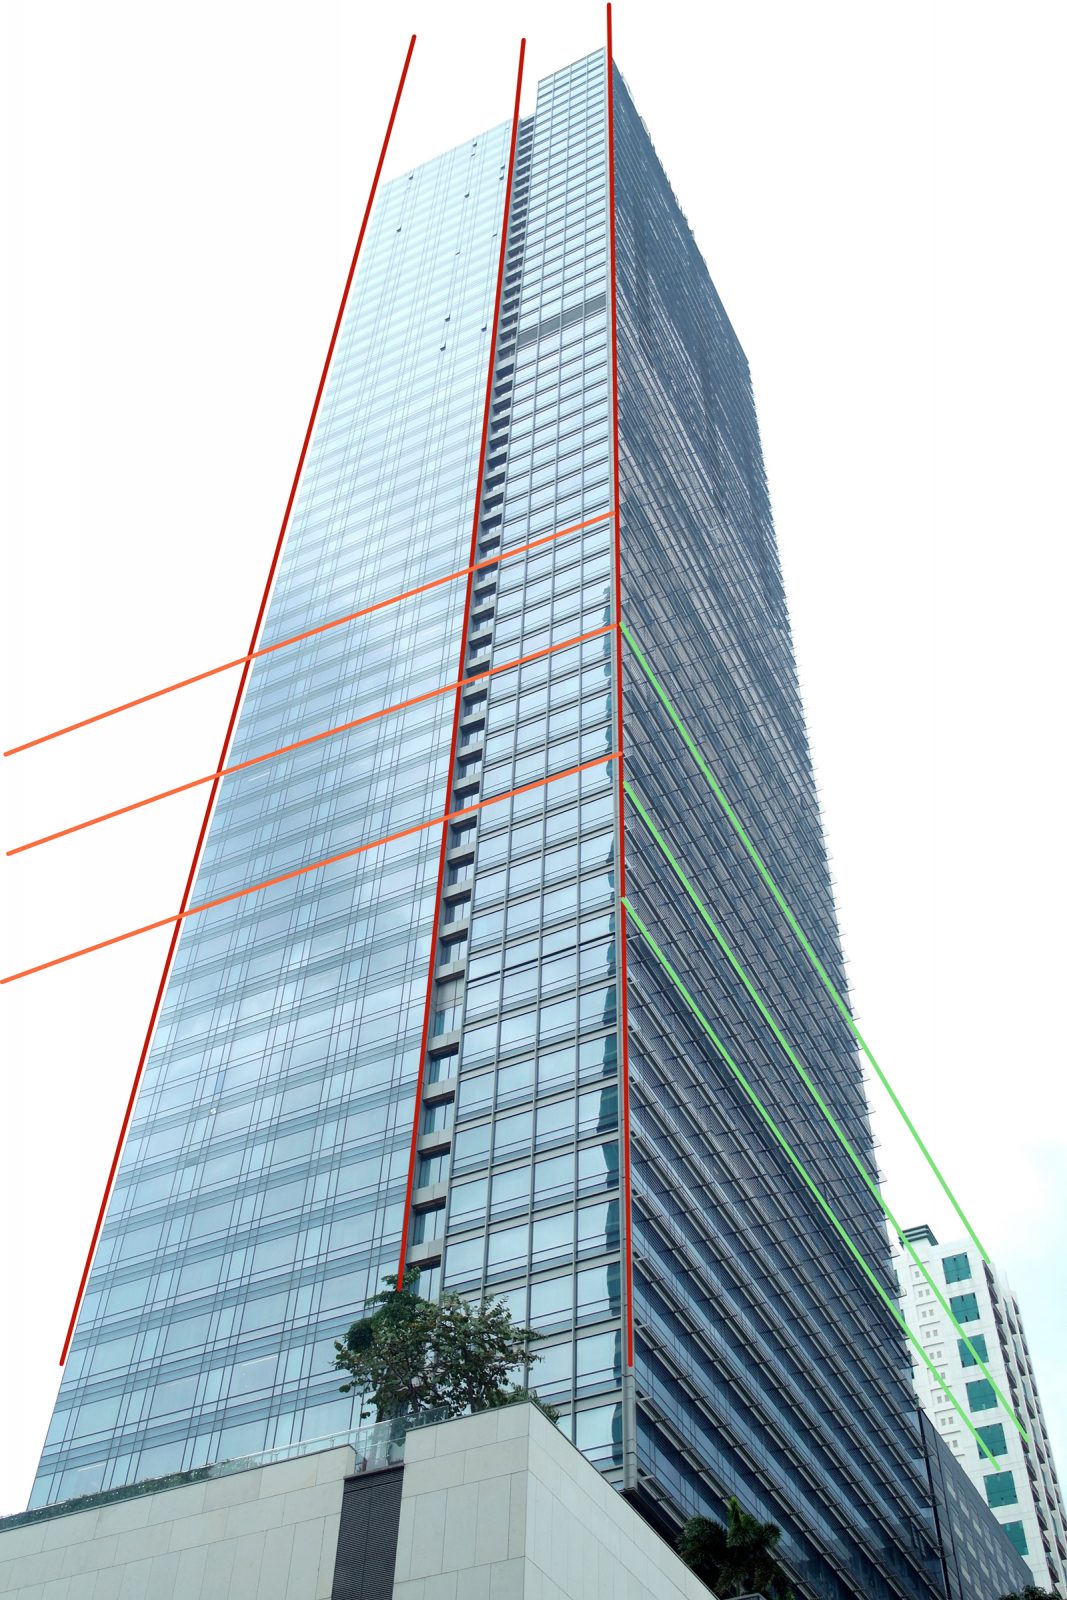
With the previous foundation, this perspective is also easy to draw.
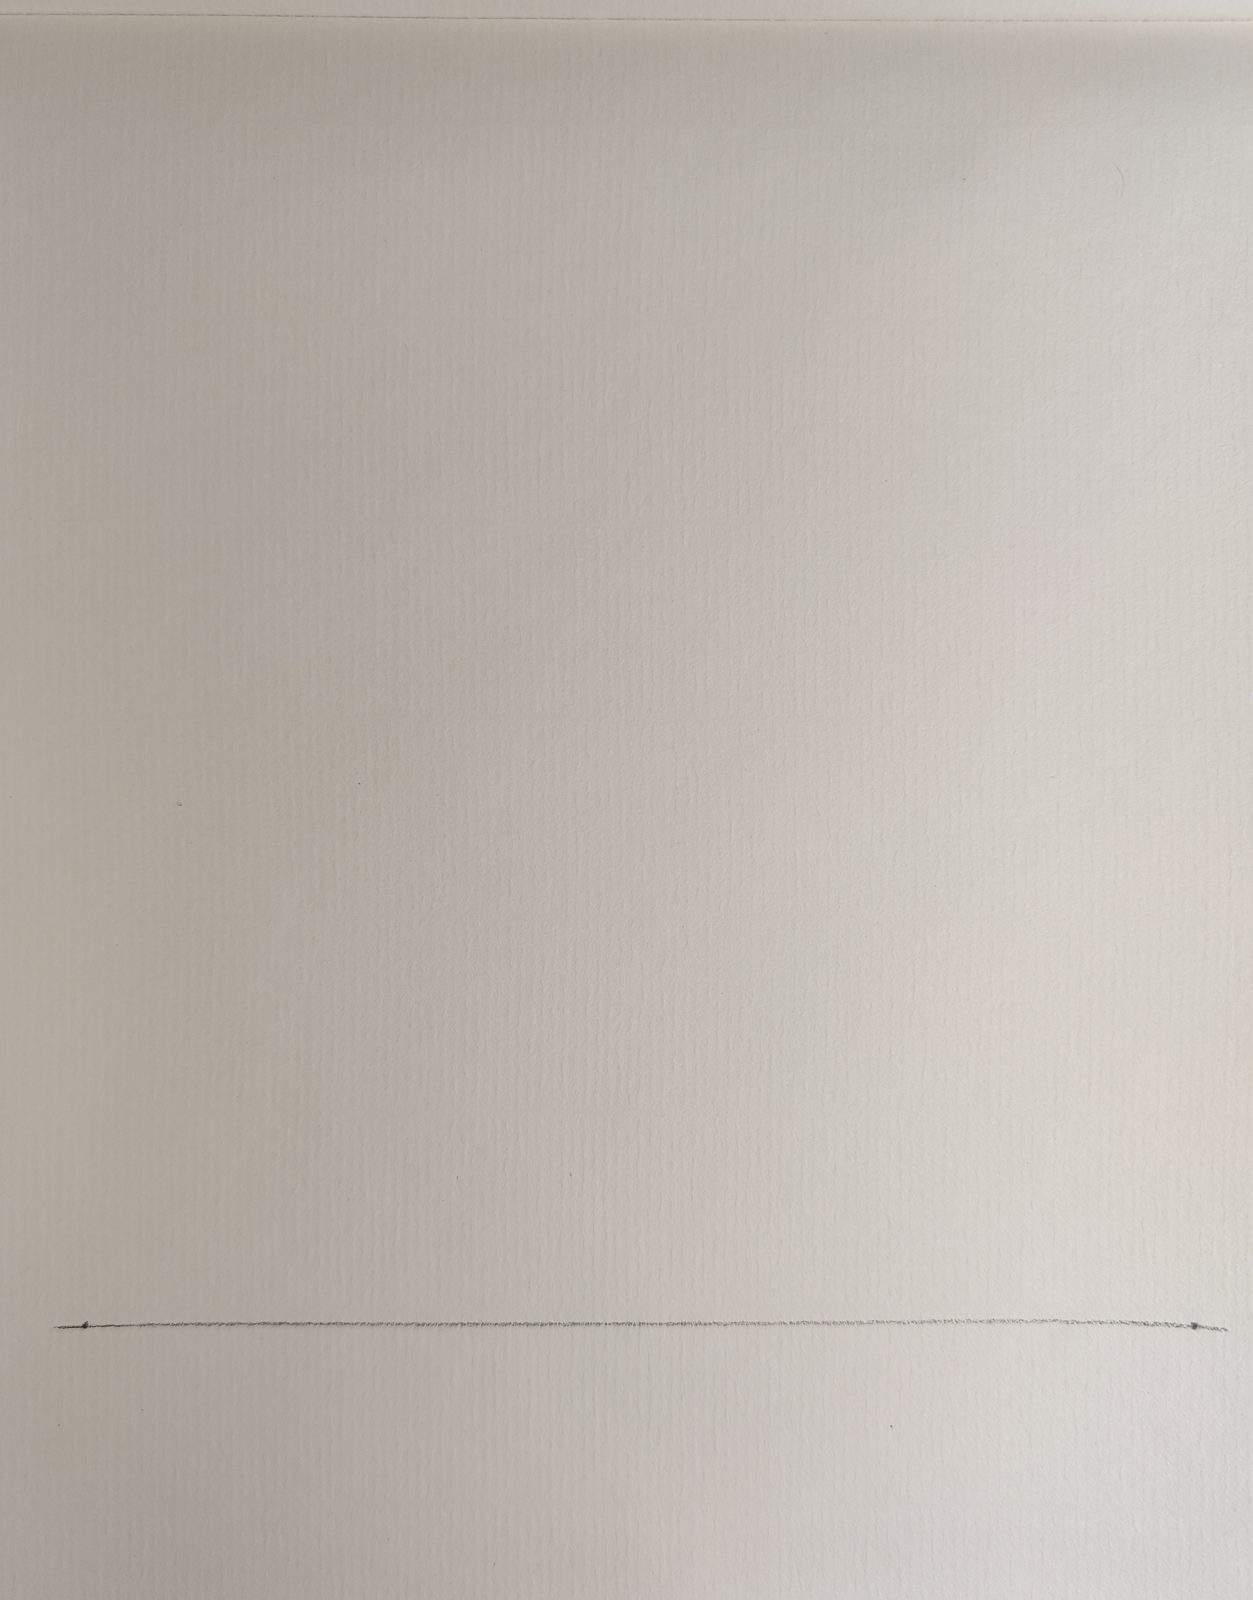
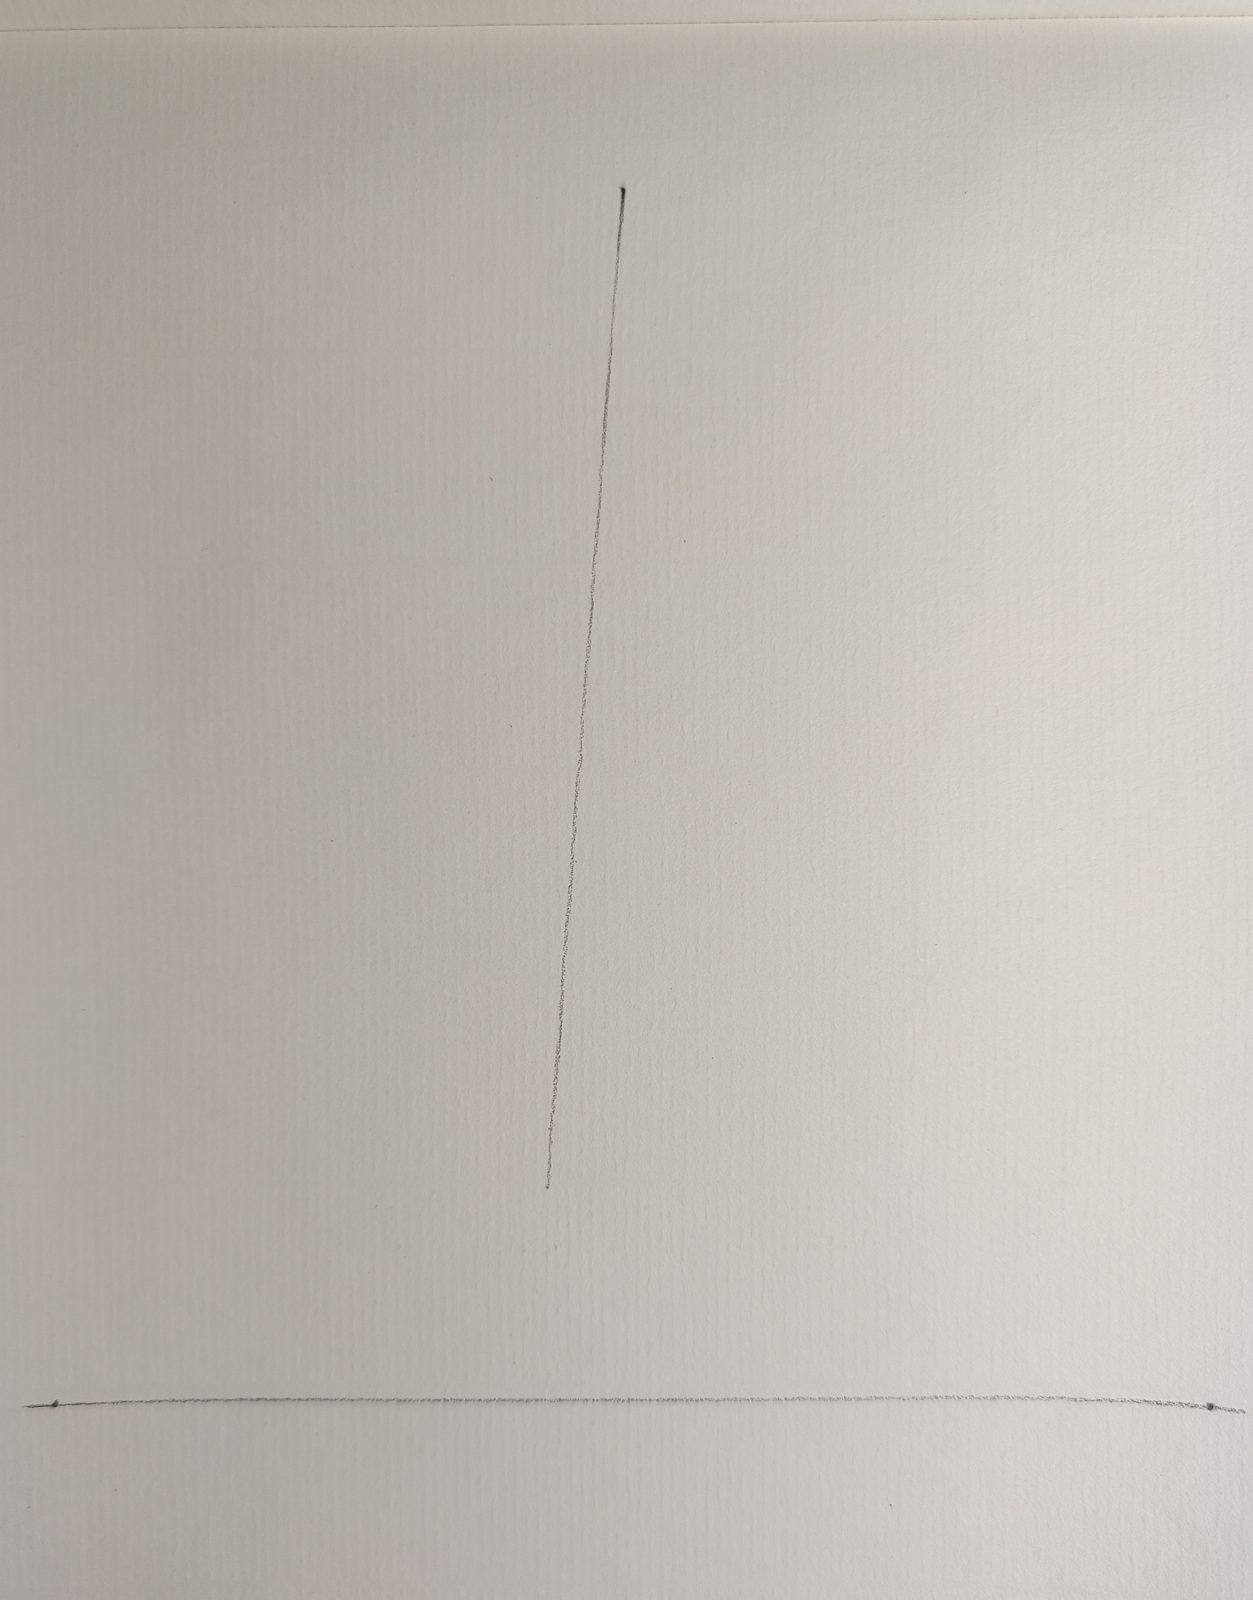
In addition to the two vanishing points on the left and right, we also need a vanishing point on top.
With the vanishing point, let’s start drawing the auxiliary lines.
We first determine a point on the bottom side of the object, and then draw the auxiliary line toward the top vanishing point.
Then we draw the outermost edge of the object. This is easy as long as you follow the auxiliary lines.
Then we determine the other point on the diagonal of the bottom side. Then we have to draw the auxiliary line towards the vanishing point.
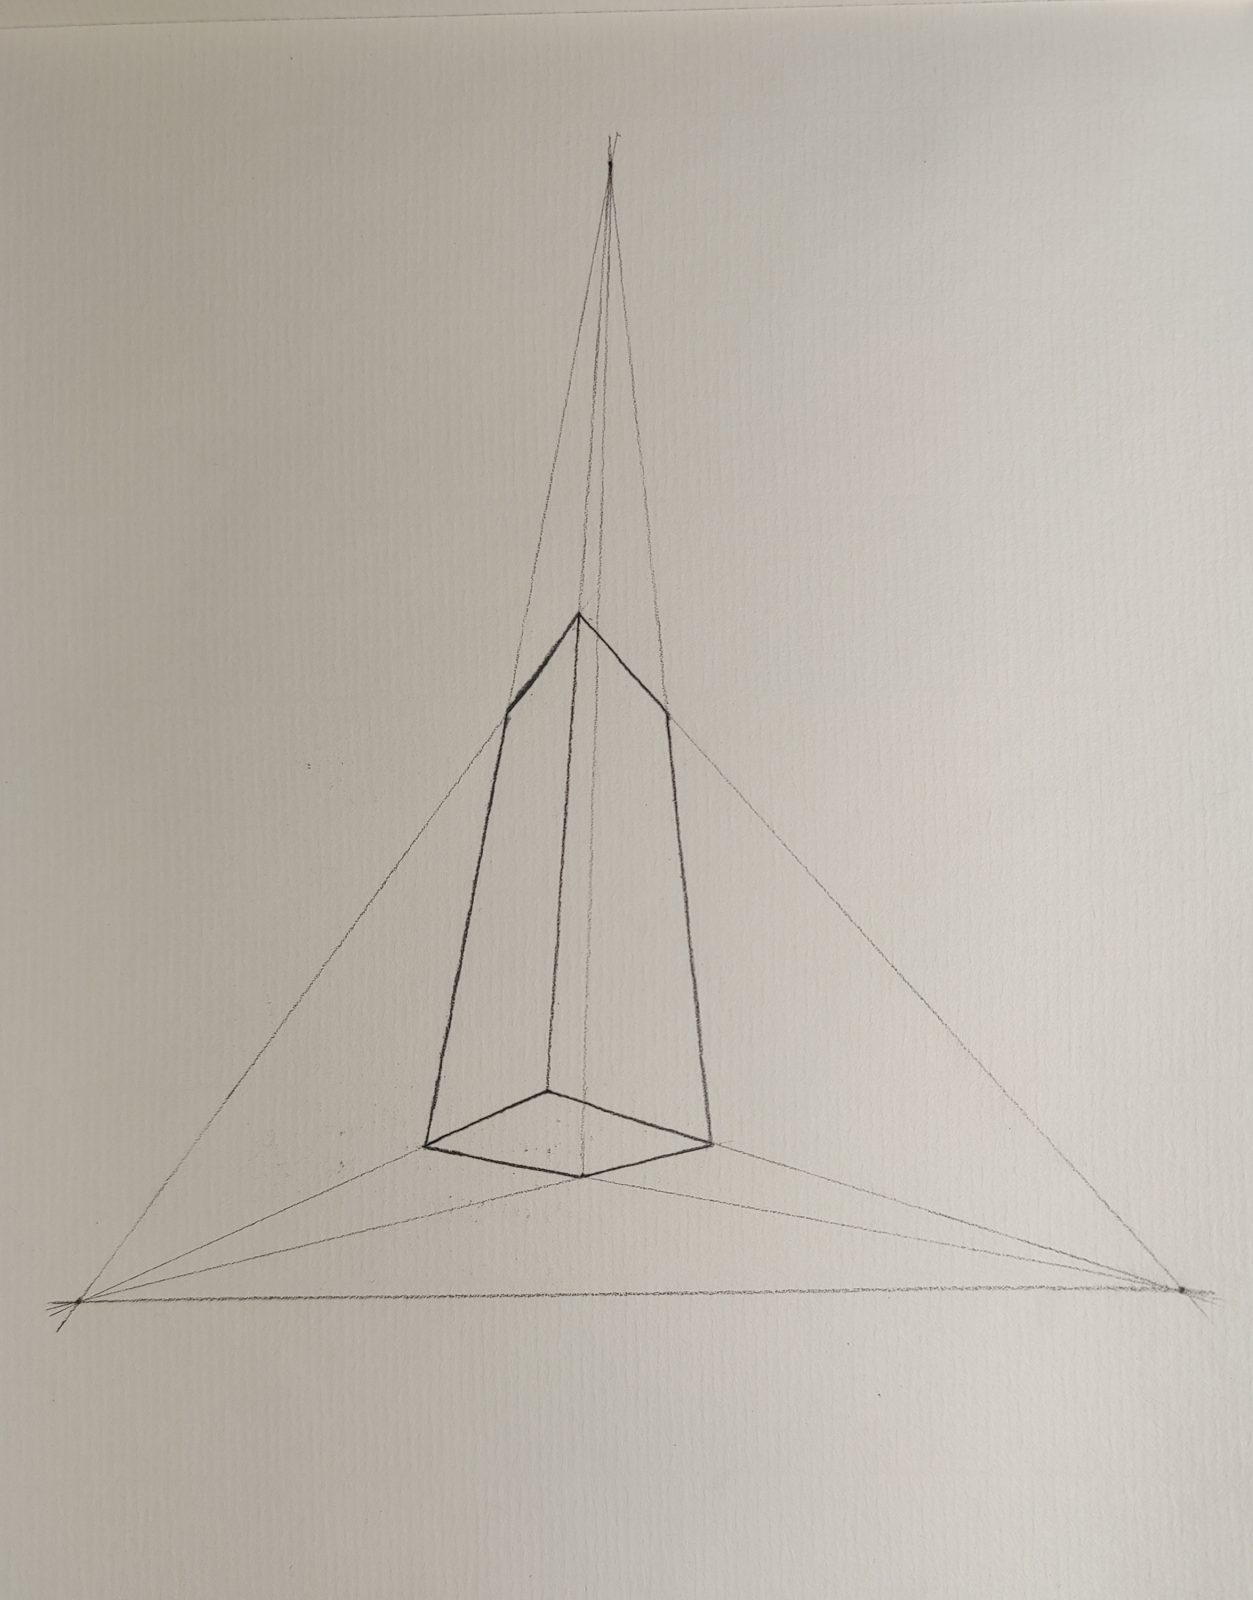
Here we are ready to draw the bottom surface.
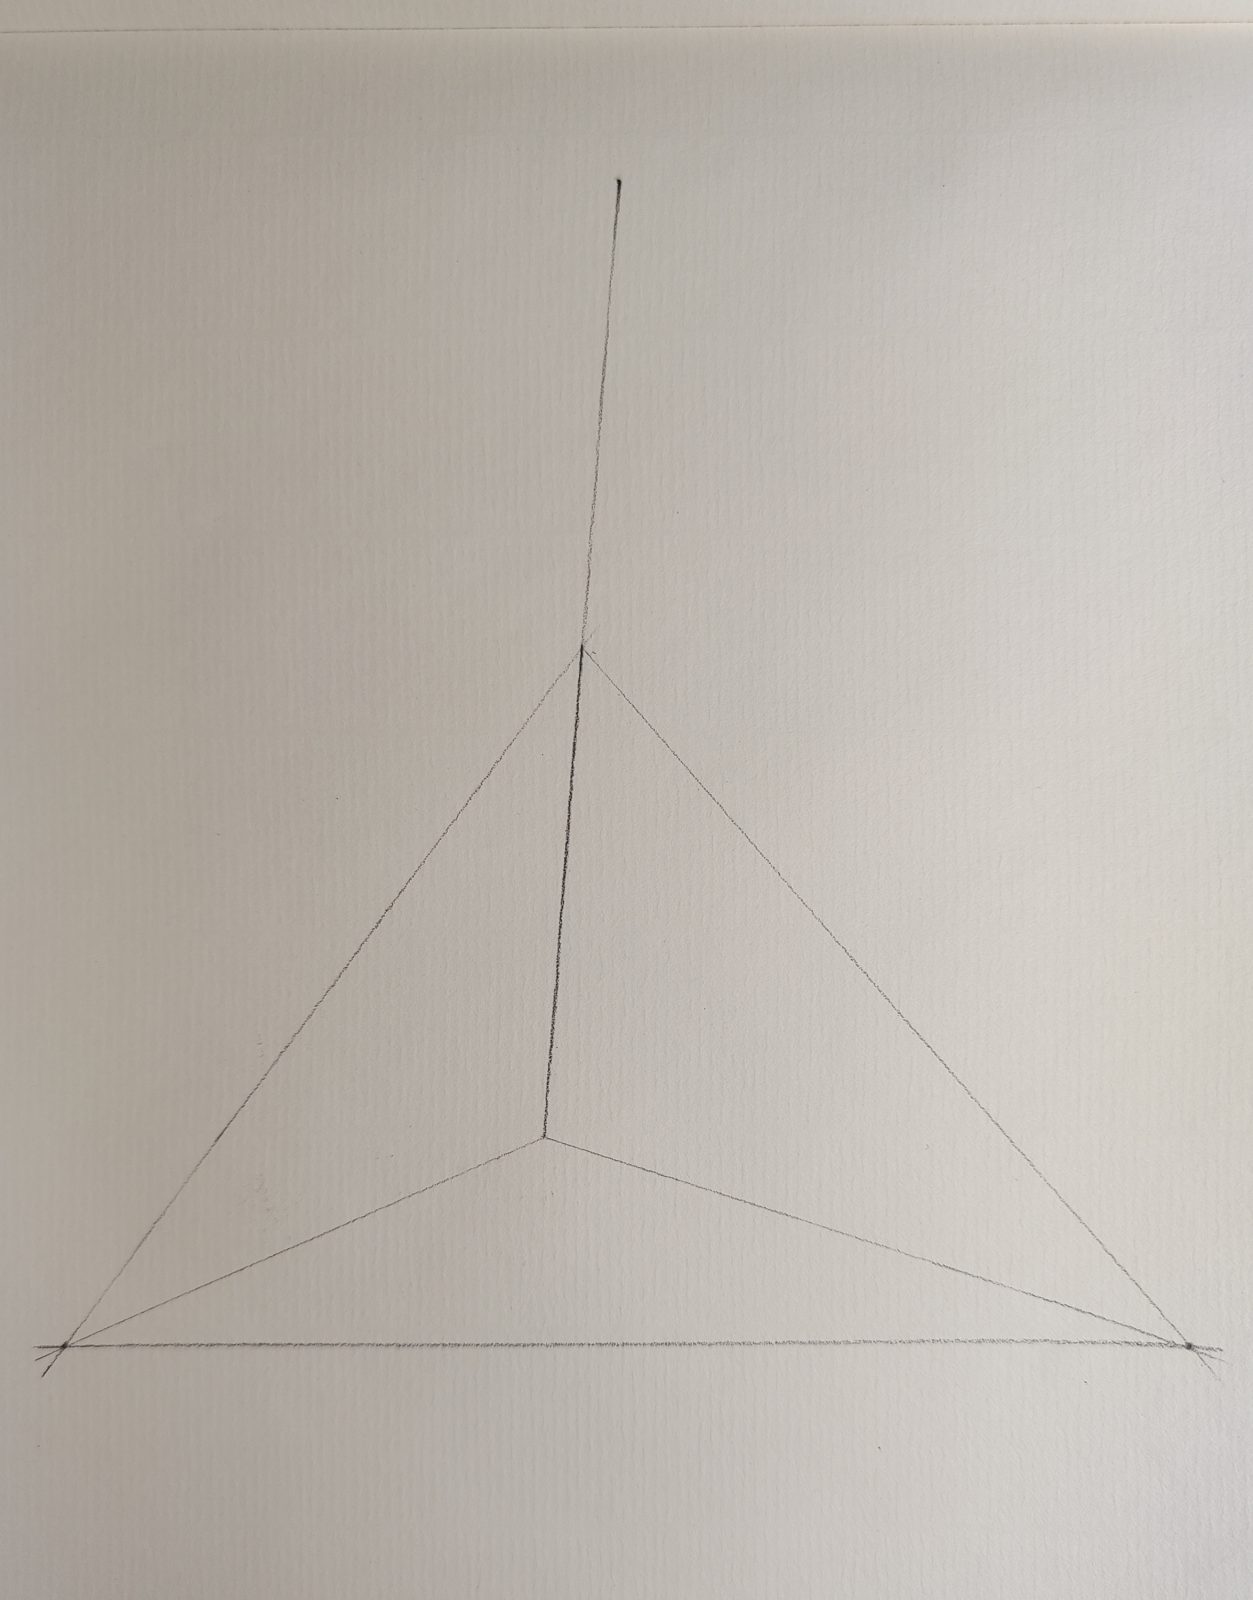
As long as the bottom side is painted. We can then draw the auxiliary line towards the vanishing point at the top again.
Once the auxiliary lines are drawn, the left and right sides are ready to be drawn.
It’s easy to get to this point.
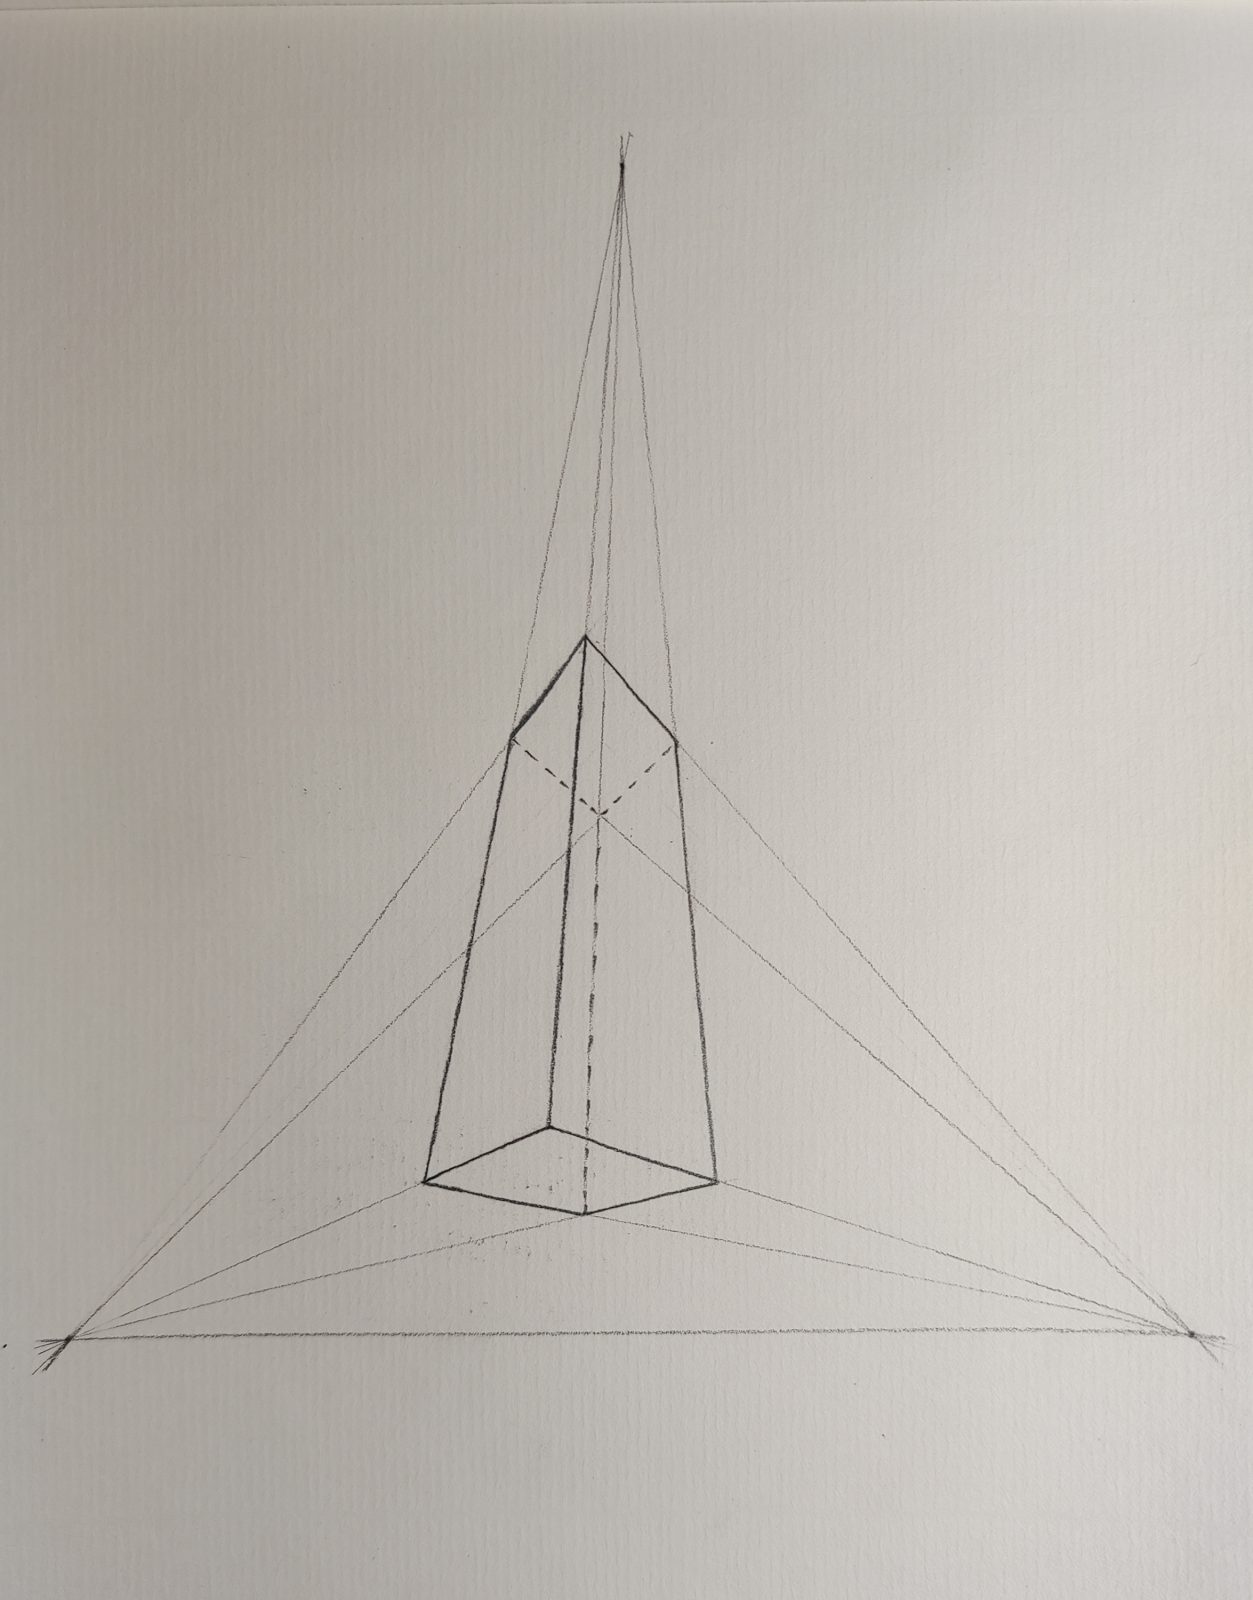
Next, we draw the top surface.
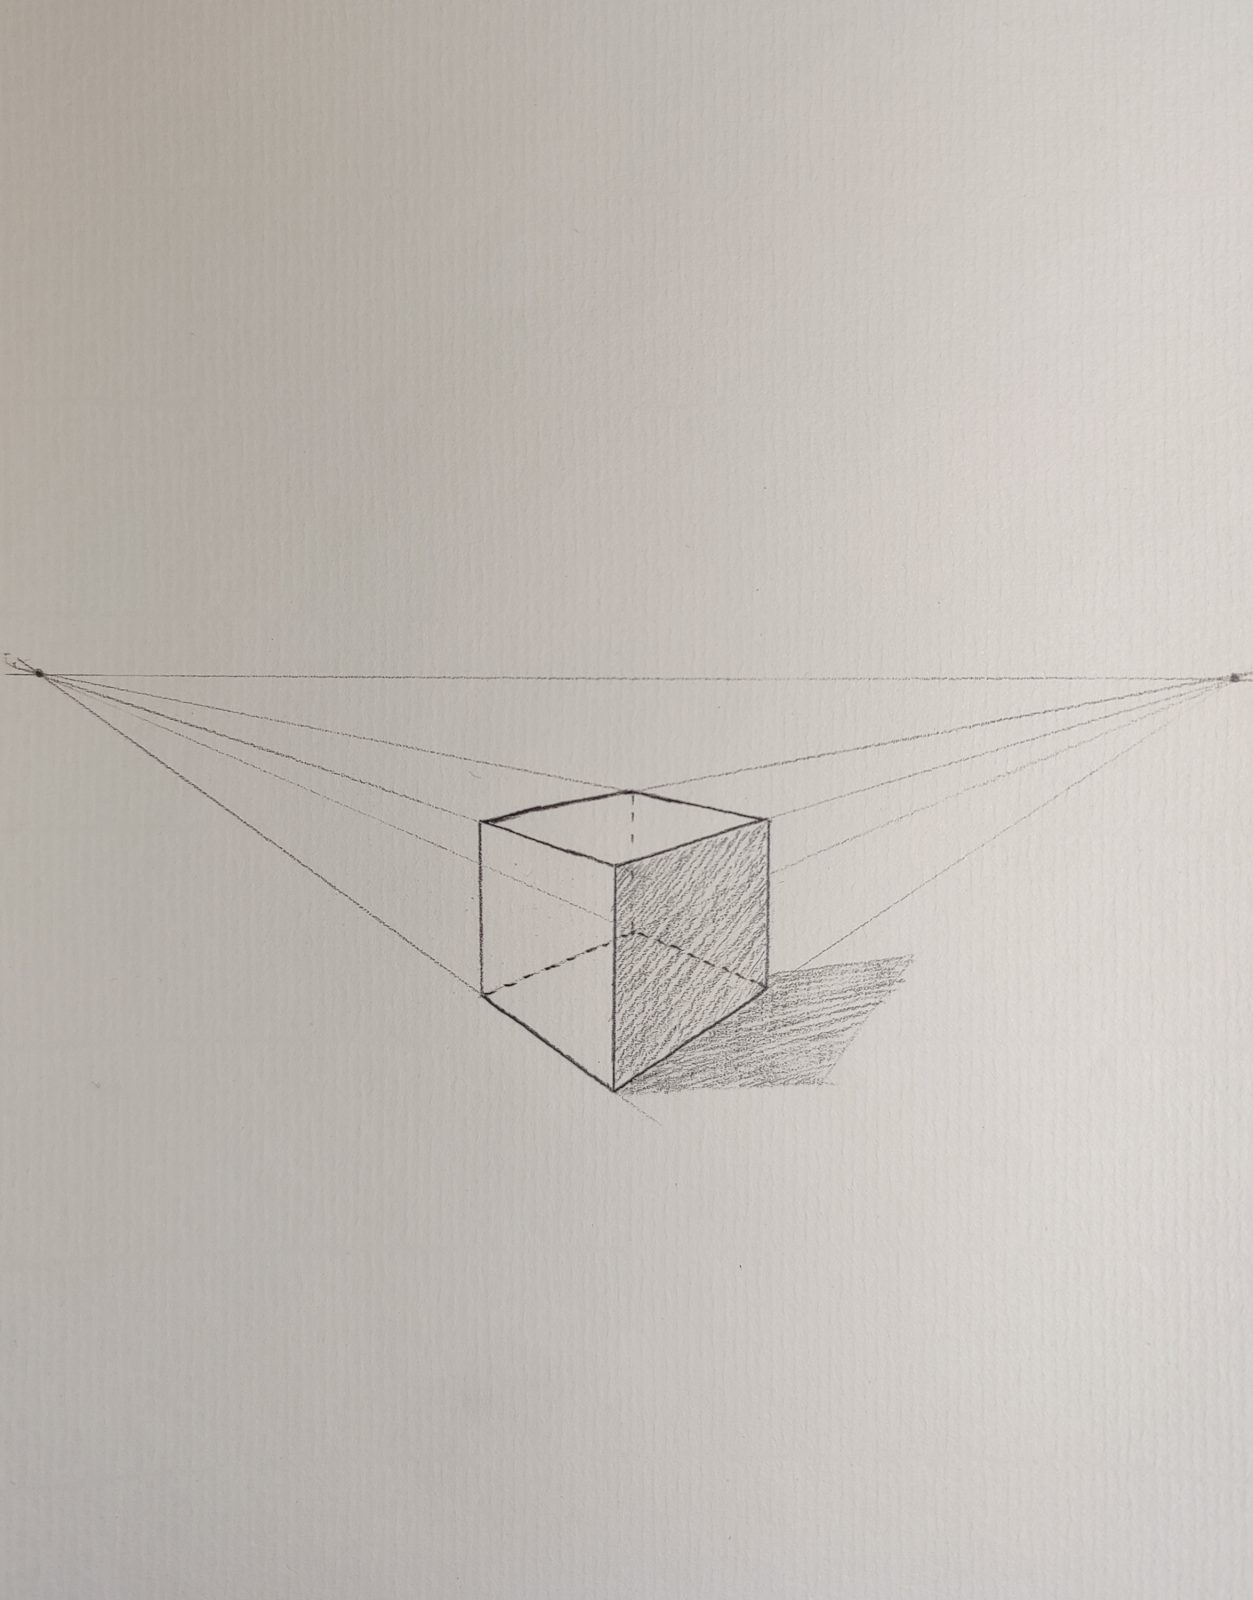
Finally, we can draw some shadows.
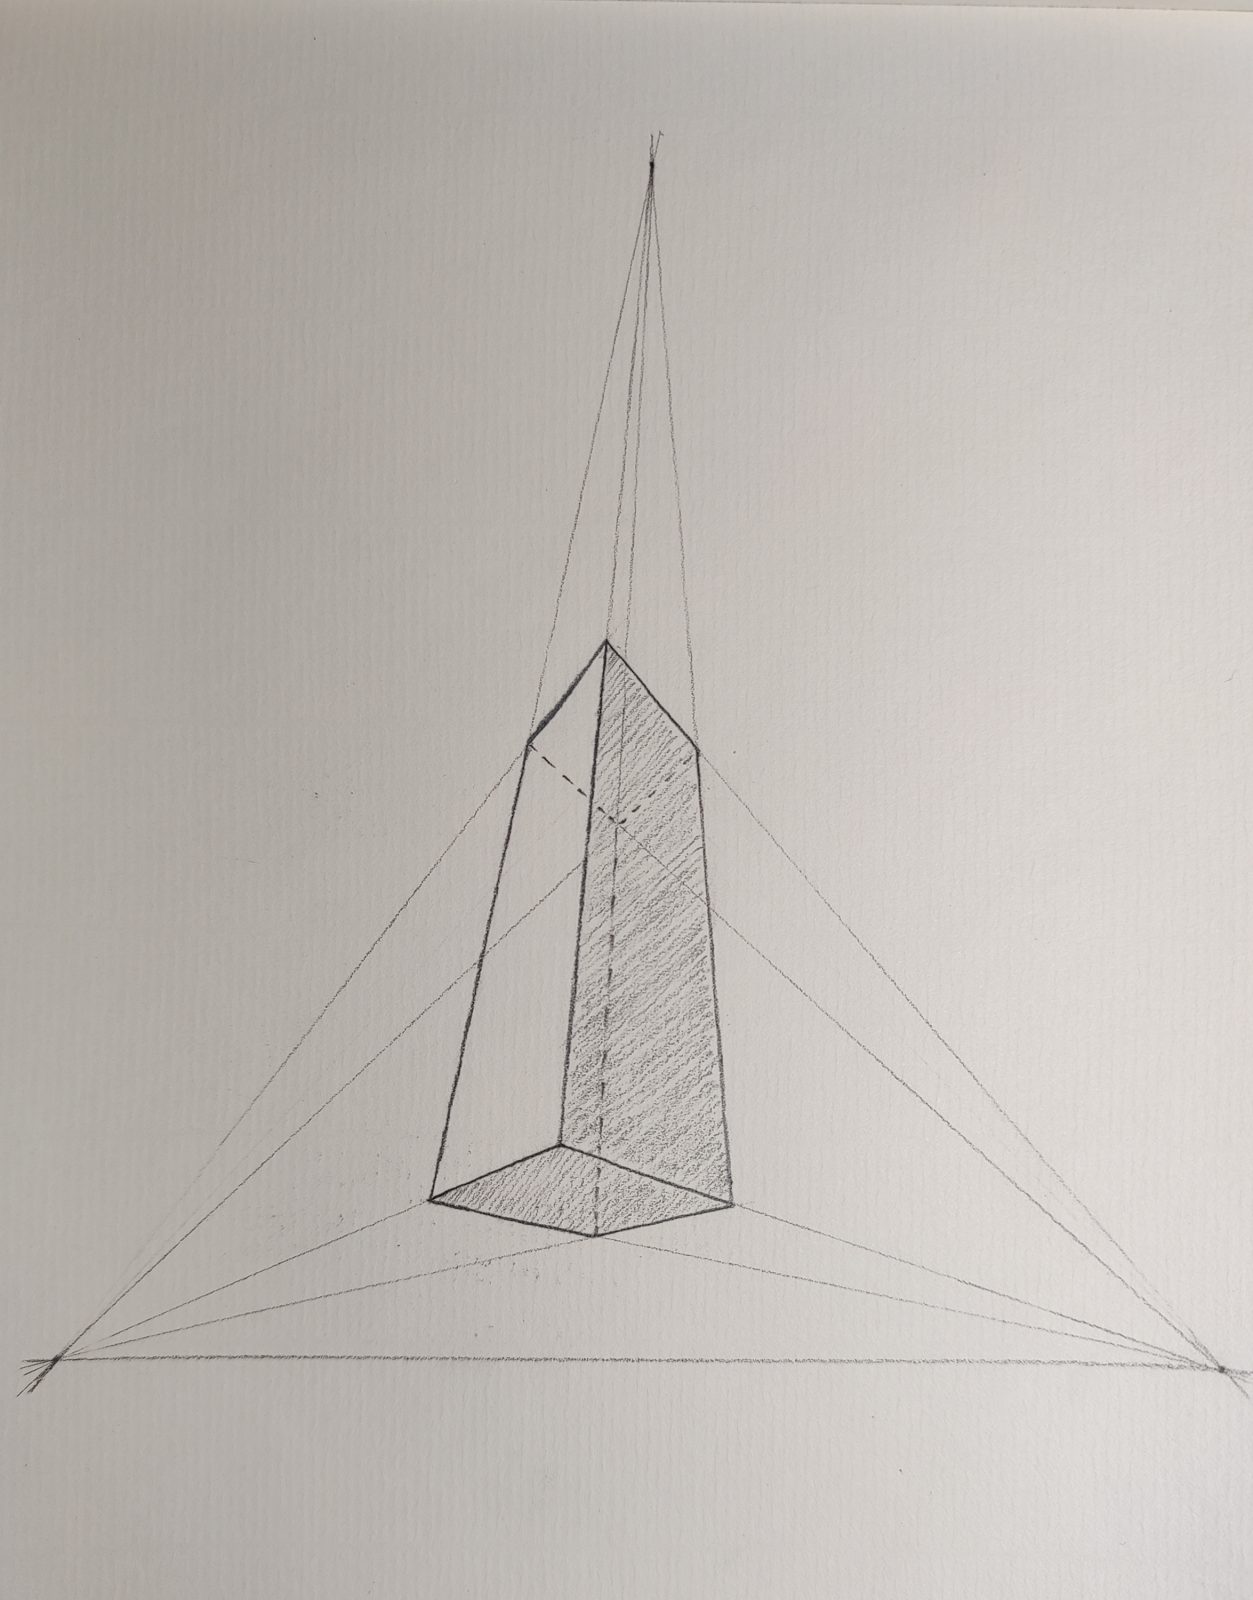
Finally, erase the auxiliary lines and see the effect of our drawing.
Of course, you can also use this method to draw the top view.
Or the vanishing point at the top can be outside the paper. Draw farther away so that your work can be a little square.