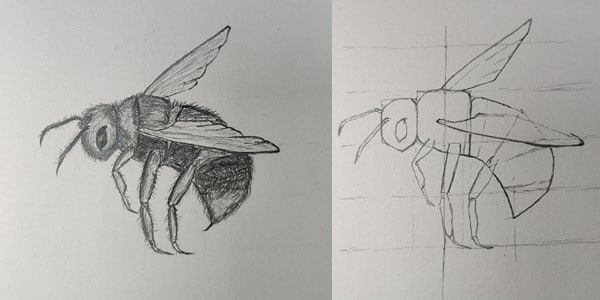
Bees are one of the most important insects. Because they can impart pollen. It can be argued that without bees, Kenben on Earth would not have such a colorful plant world. Today we are going to draw a bee.
This is still a step-by-step drawing tutorial for beginners. We’ll draw a realistic bee.
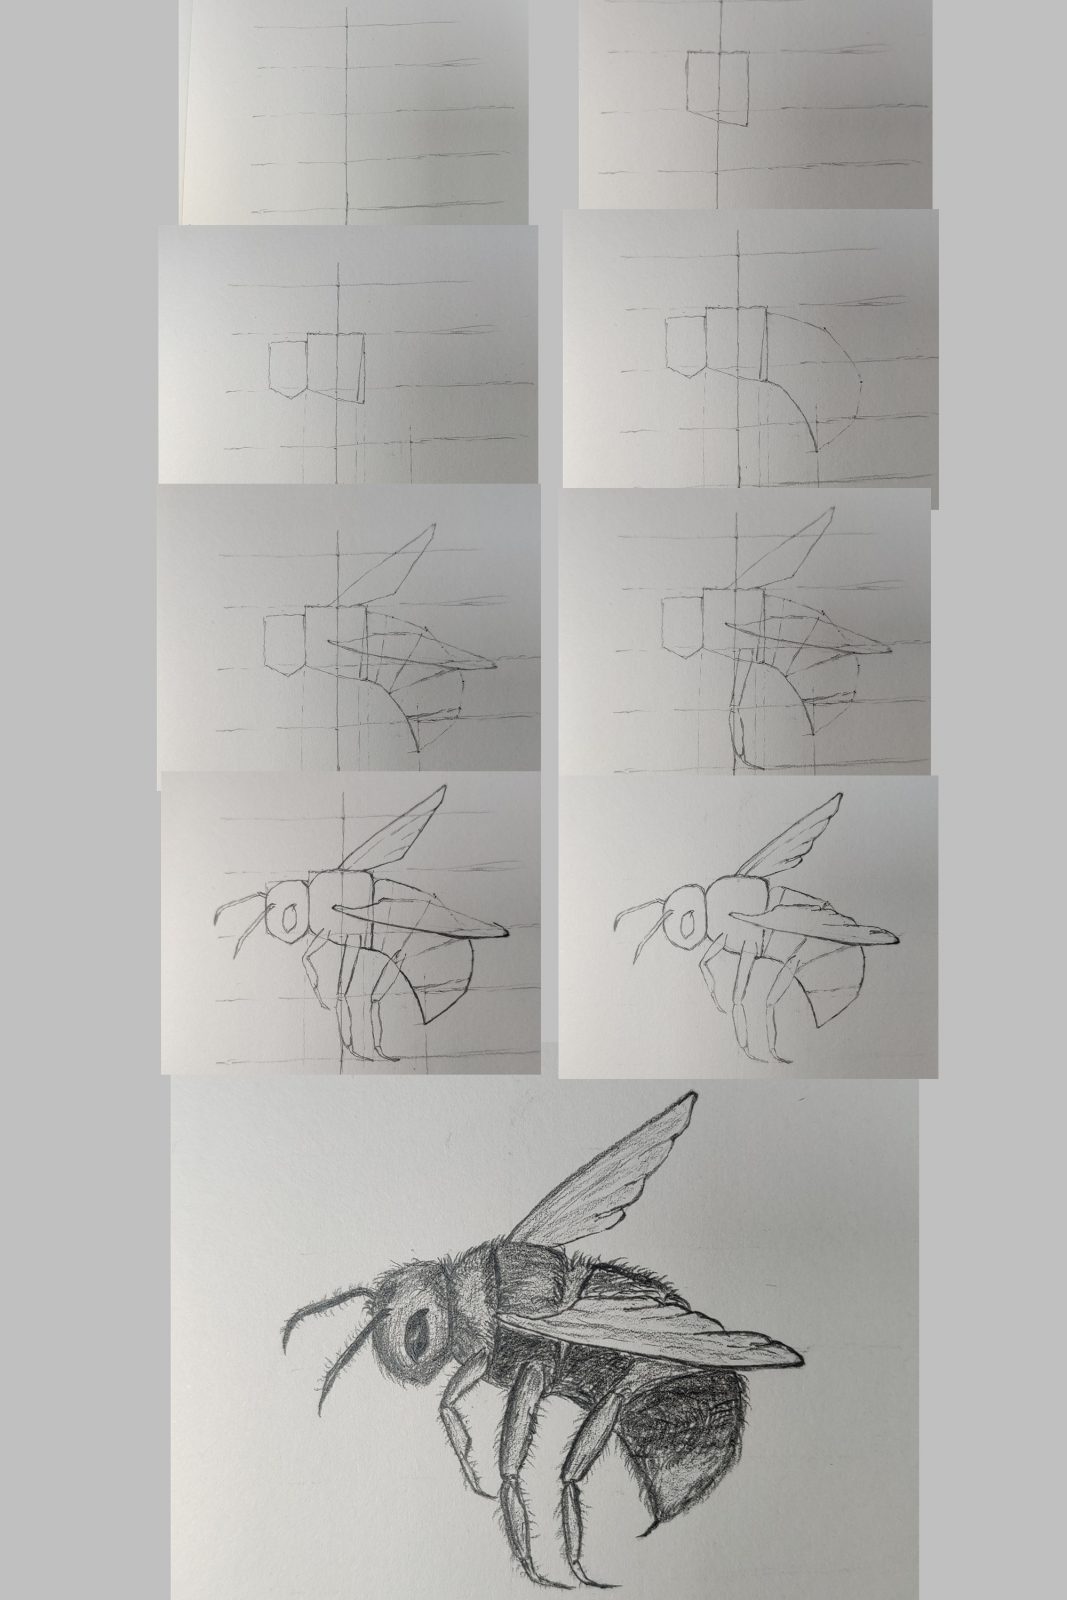
1. Draw a bee torso
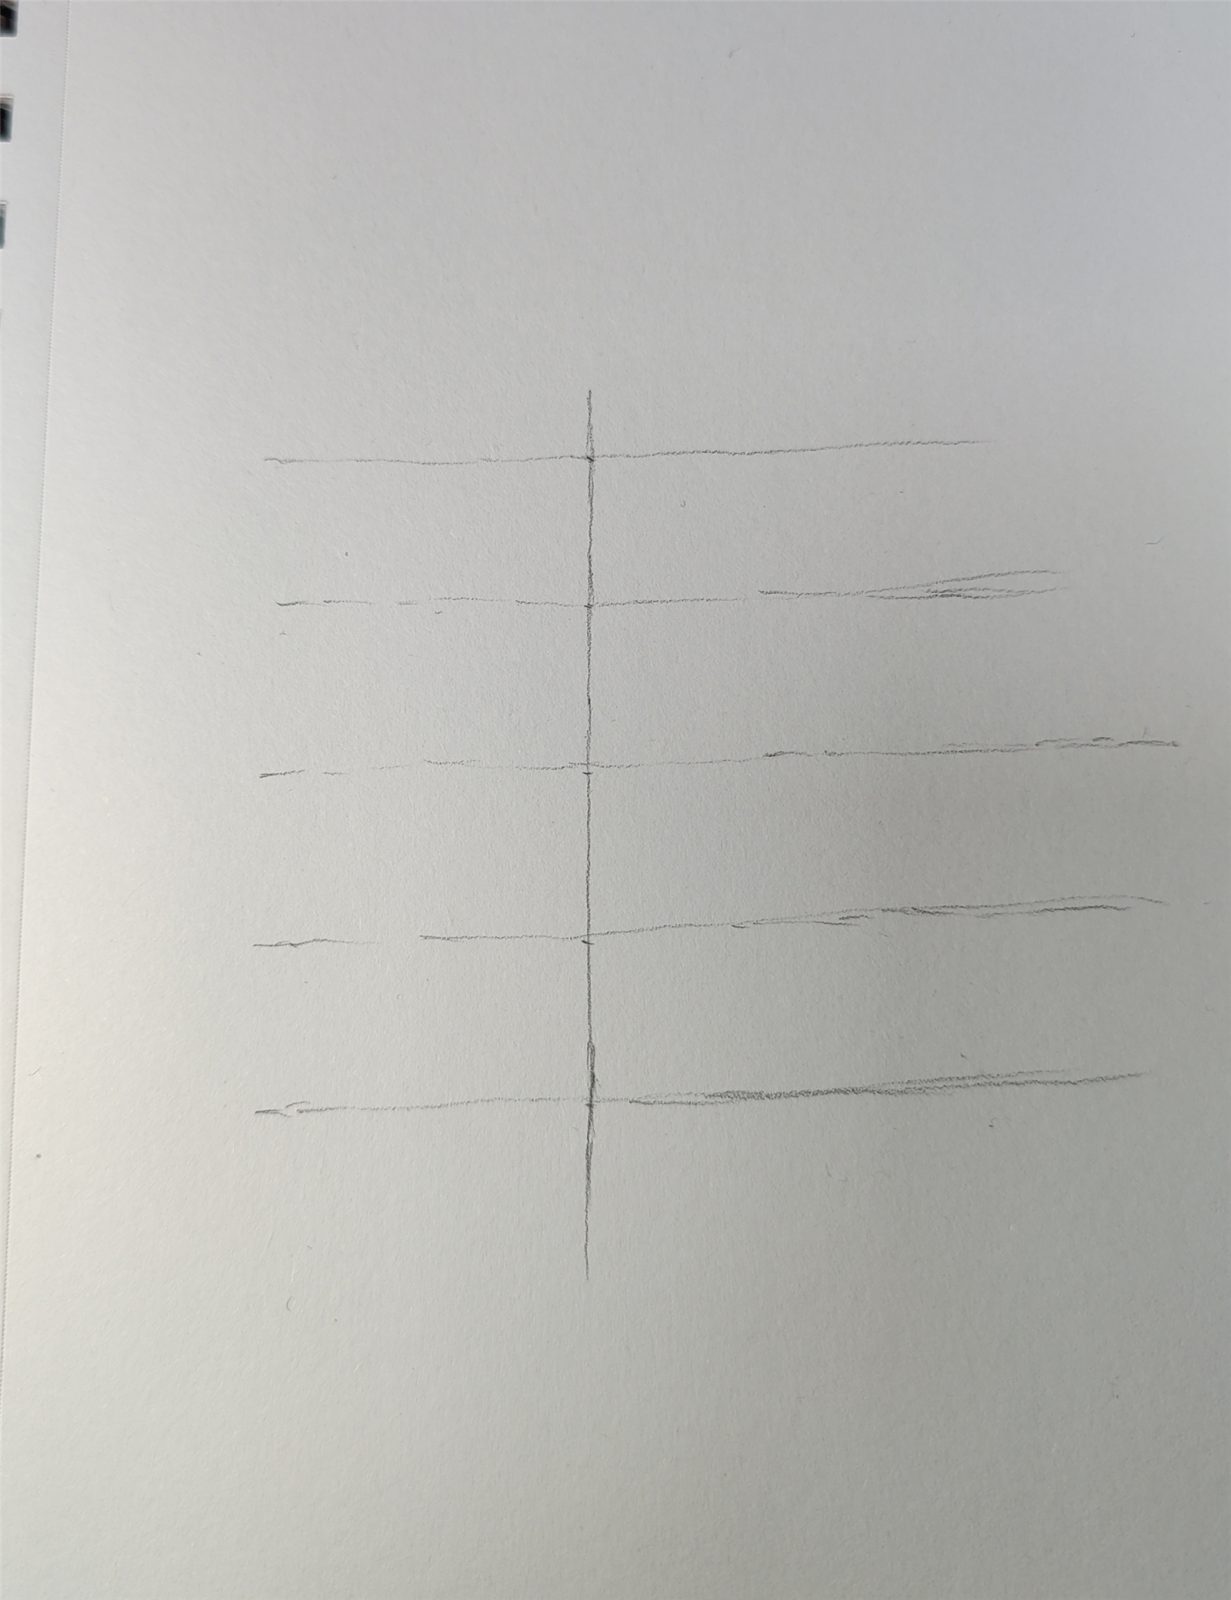
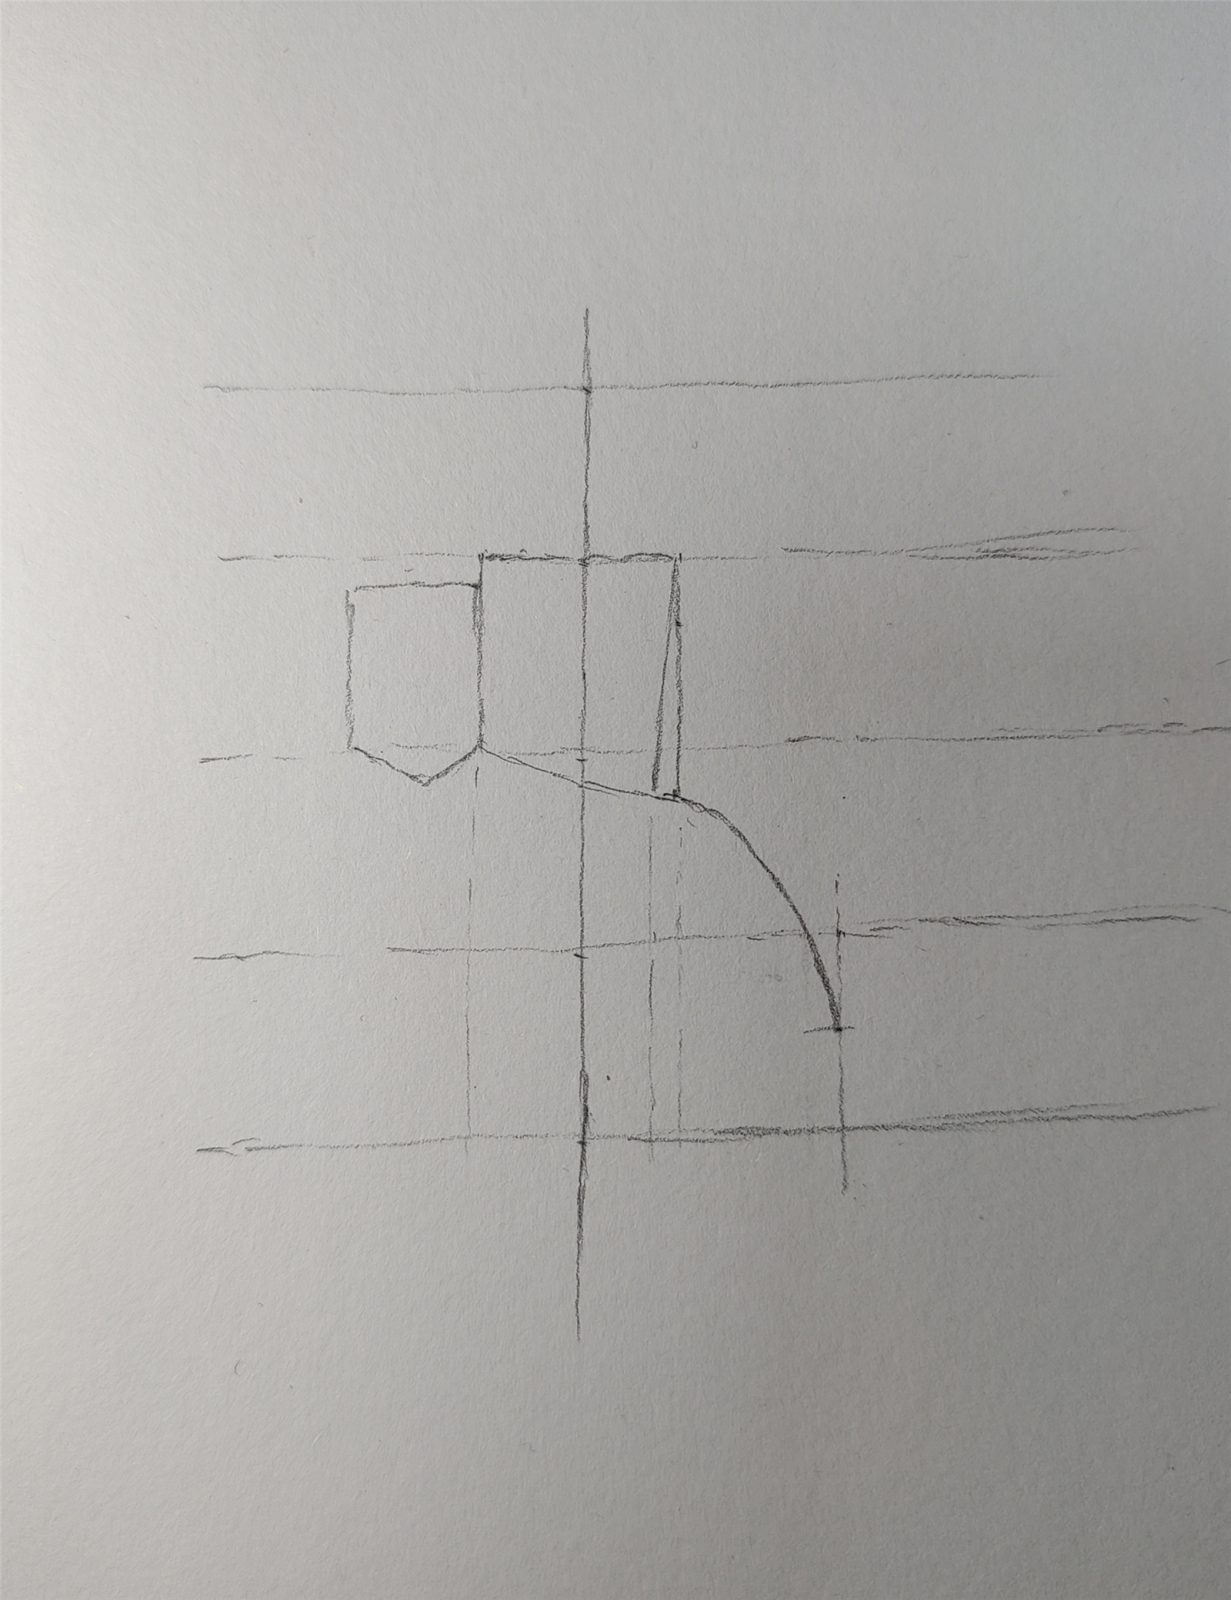
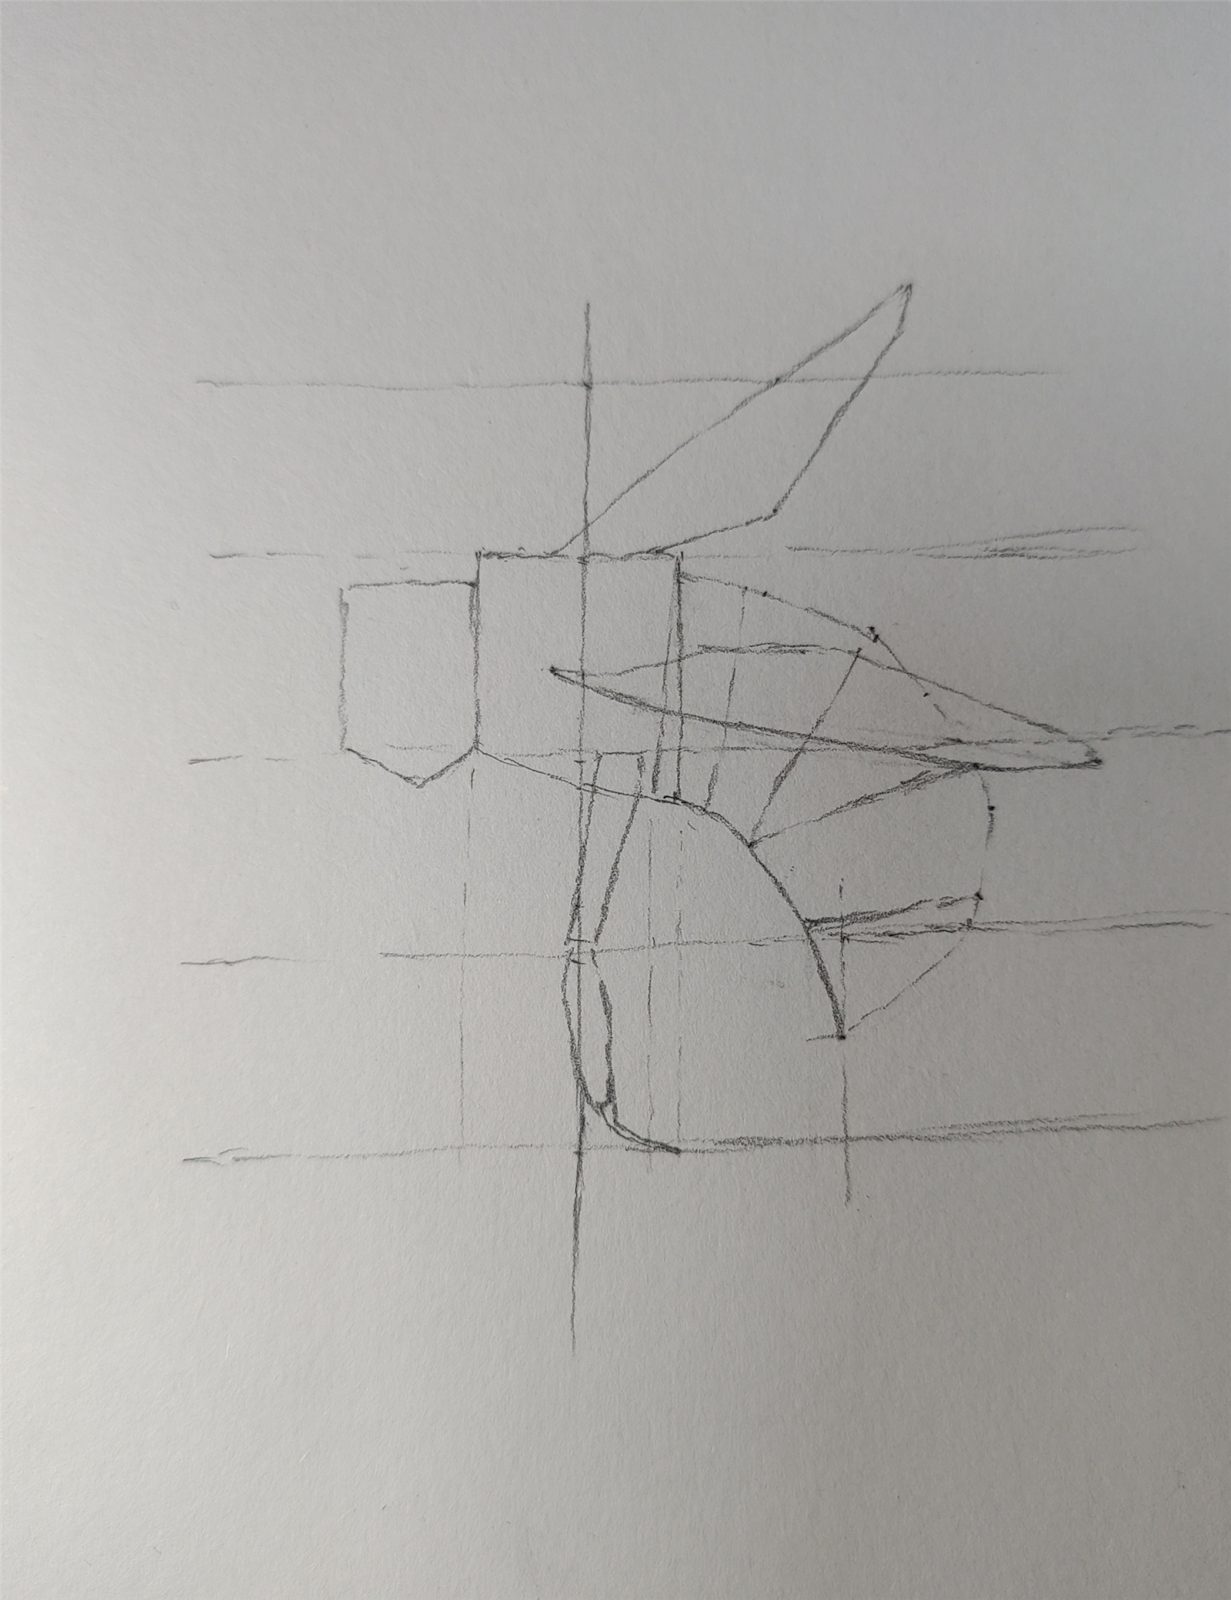
First, draw a vertical auxiliary line. The length of the line is almost equal to the size of the bee we will be drawing.
Therefore, pay attention to the length of the line segment.
Subsequently, draw five horizontal auxiliary lines with the same horizontal line distance.
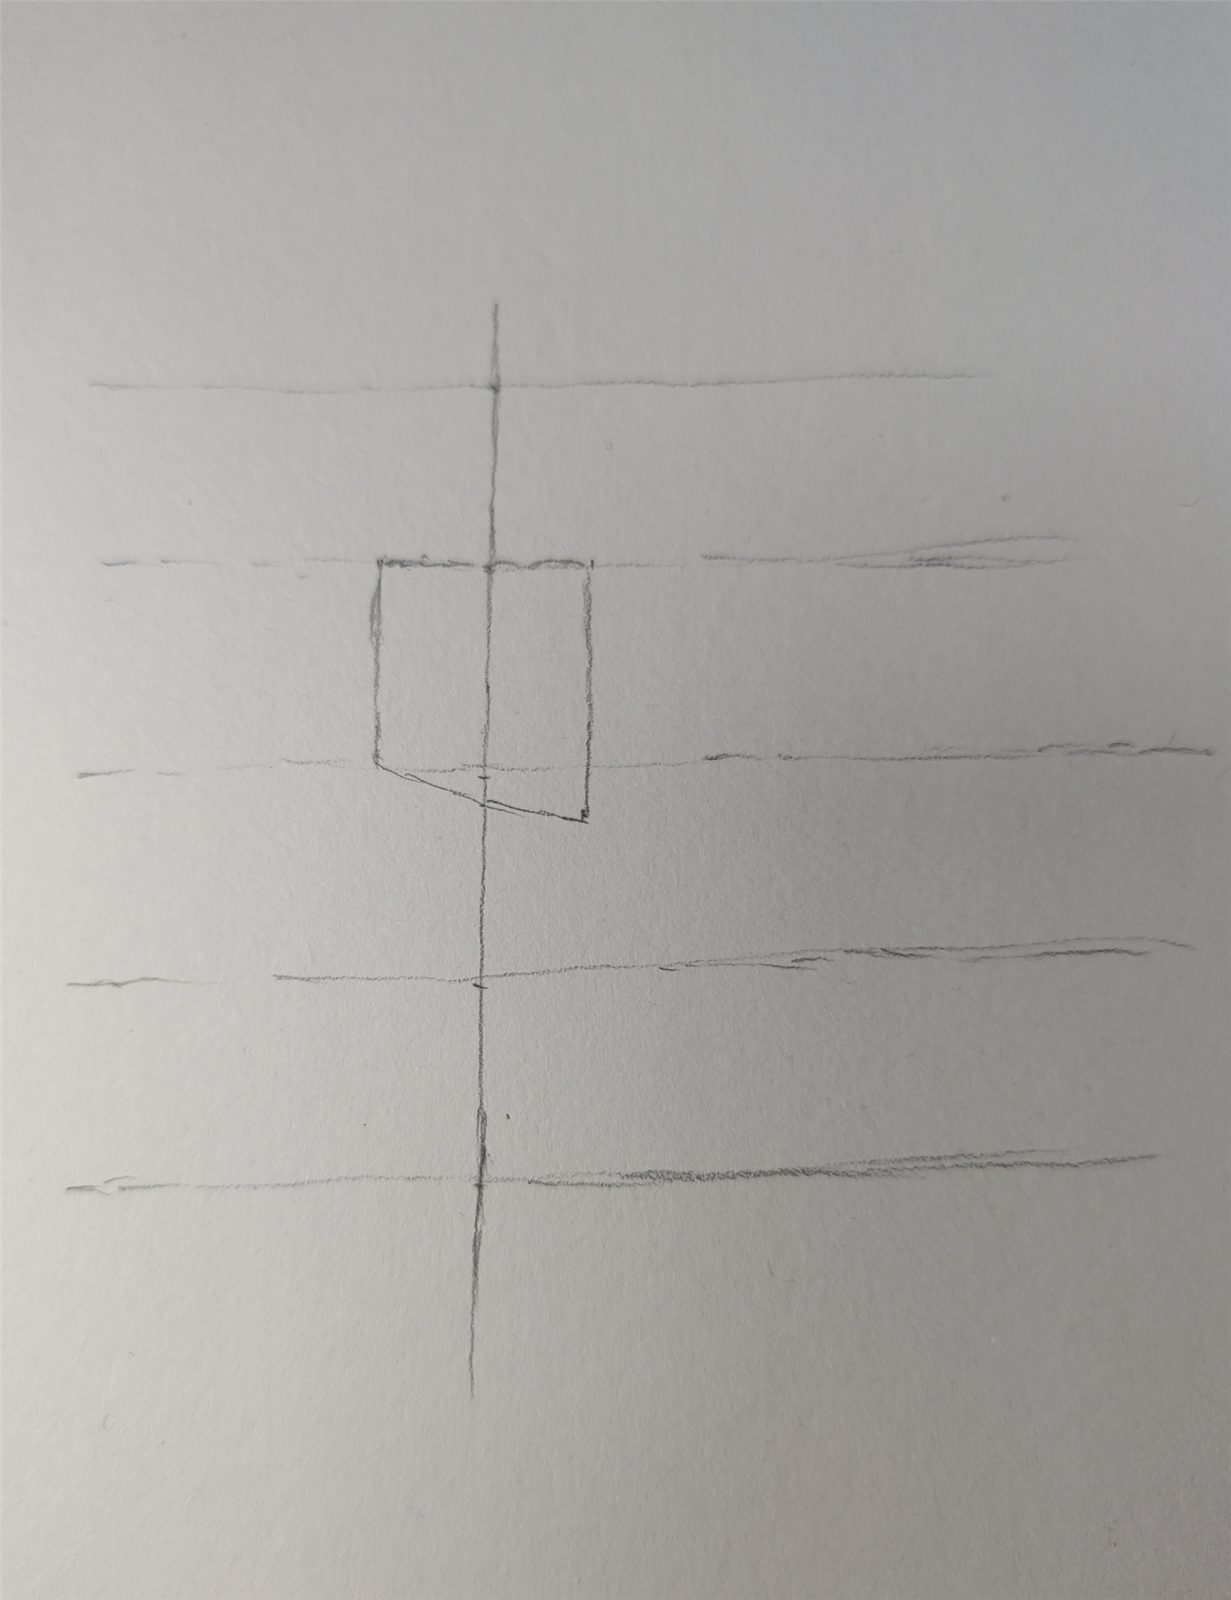
Then, draw a trapezoid with only the bottom edge tilted. Note the angle of the tilt. This is also the angle at which the bee’s body is bent.
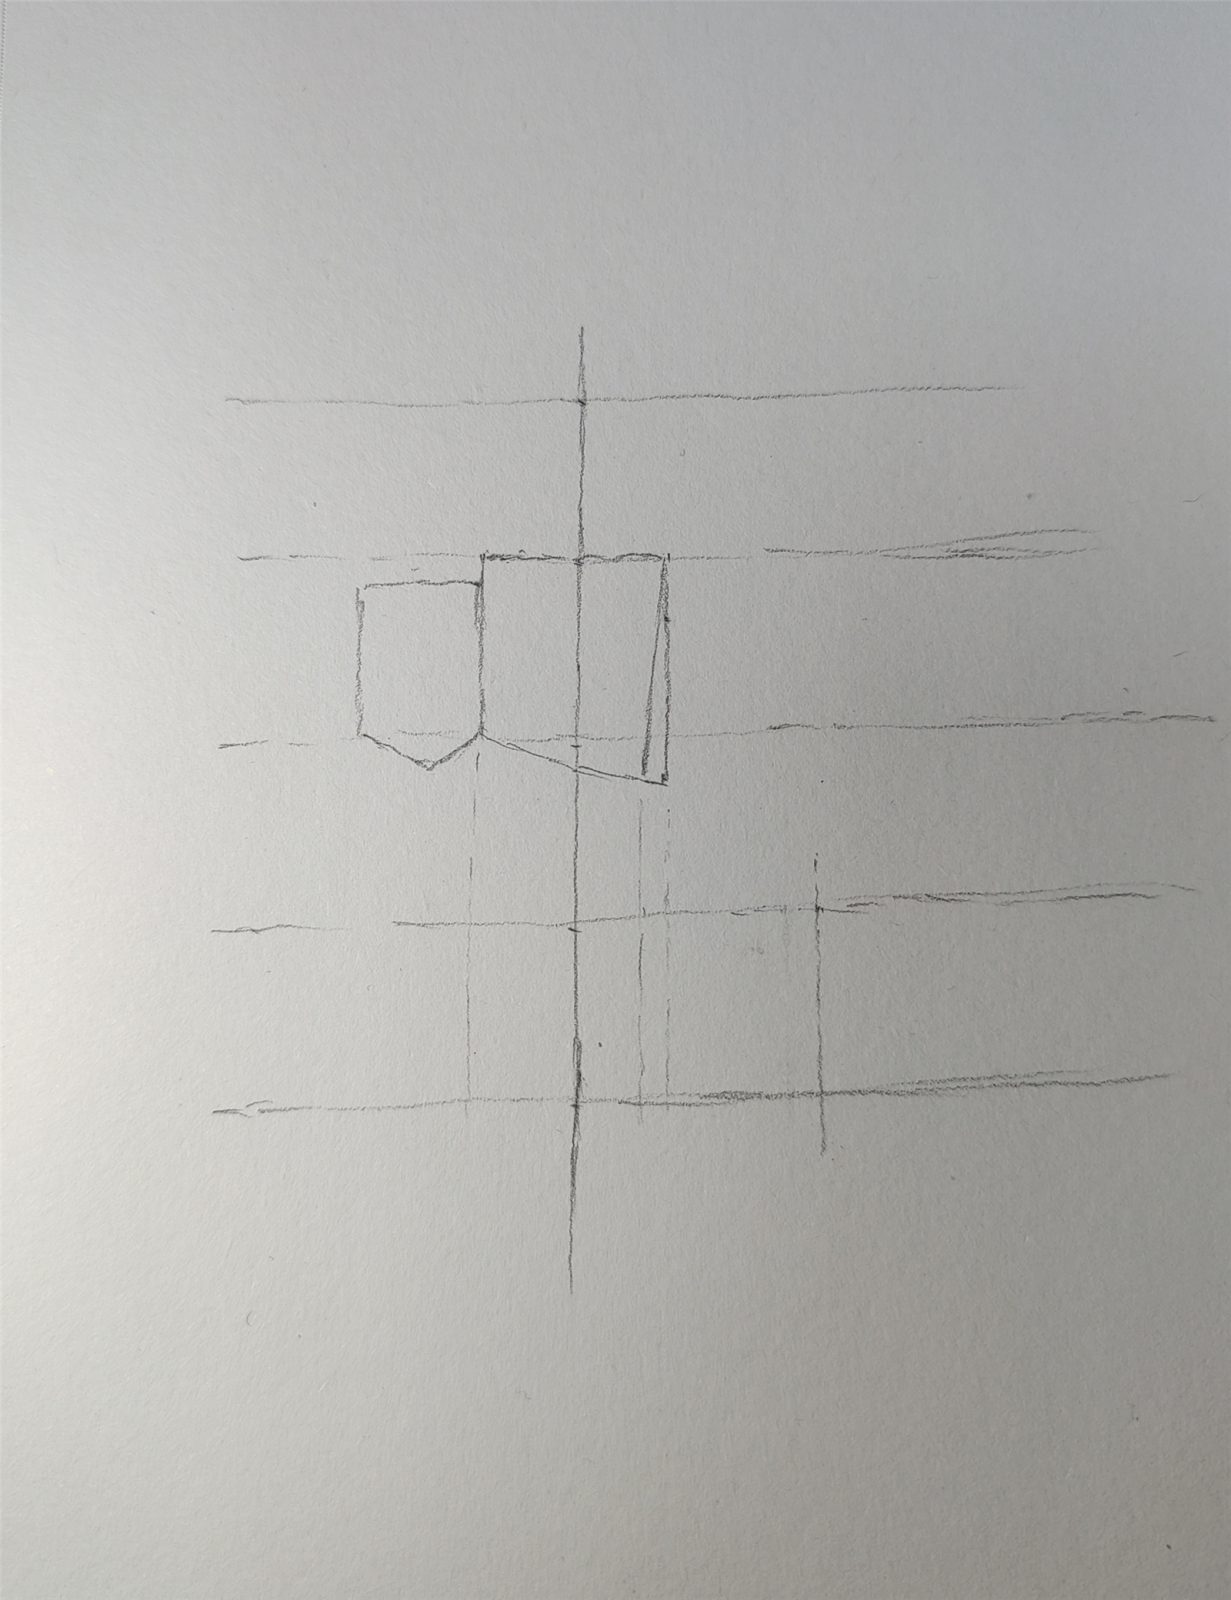
Next, draw the bee’s head on the left, a little lower, noting that the lower part is drawn as a triangle.
2. Draw the outline of a bee’s abdomen
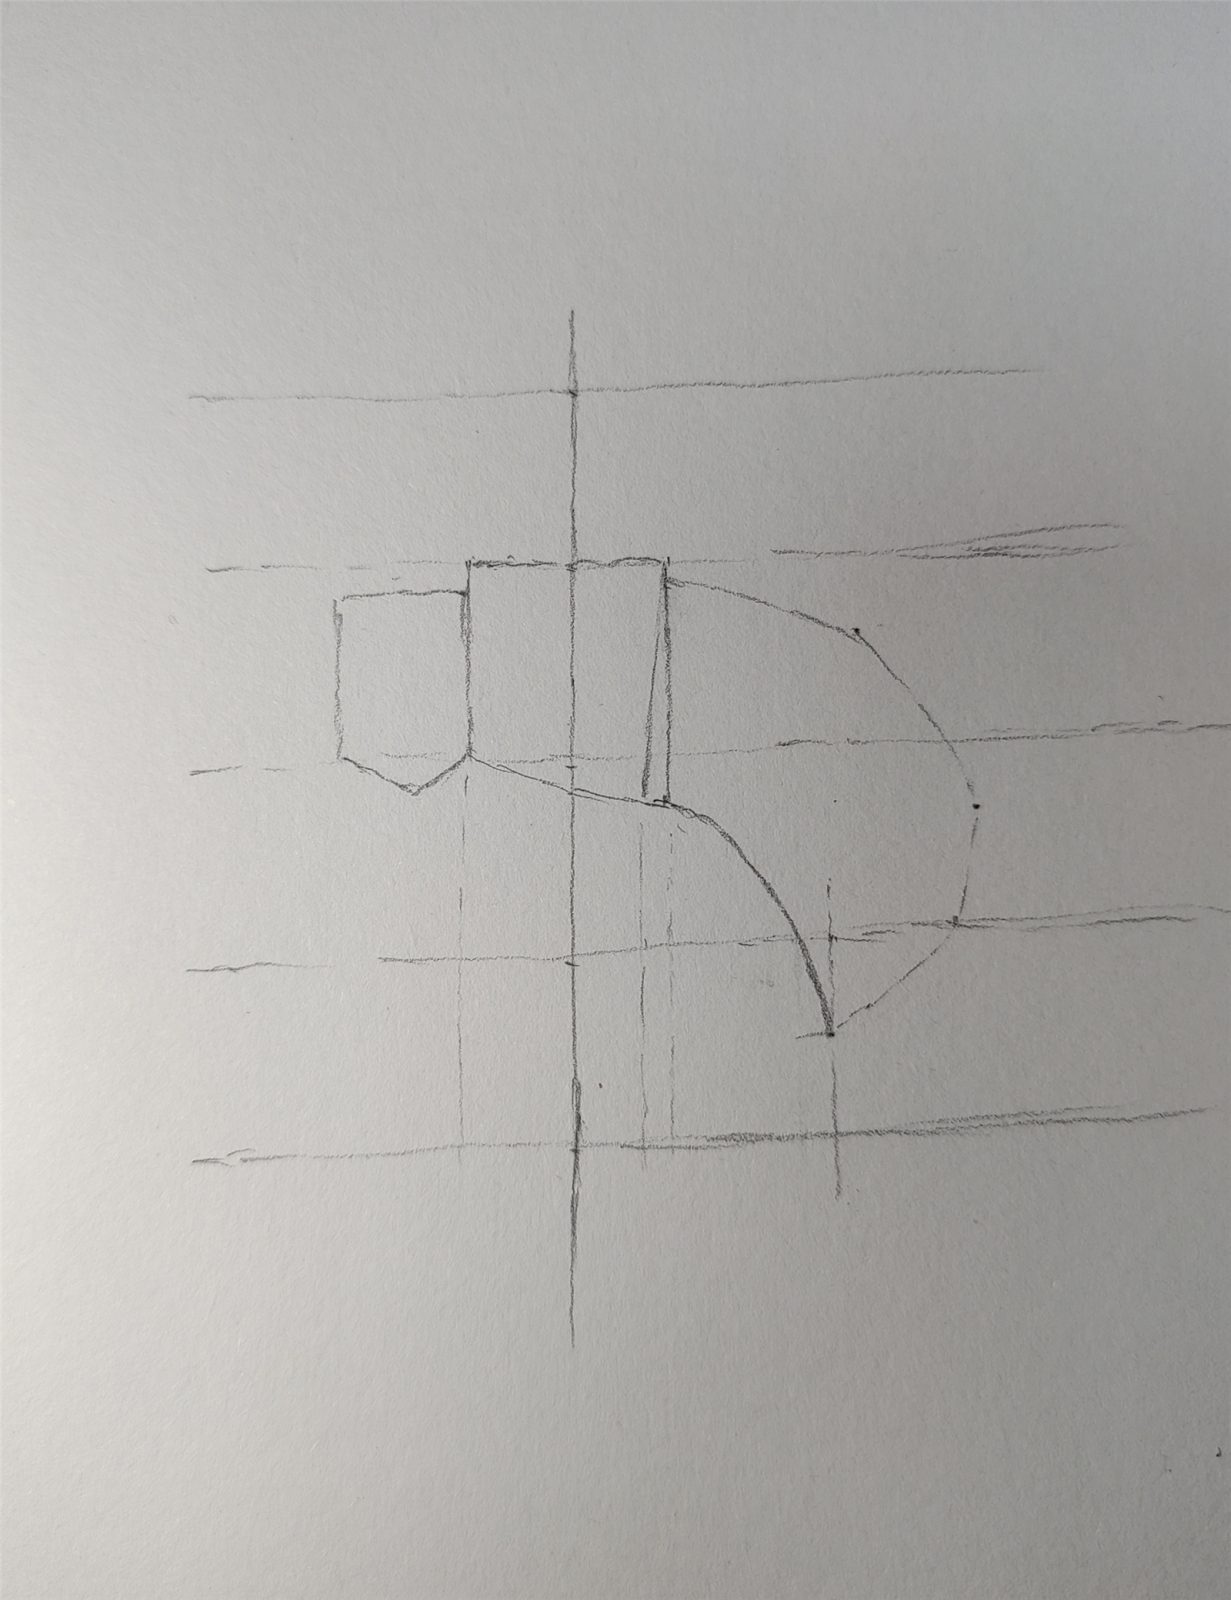
First, determine the lowest position of the bee’s abdomen, as well as the horizontal position. Then draw two curved lines to this point.
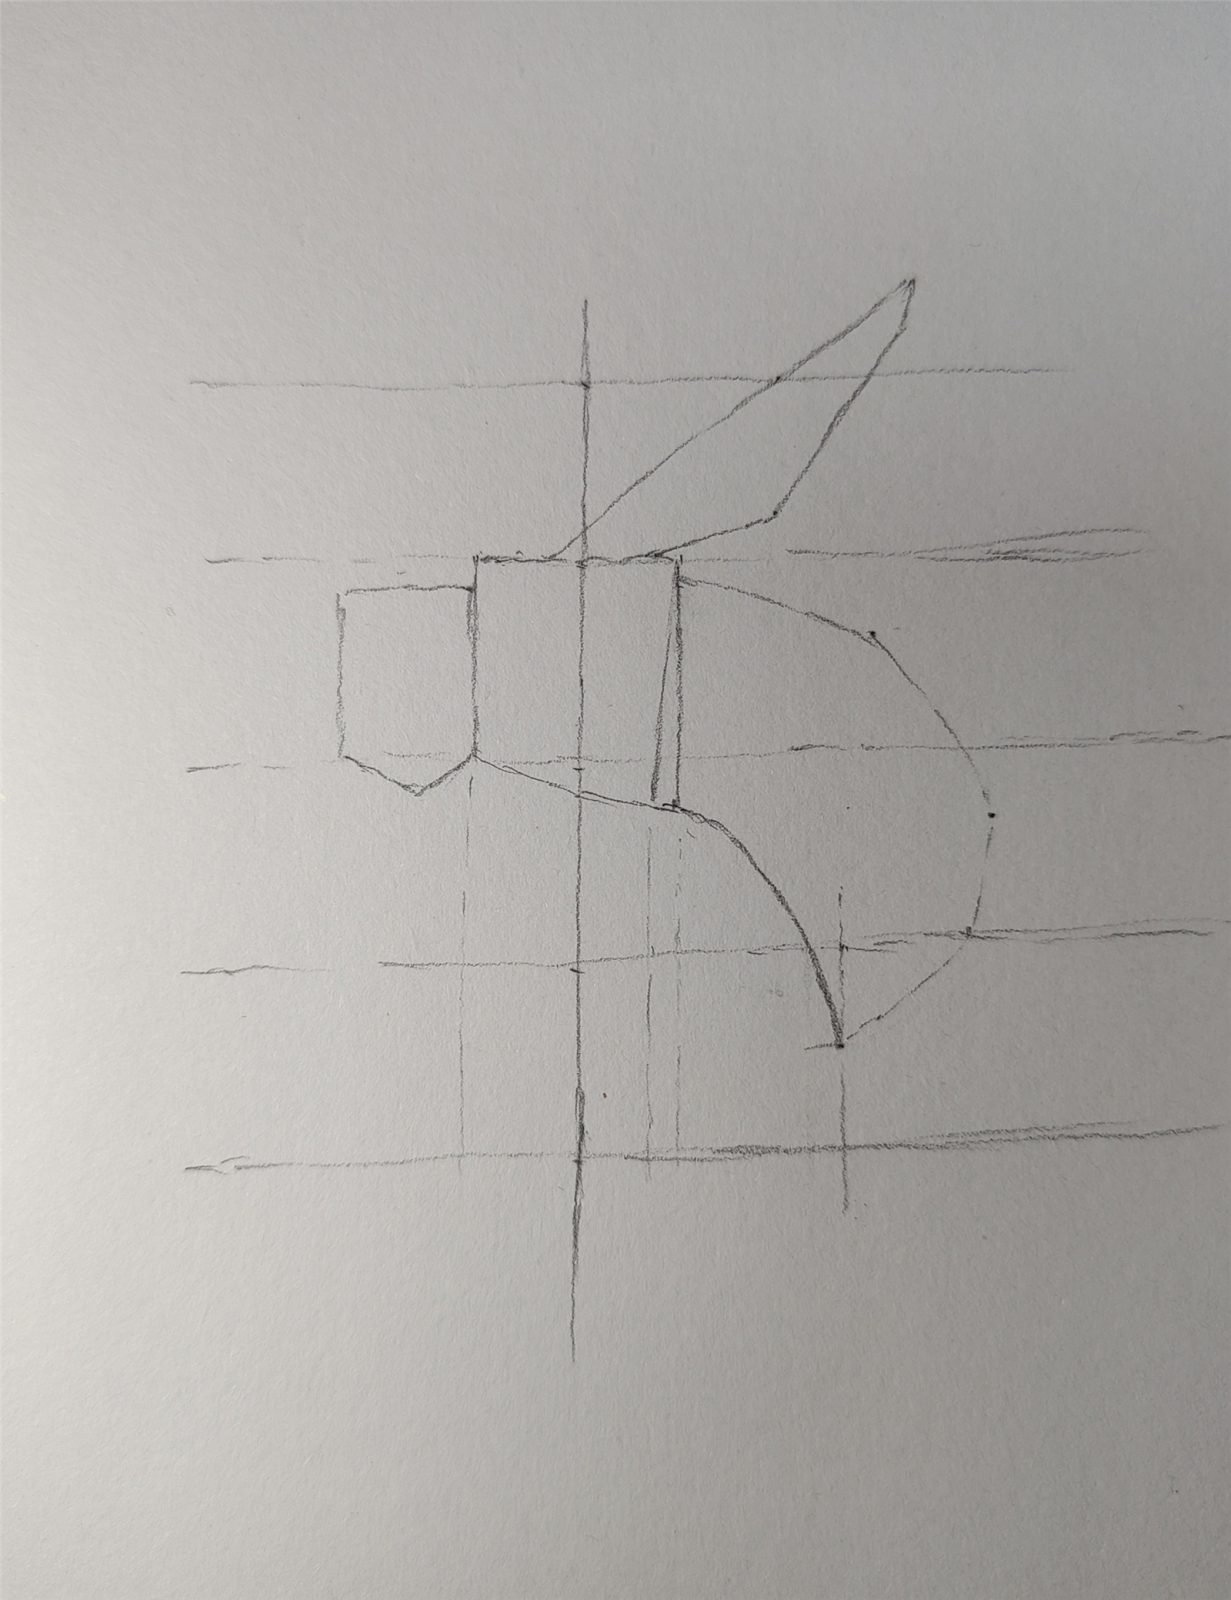
Then determine the position of the wings and start drawing the contours of the wings.
3. Draw a bee leg profile
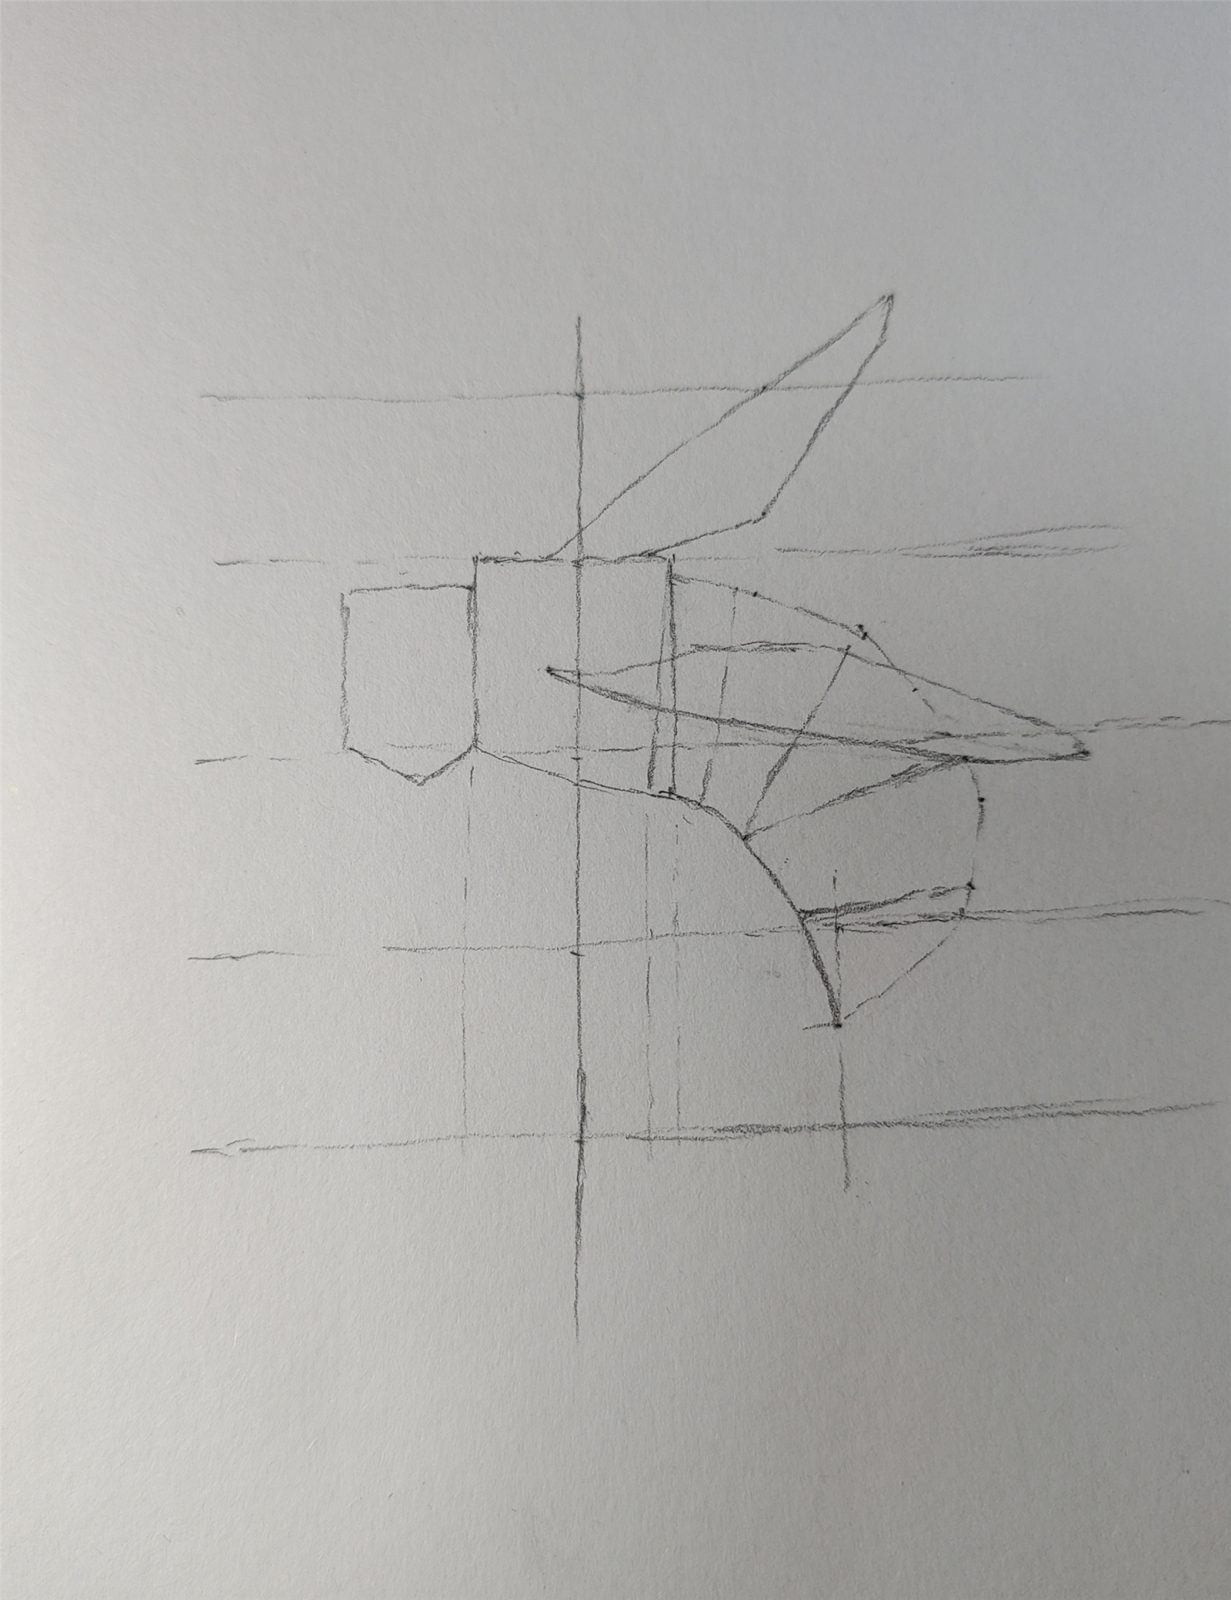
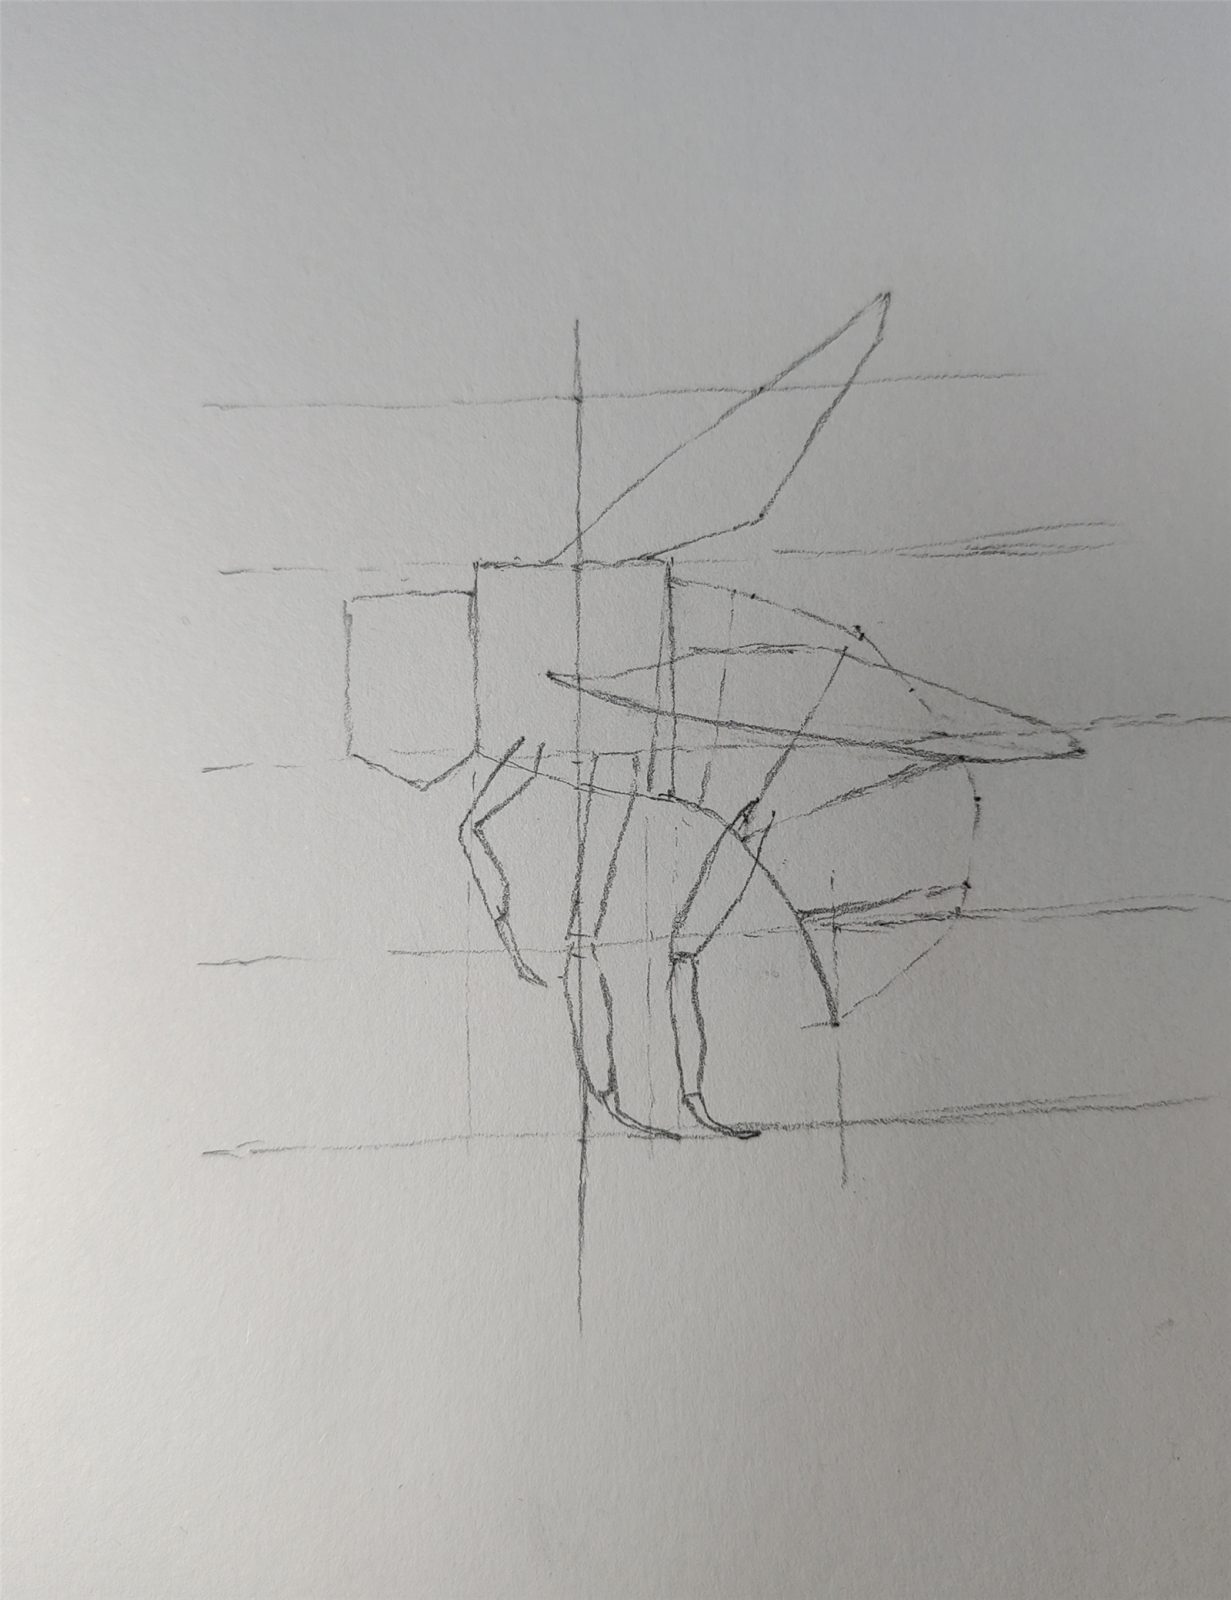
After drawing the bee’s wings, go on to draw the abdominal segments, which are usually divided into five parts.
Now, let’s start drawing the legs of the bee. We’ll start with the middle leg, and you’ll see that with the help of the secondary lines we can easily draw perfect proportions even as beginners.
Then we’ll finish the other two legs.
4. Refine the profile
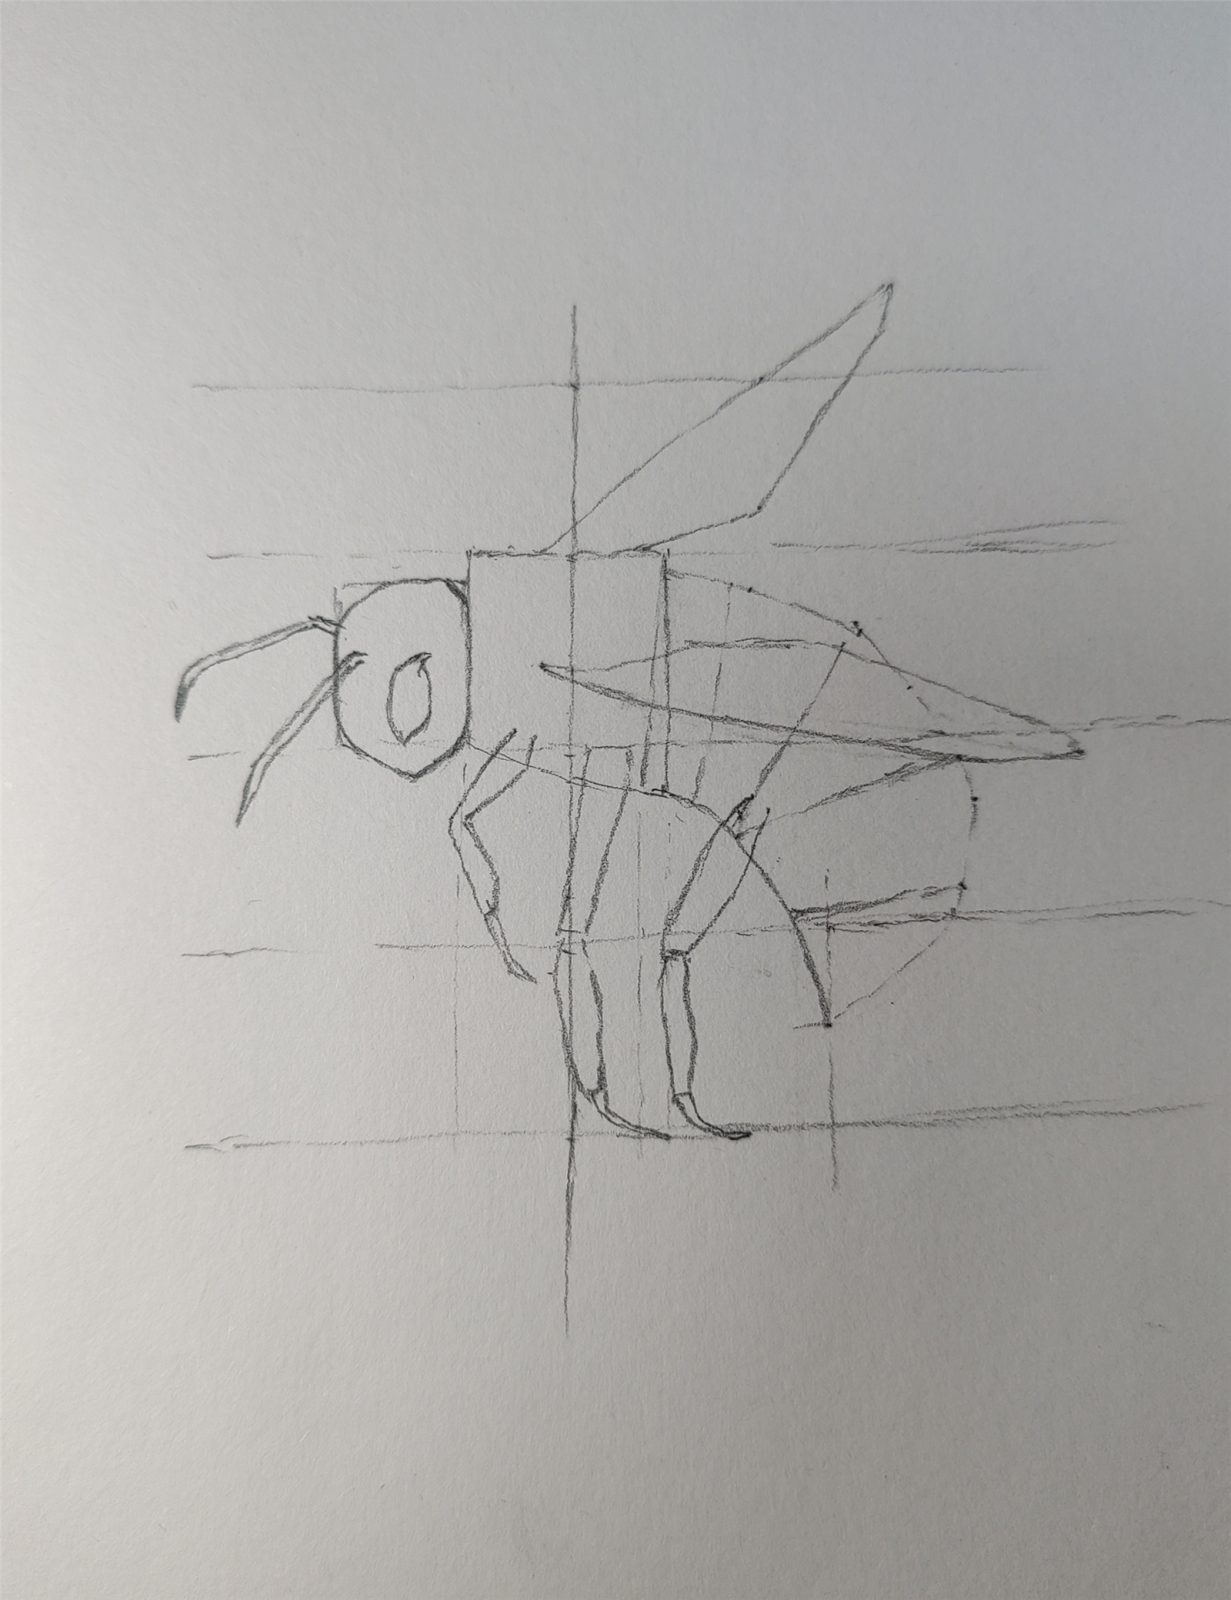
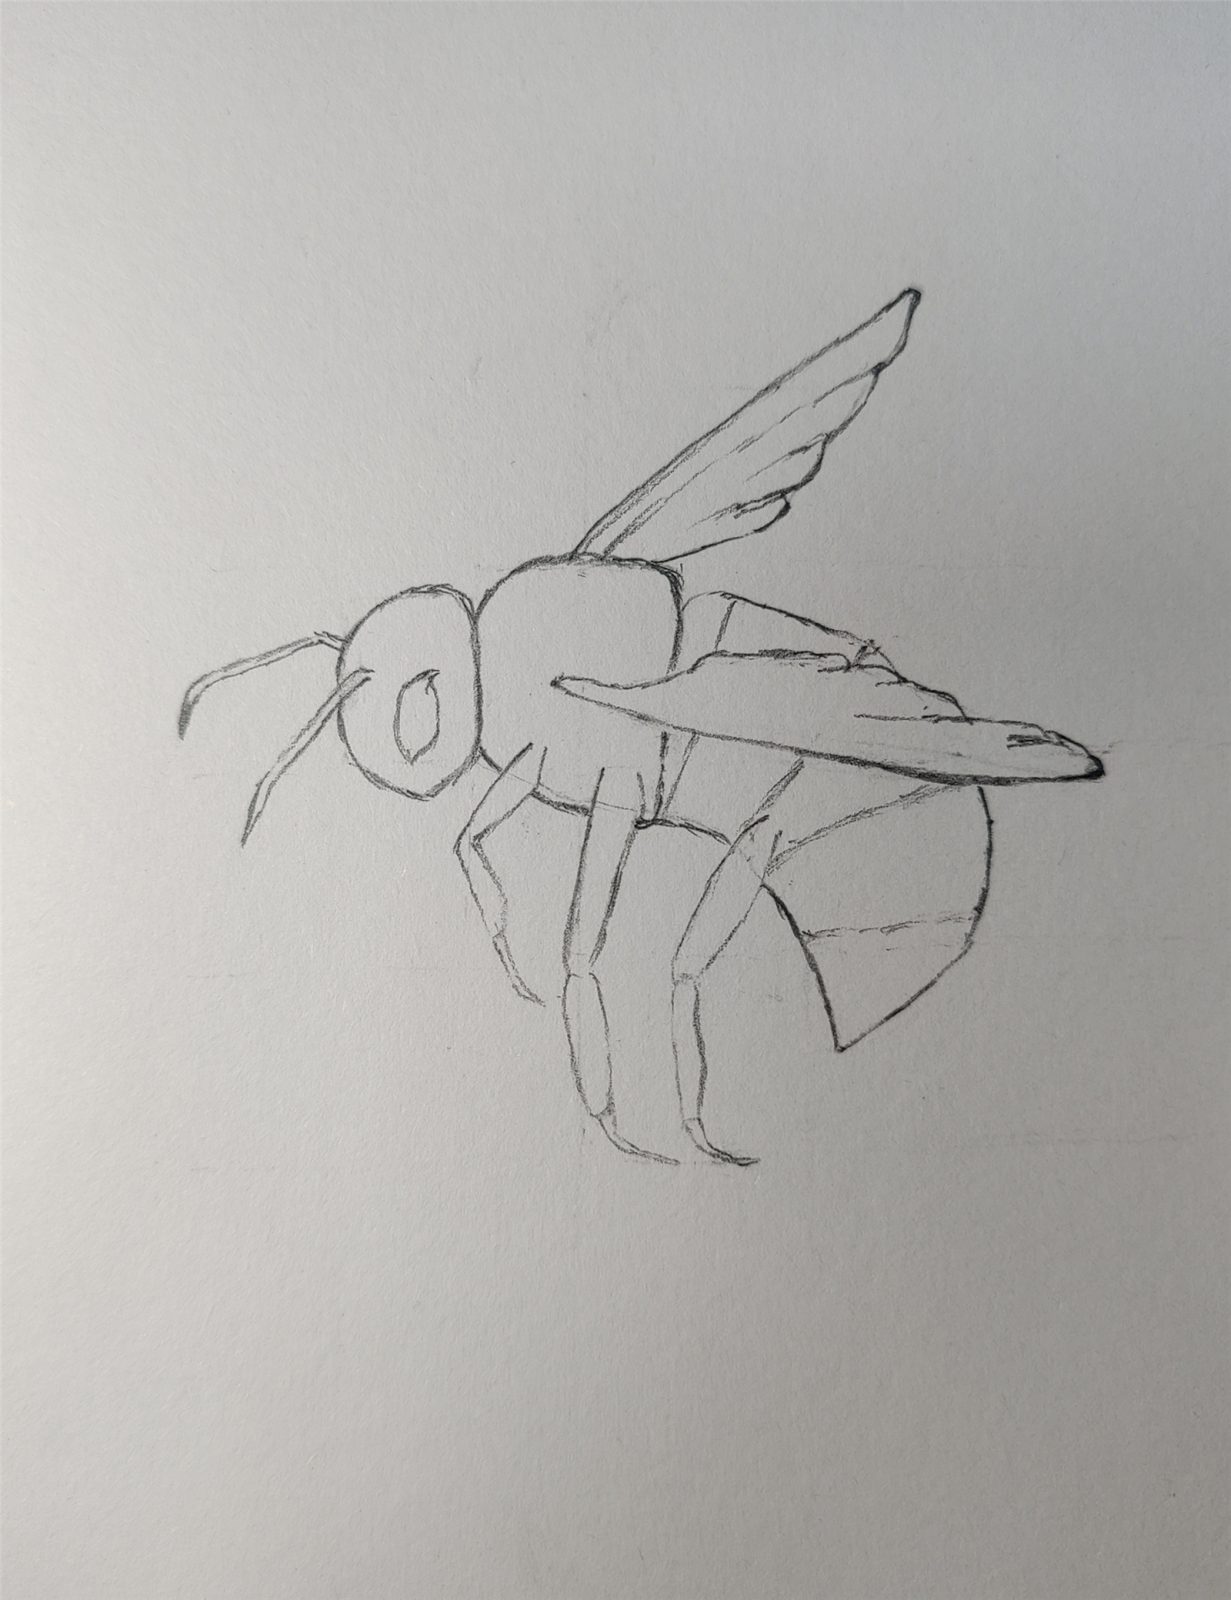
Next draw the bee’s antenna. Let’s start by drawing the arc of the bee’s head, which is easy to do with the simple outline we had before, right?
Then, draw the antenna.
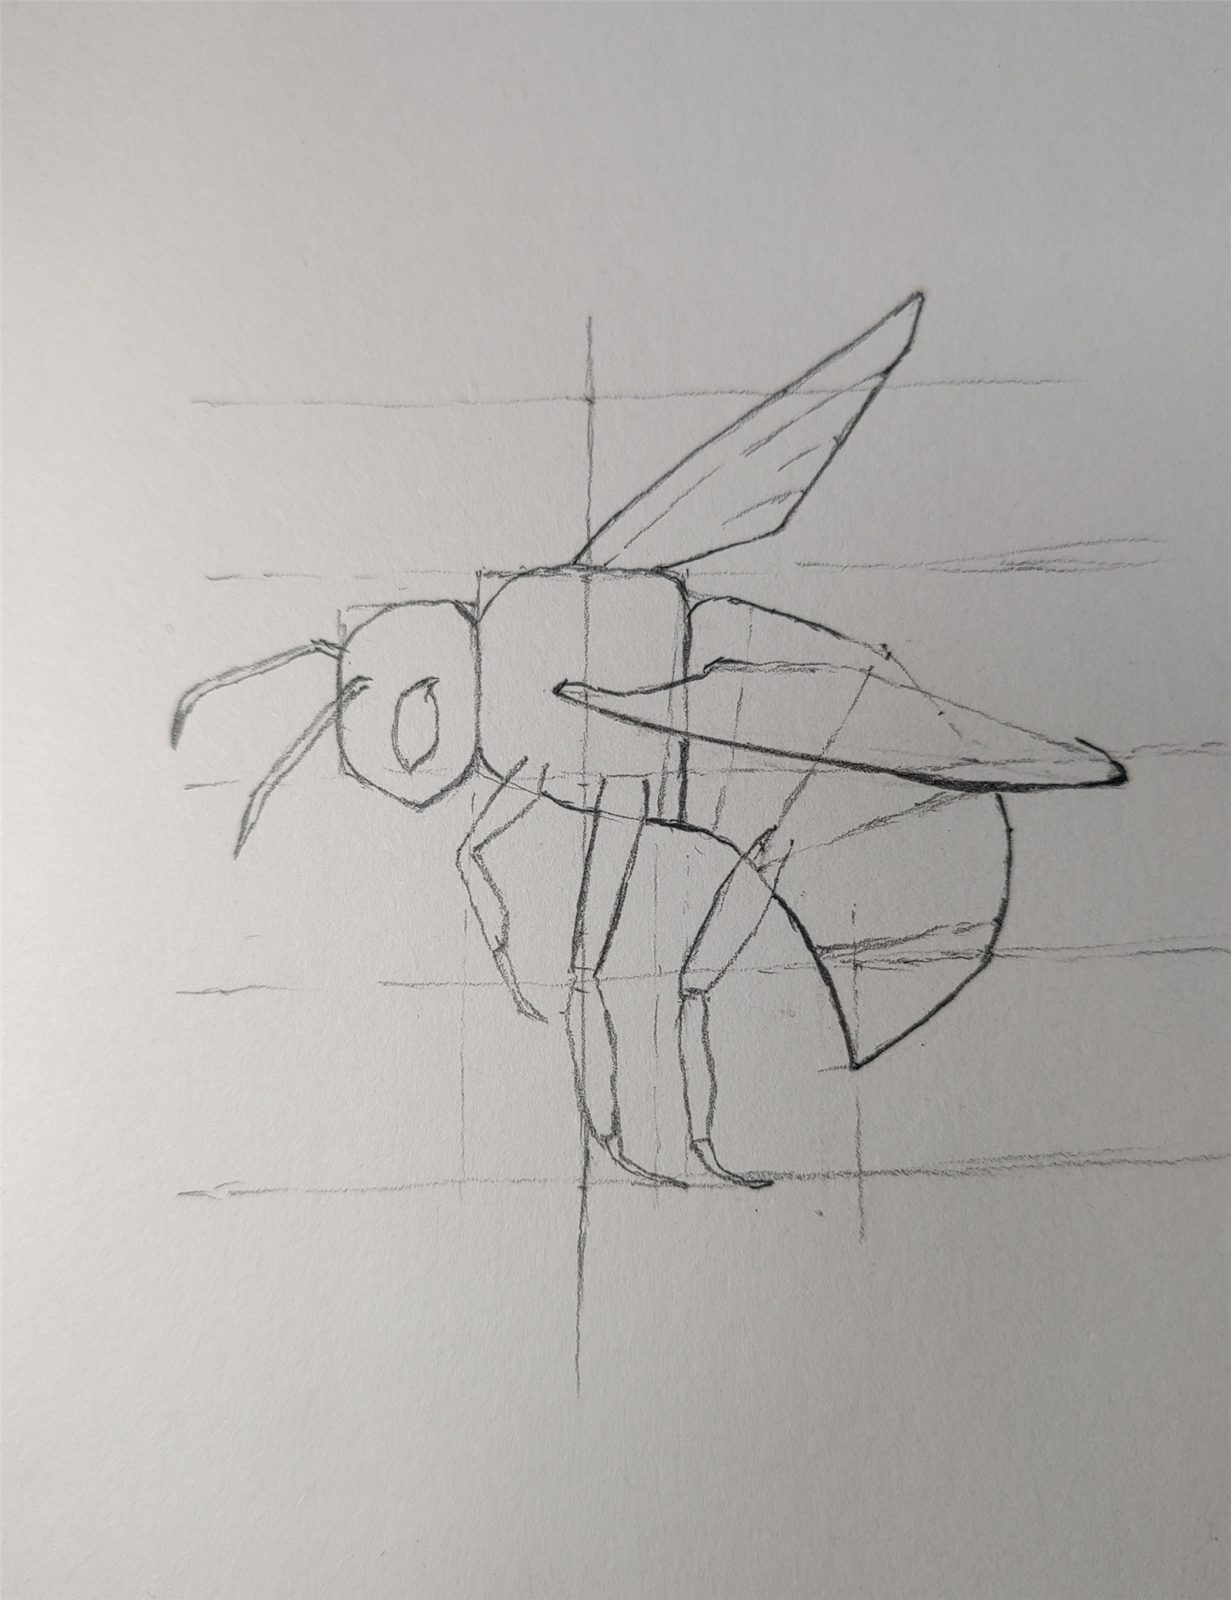
Next, let’s draw the outline a little more clearly and erase the auxiliary lines.
This way a nice initial shape of the bee is drawn.
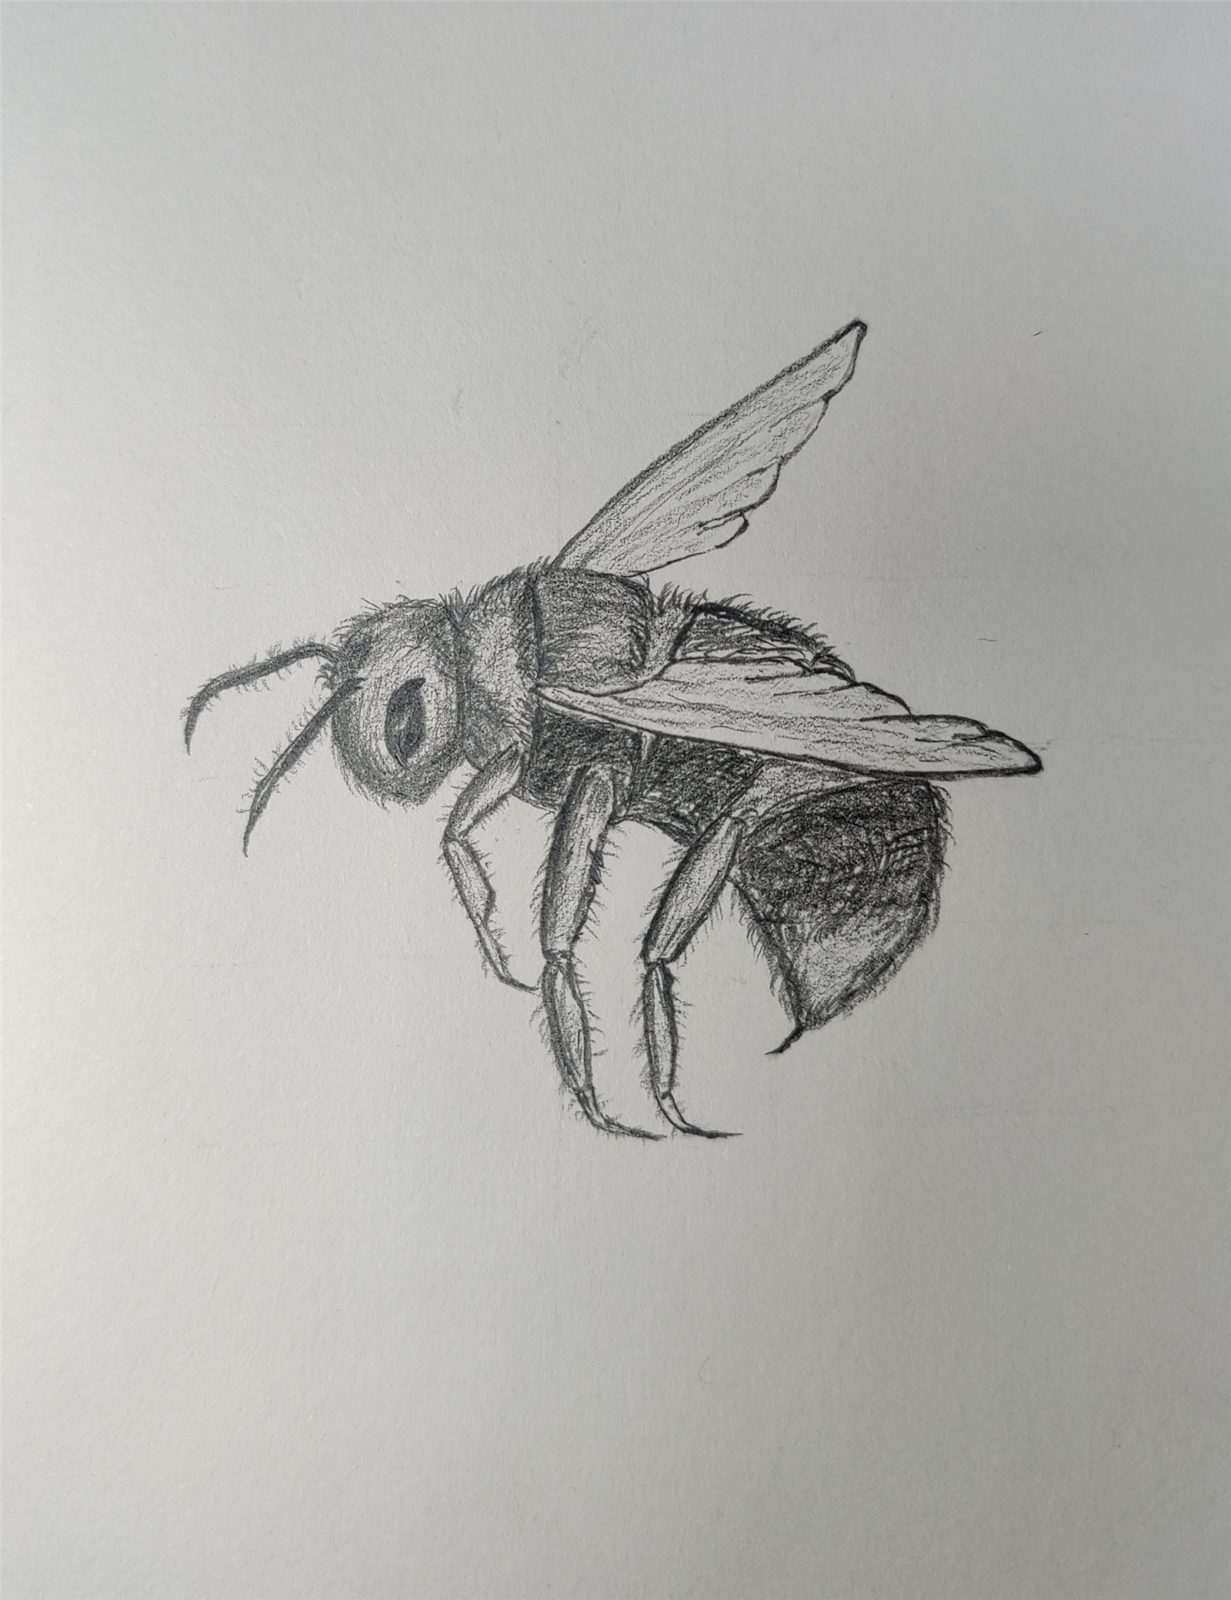
5. Painting Shadows
Finally, let’s shade our bees. That way, a realistic bee is finished.
Leave us a comment below with any questions or good ideas you have.
source:@blusheddesign.com
