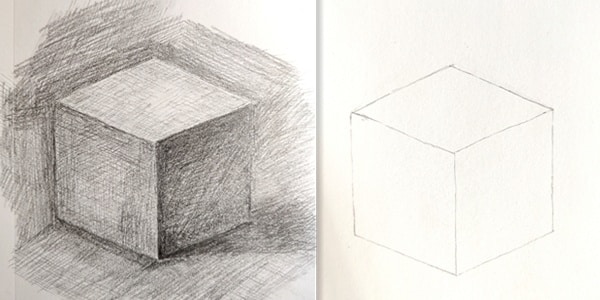
In this article, we will practice how to draw a cube. We have organized the exercise into a step-by-step tutorial.
Following our step-by-step pictures, even a beginner can easily draw a perfect cube.
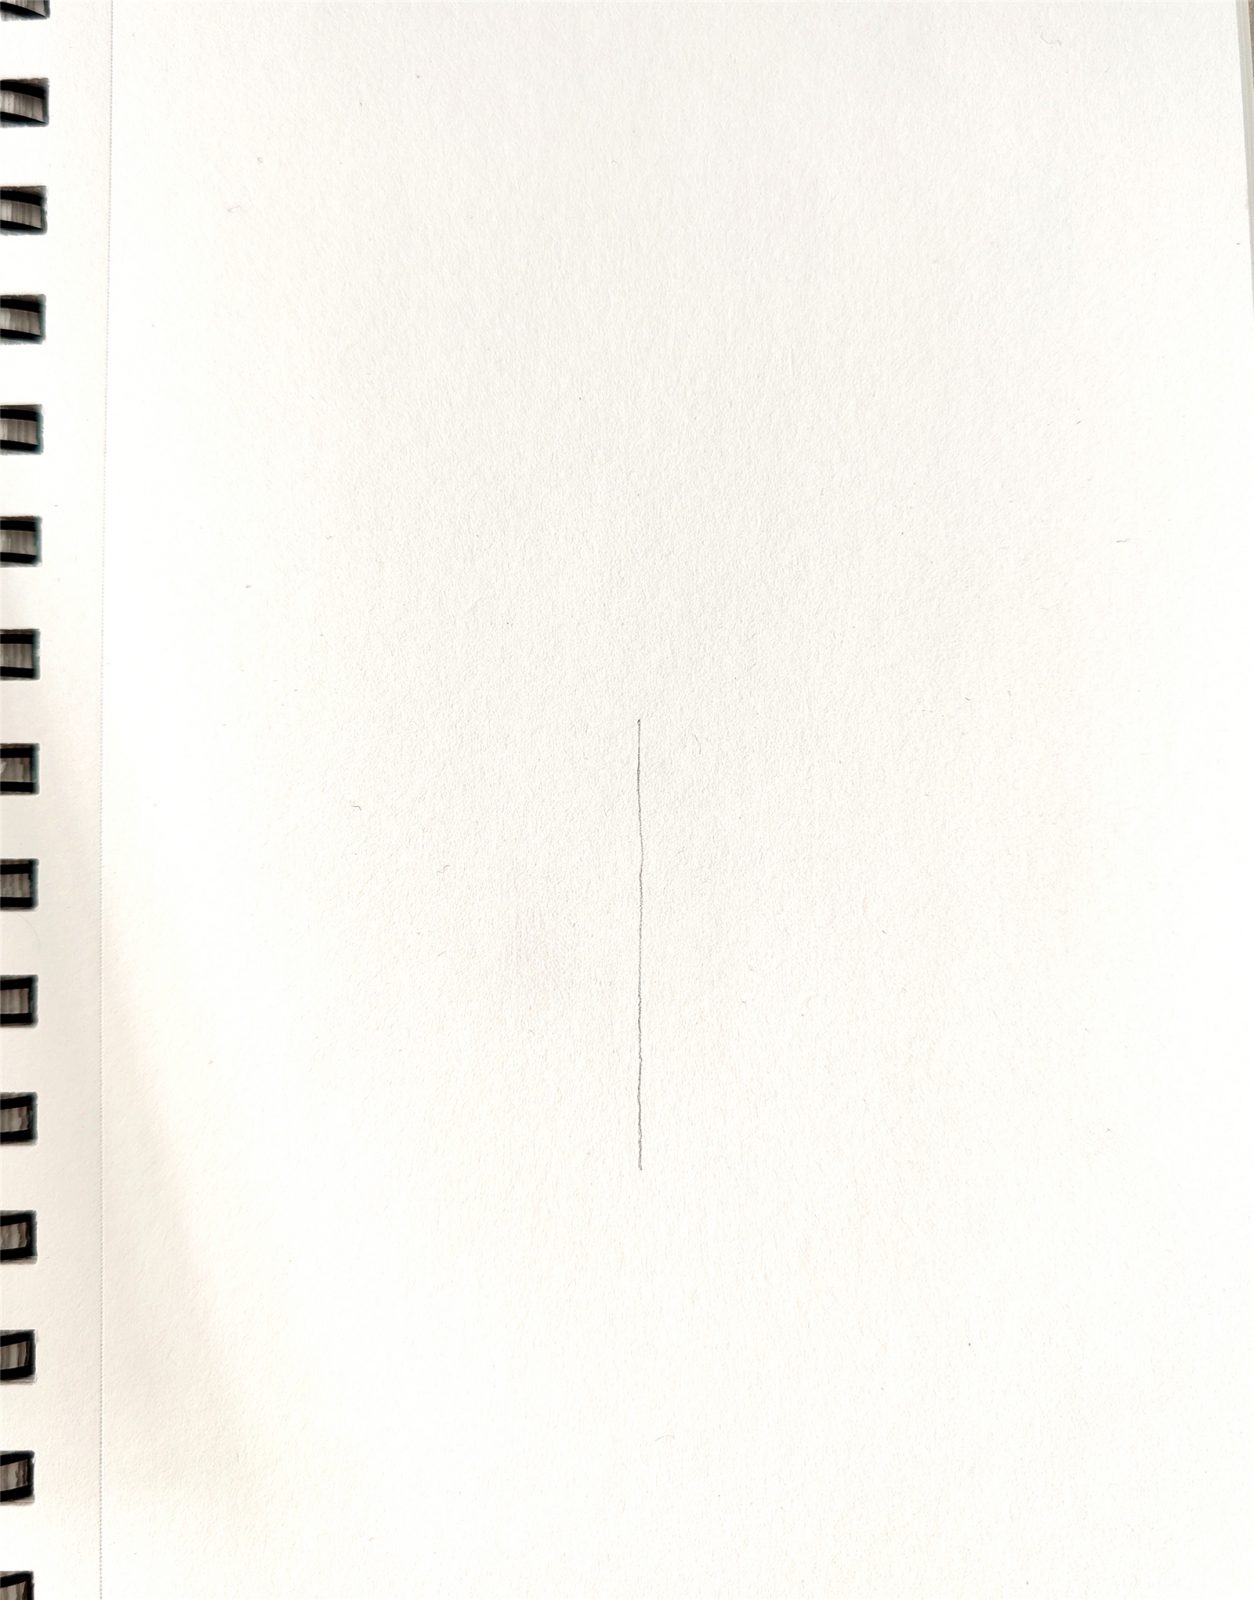
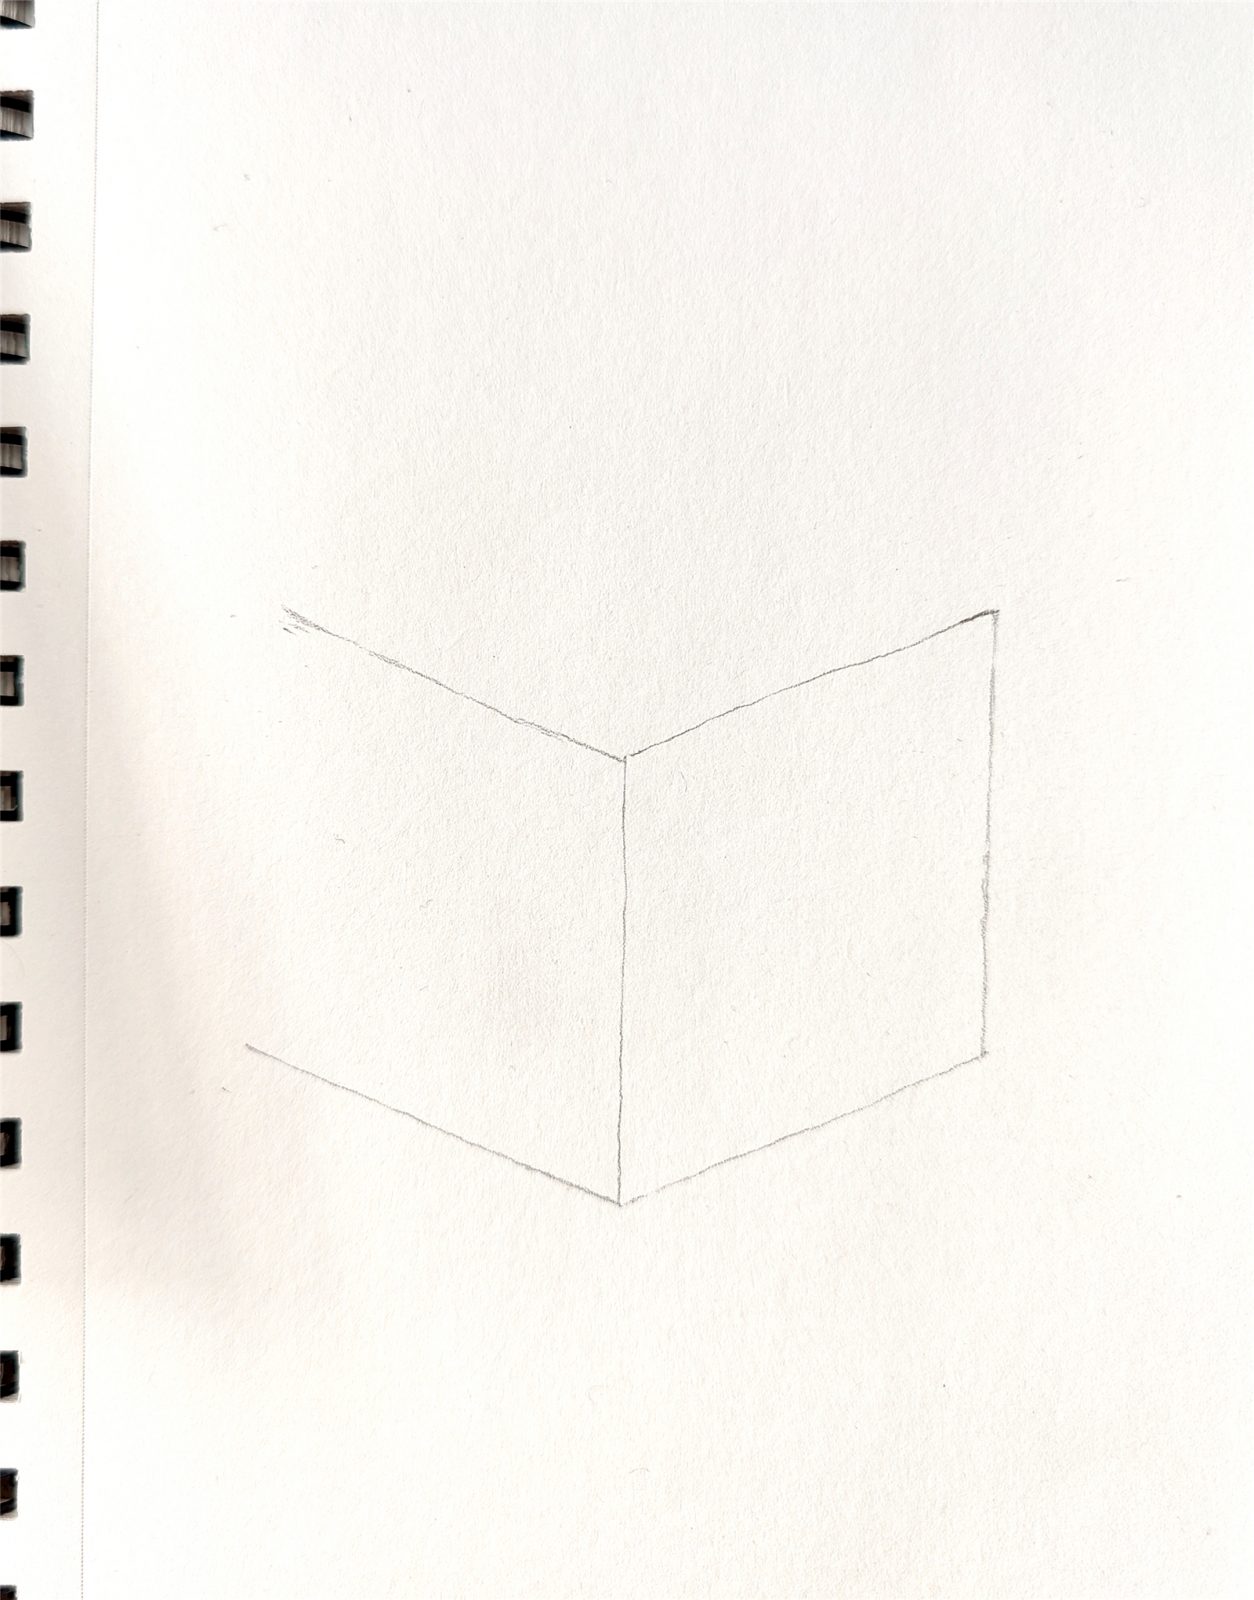
1. Draw a cube – start with a line
Let’s start with the most basic line. Let’s start by drawing a vertical line.
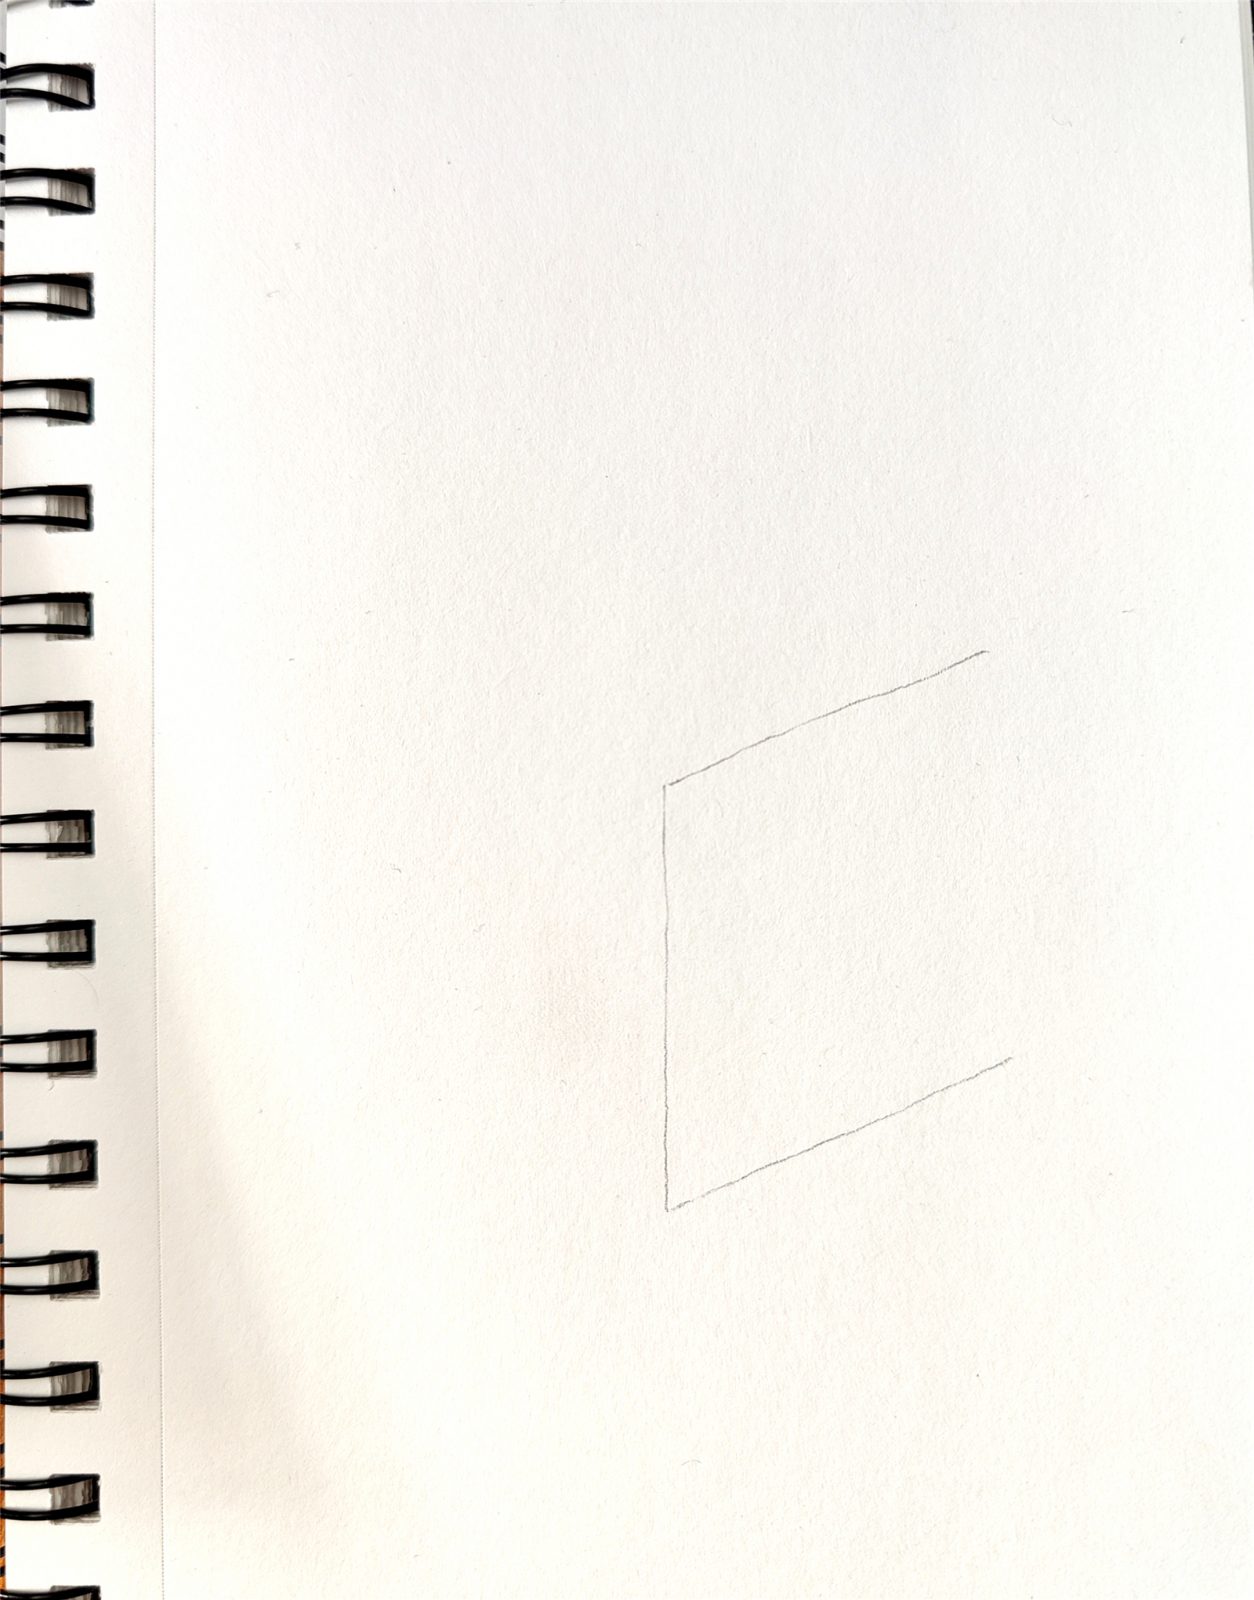
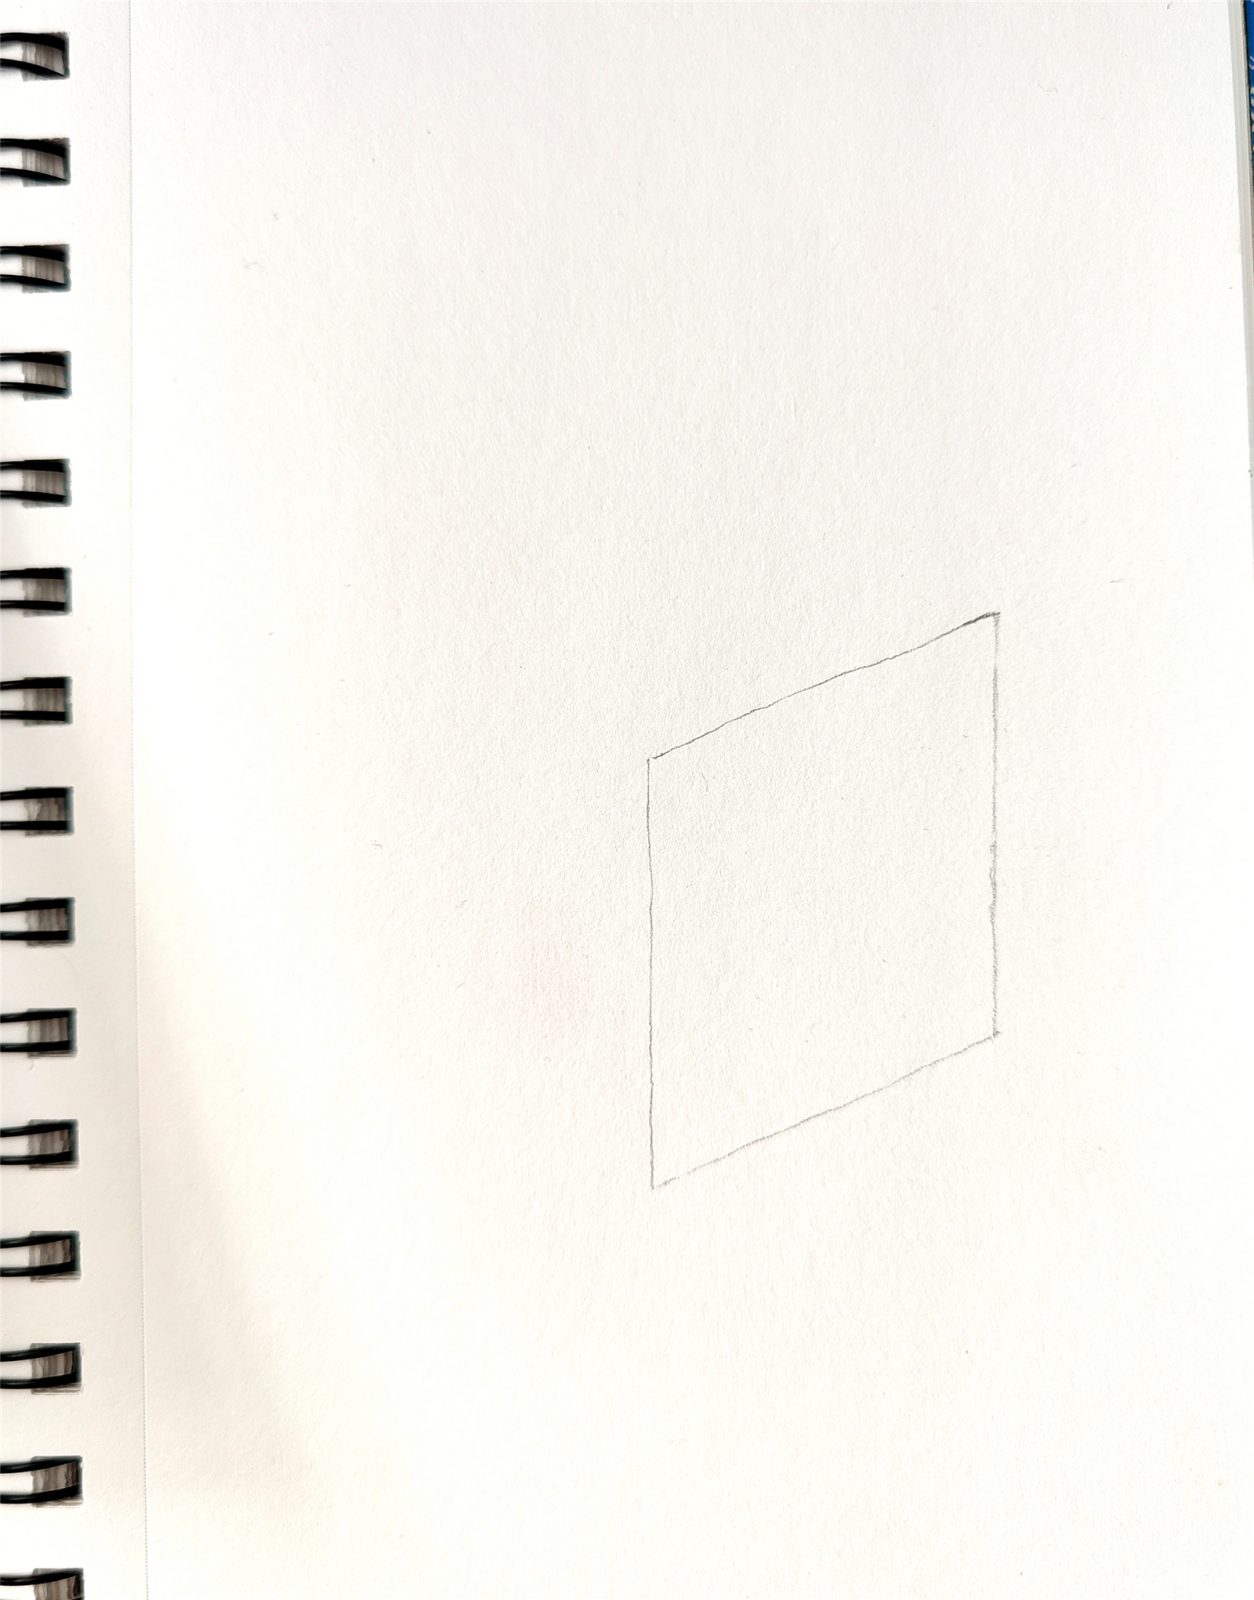
Then we draw two parallel lines on the right side. Then we complete the parallelogram.
This will be one of the faces of the cube.
Next, in the same way, we draw a face on the left side as well.
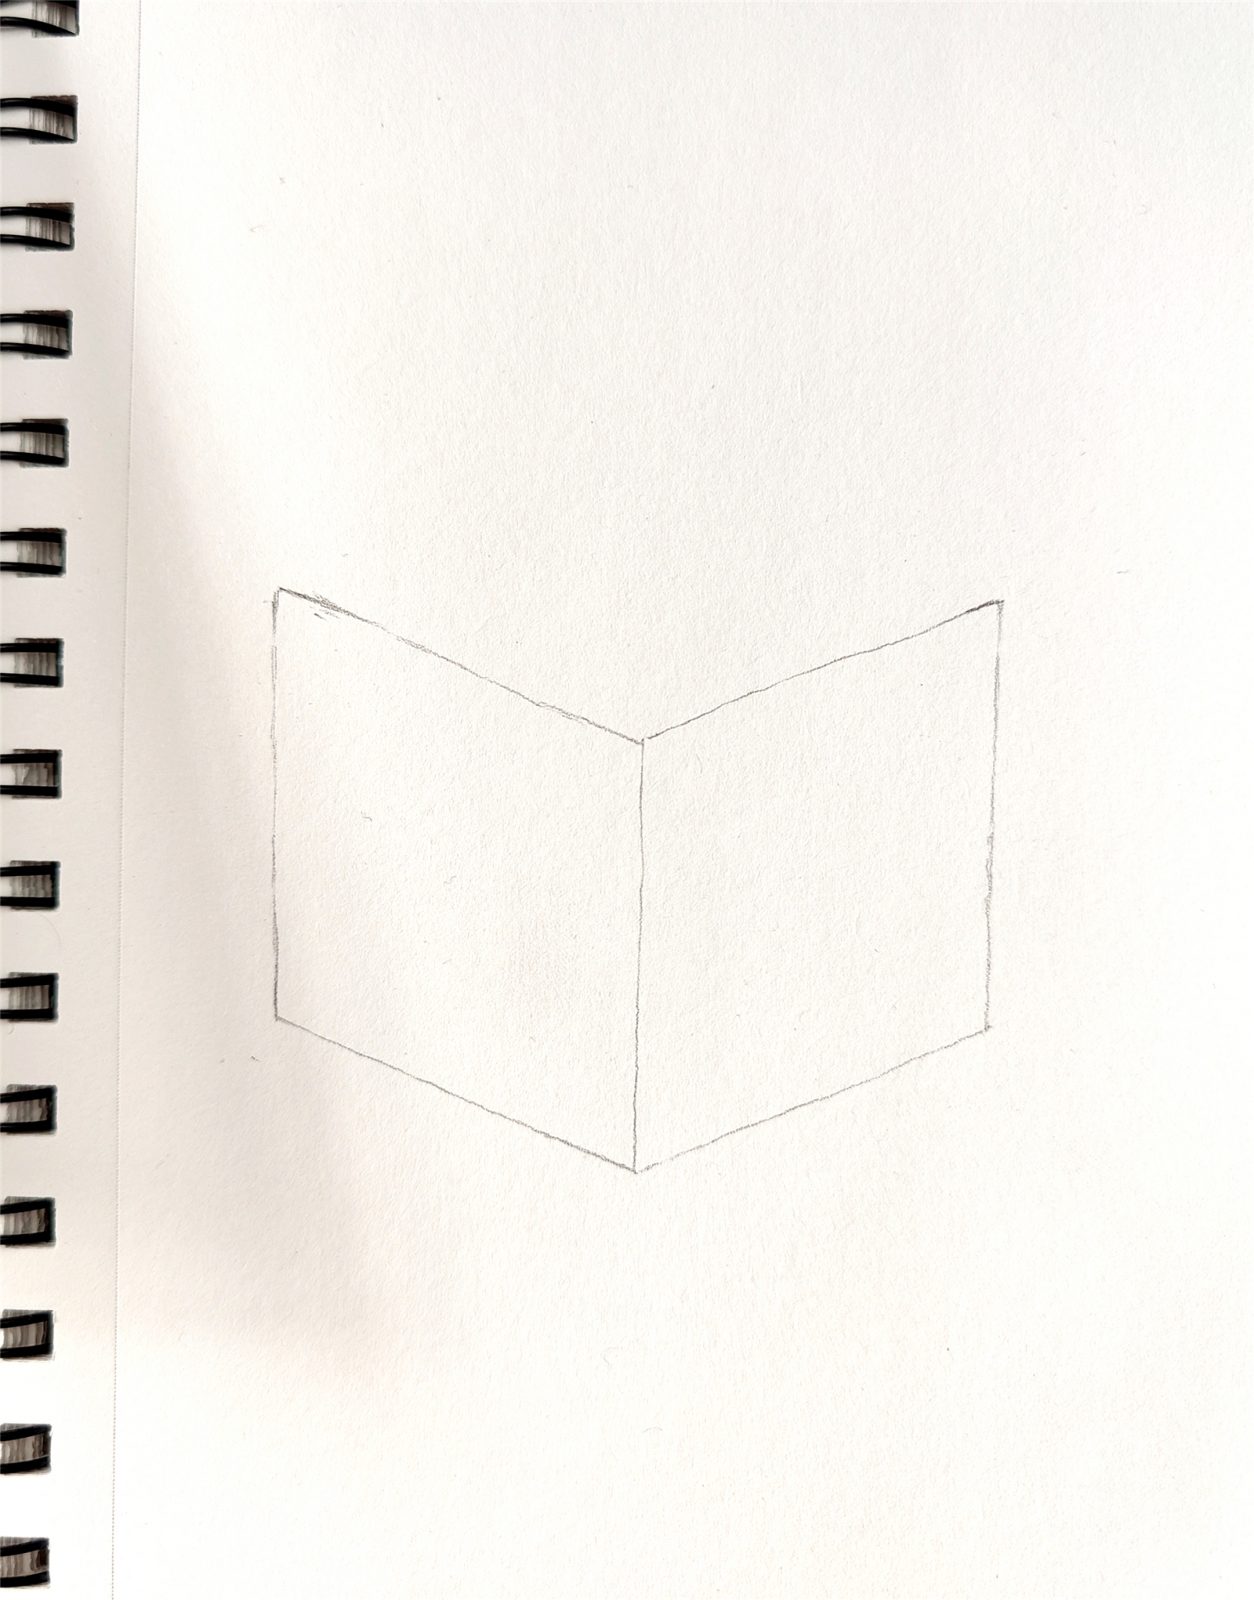
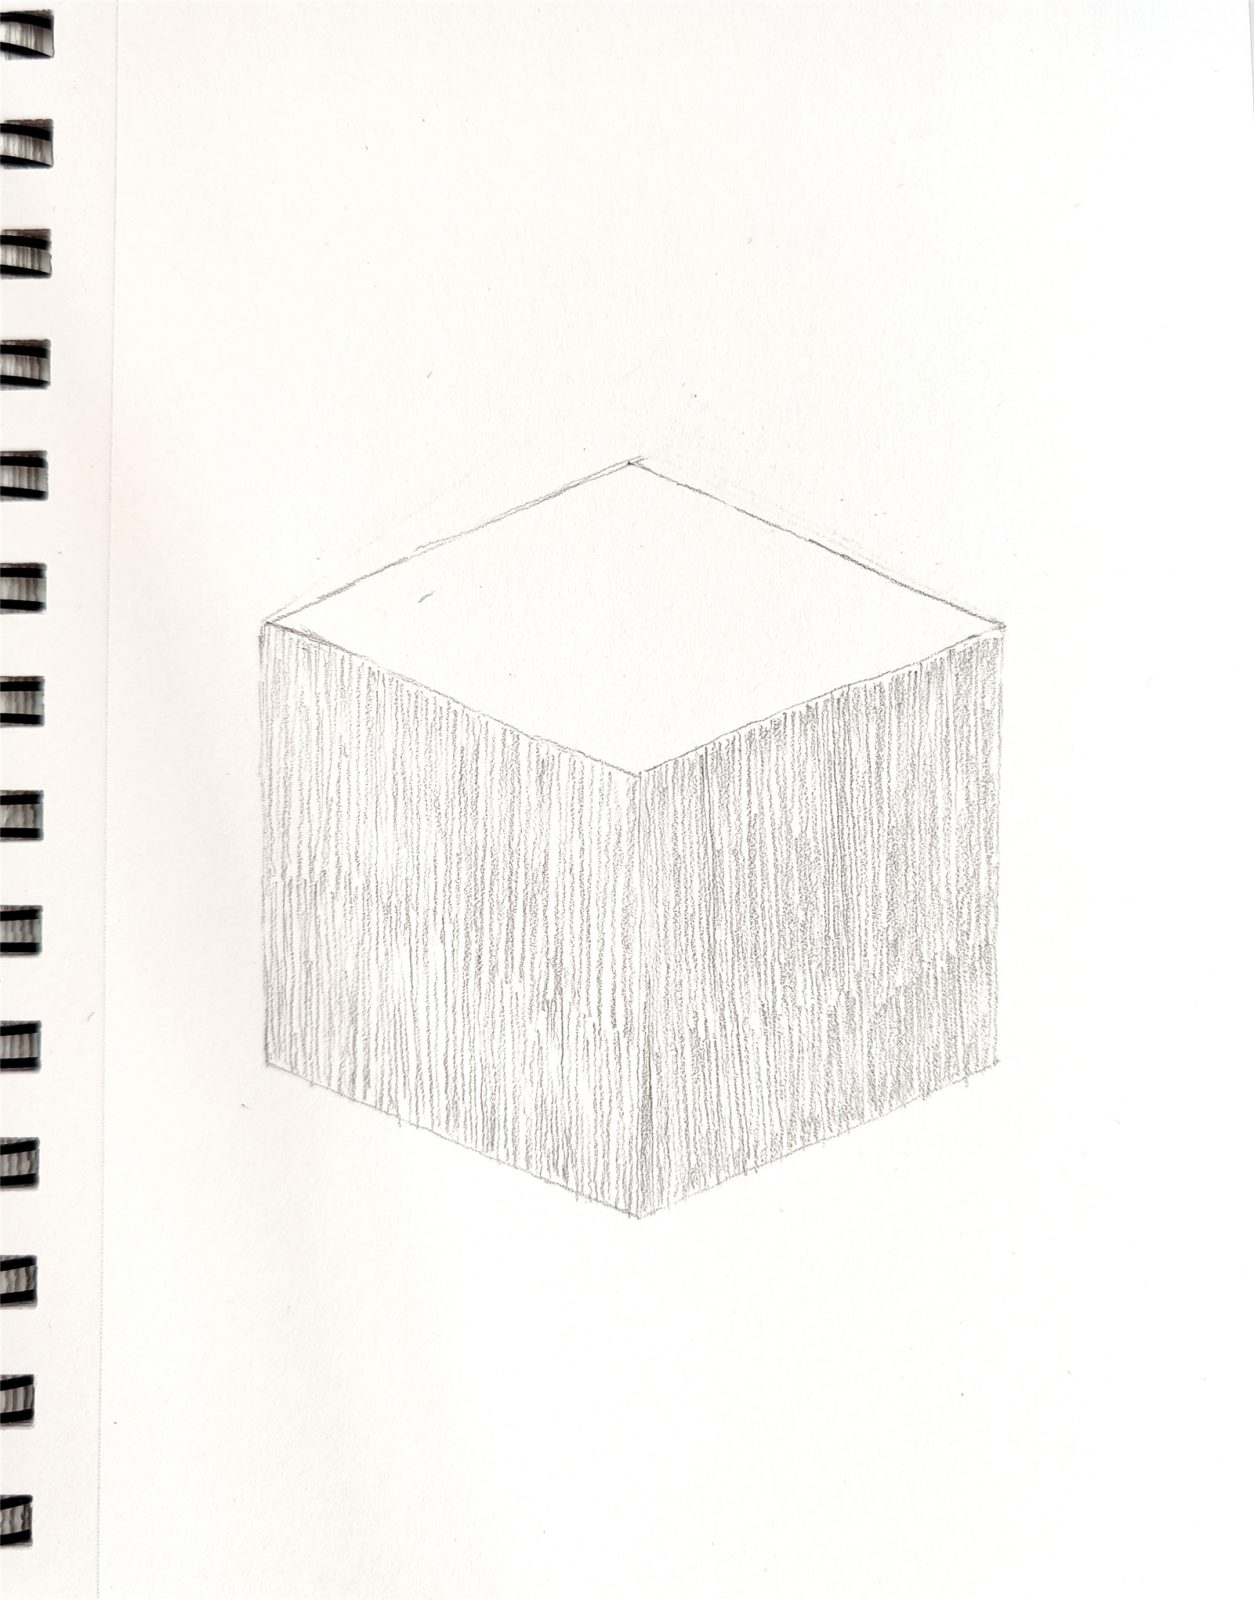
2.Drawing the top of the cube
Next, we start drawing the top face of the cube.
This is also a parallelogram.
With the reference of the previous two faces, this is easy to do.
Just be careful about the parallelism.
But I’m a little bit off. You can try a few more times and try to draw parallel lines.
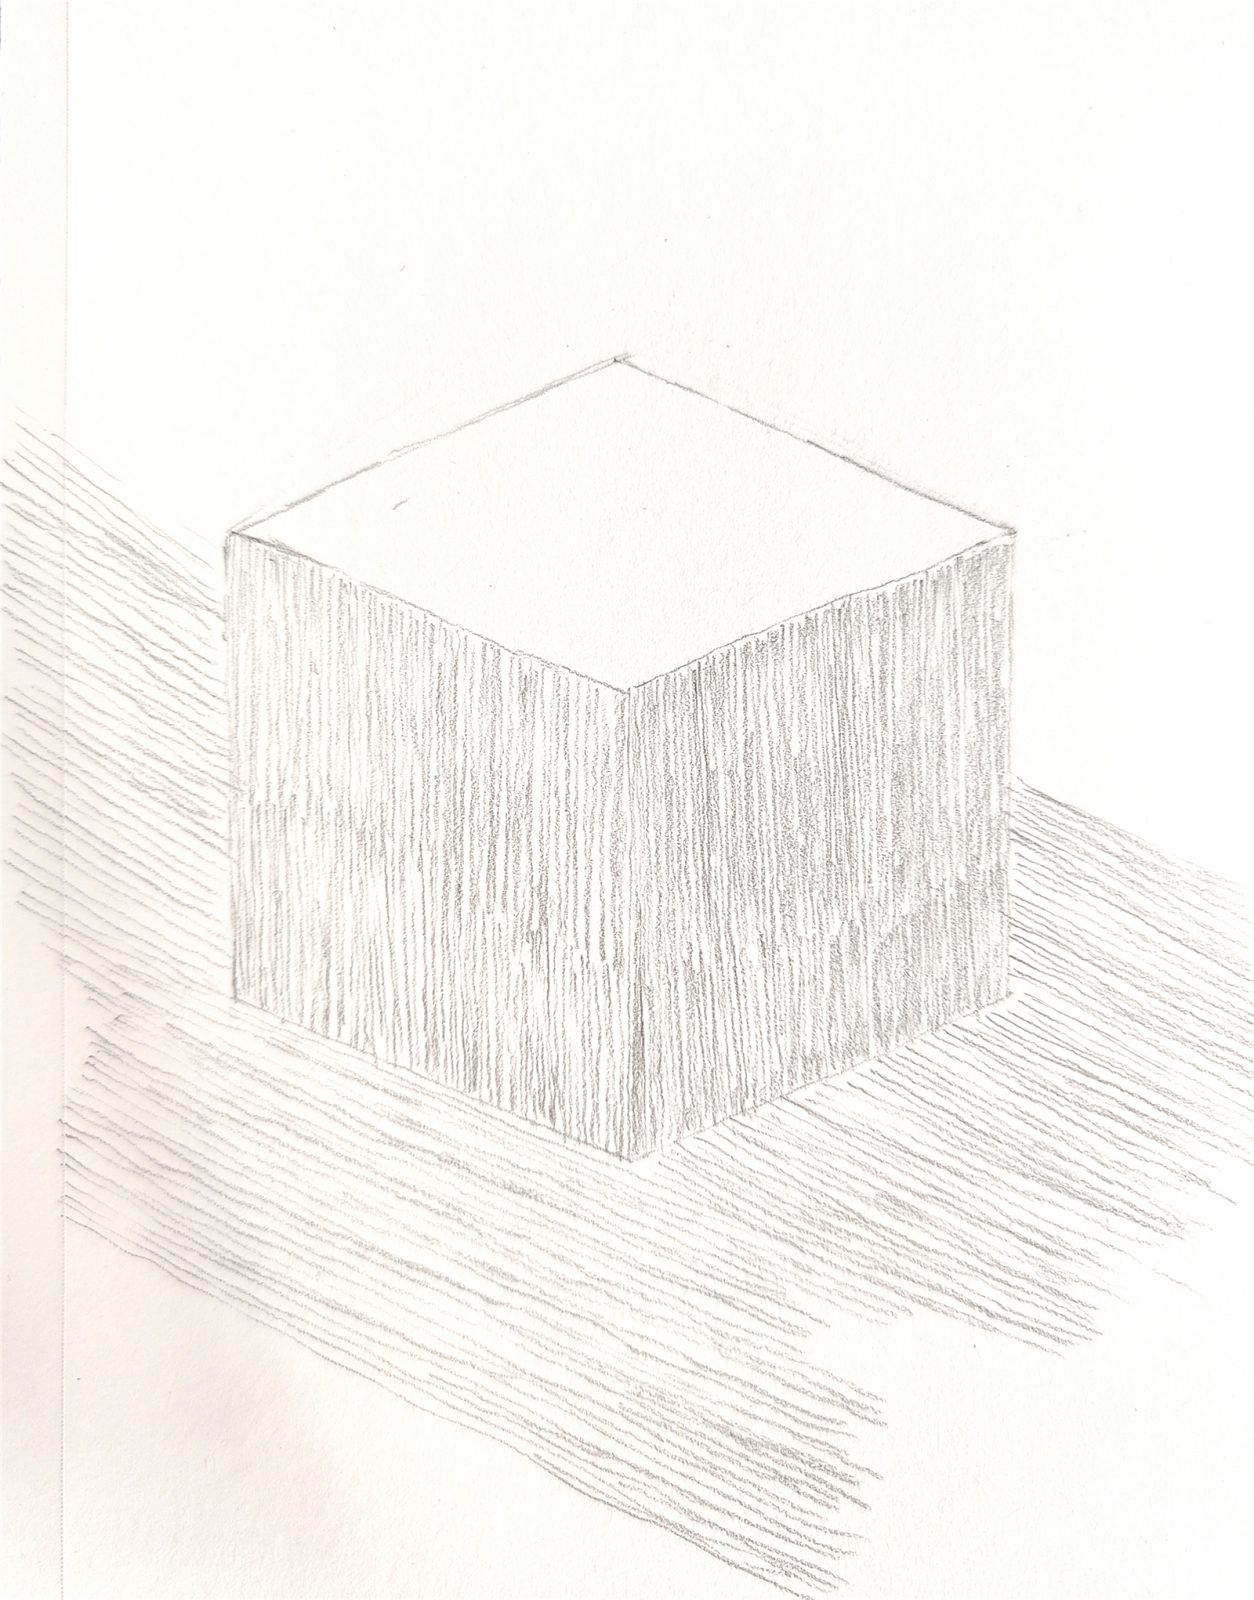
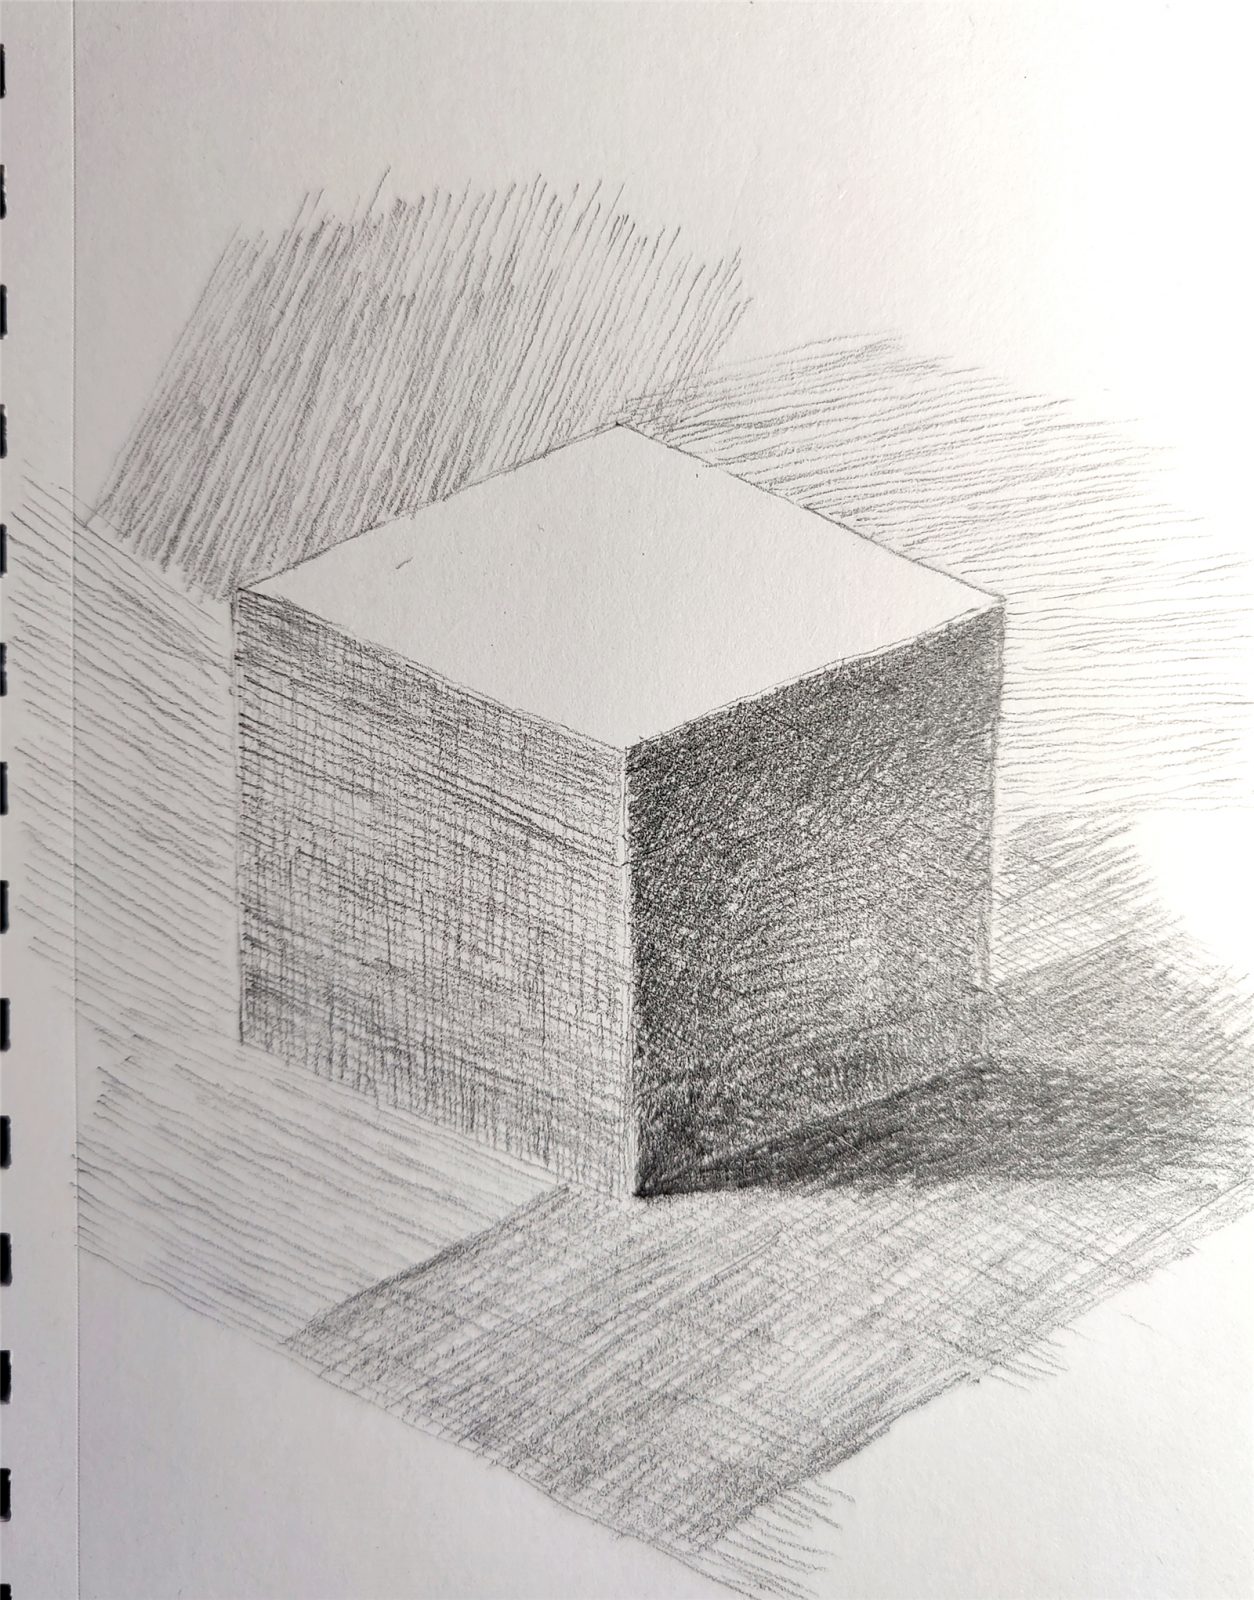
Then we start to draw shadows. We draw shadows with aligned lines.
Be careful to draw as parallel as possible.
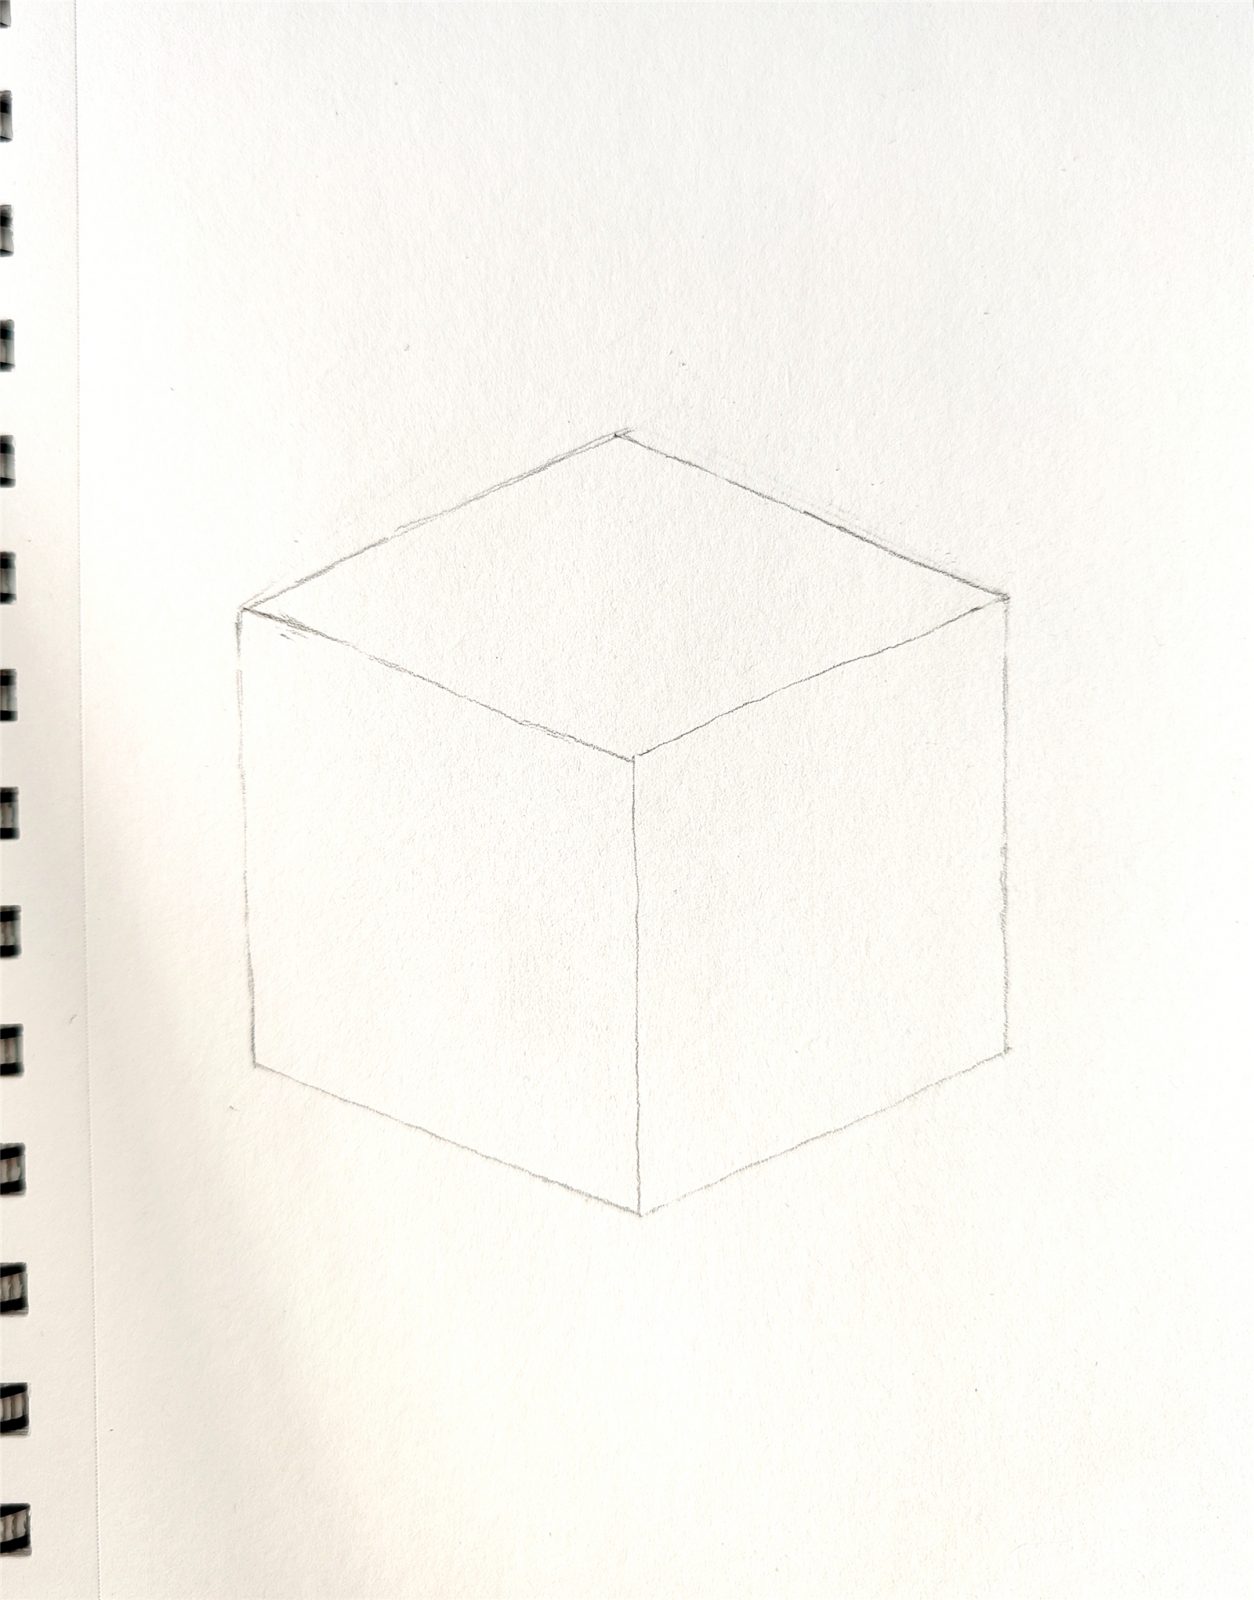
3. Drawing shadows
We start to draw all the shadows with aligned lines.
Take your time and practice.
The darker areas need to be covered with alignment lines at different angles.
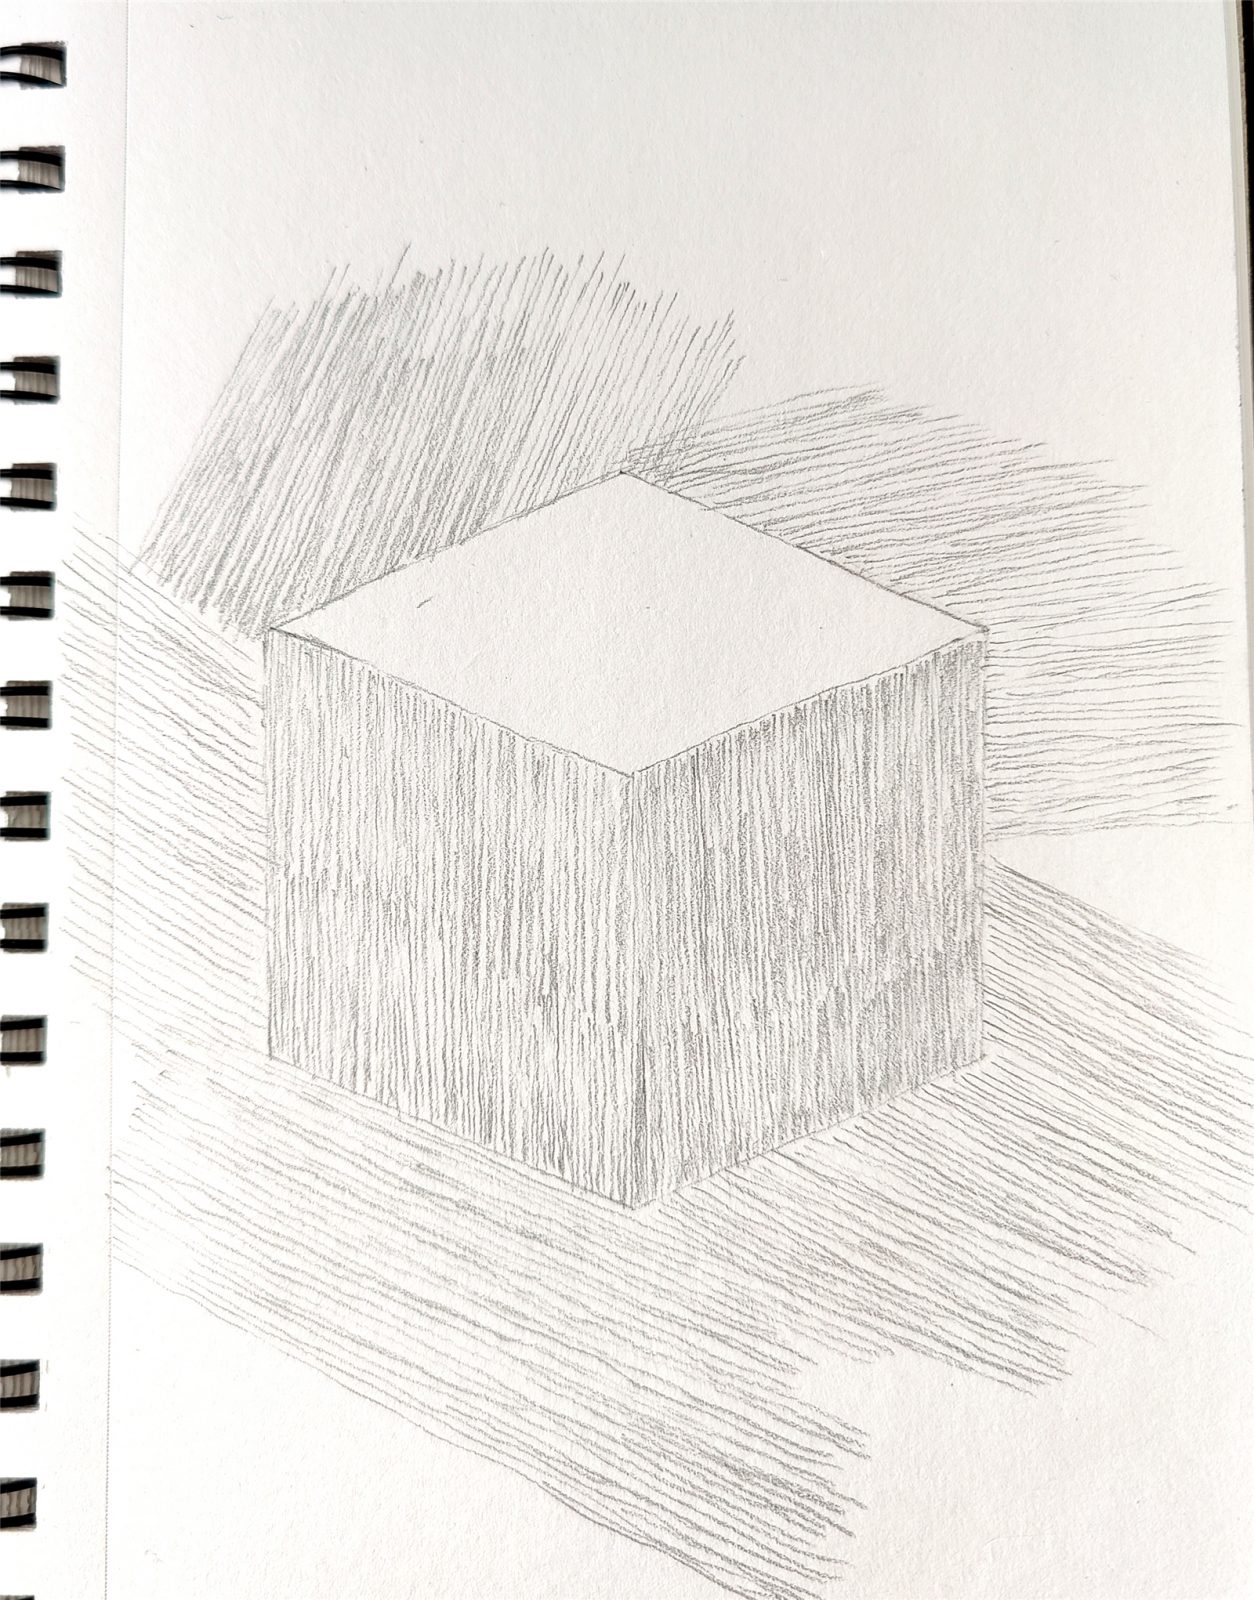
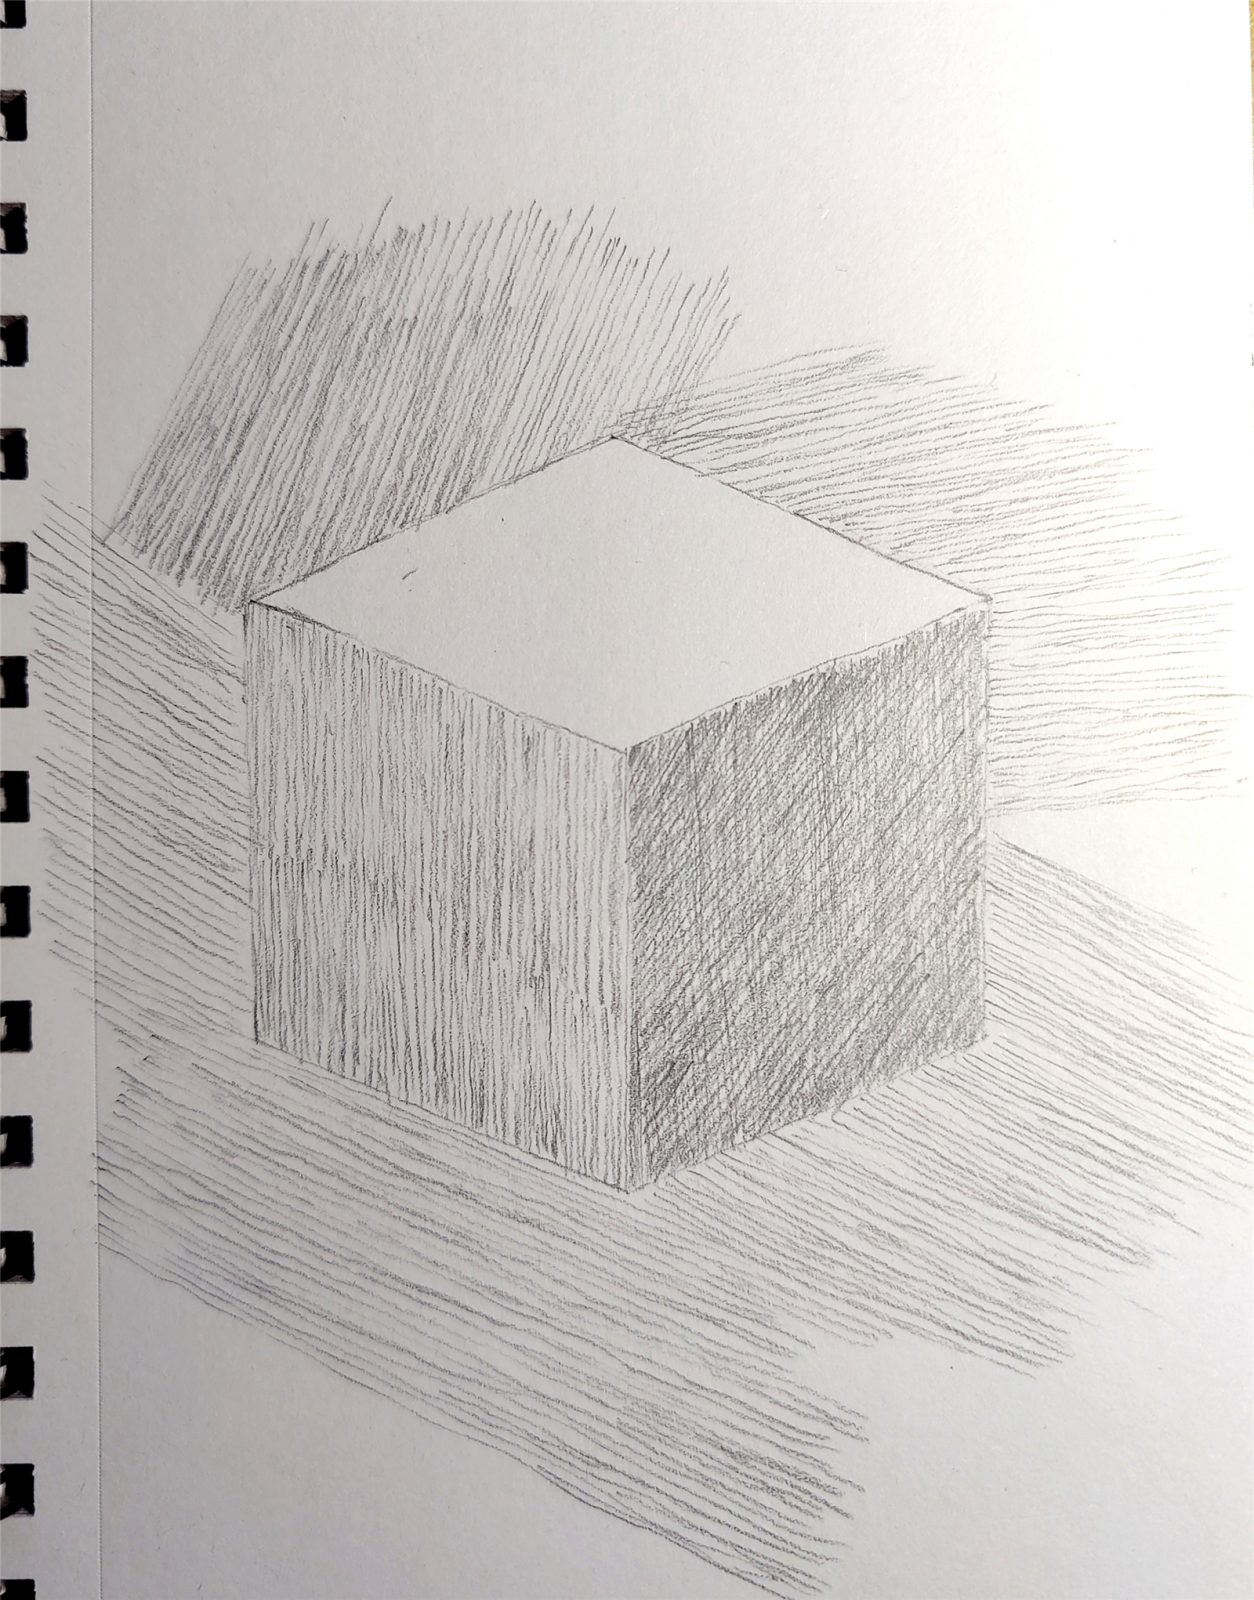

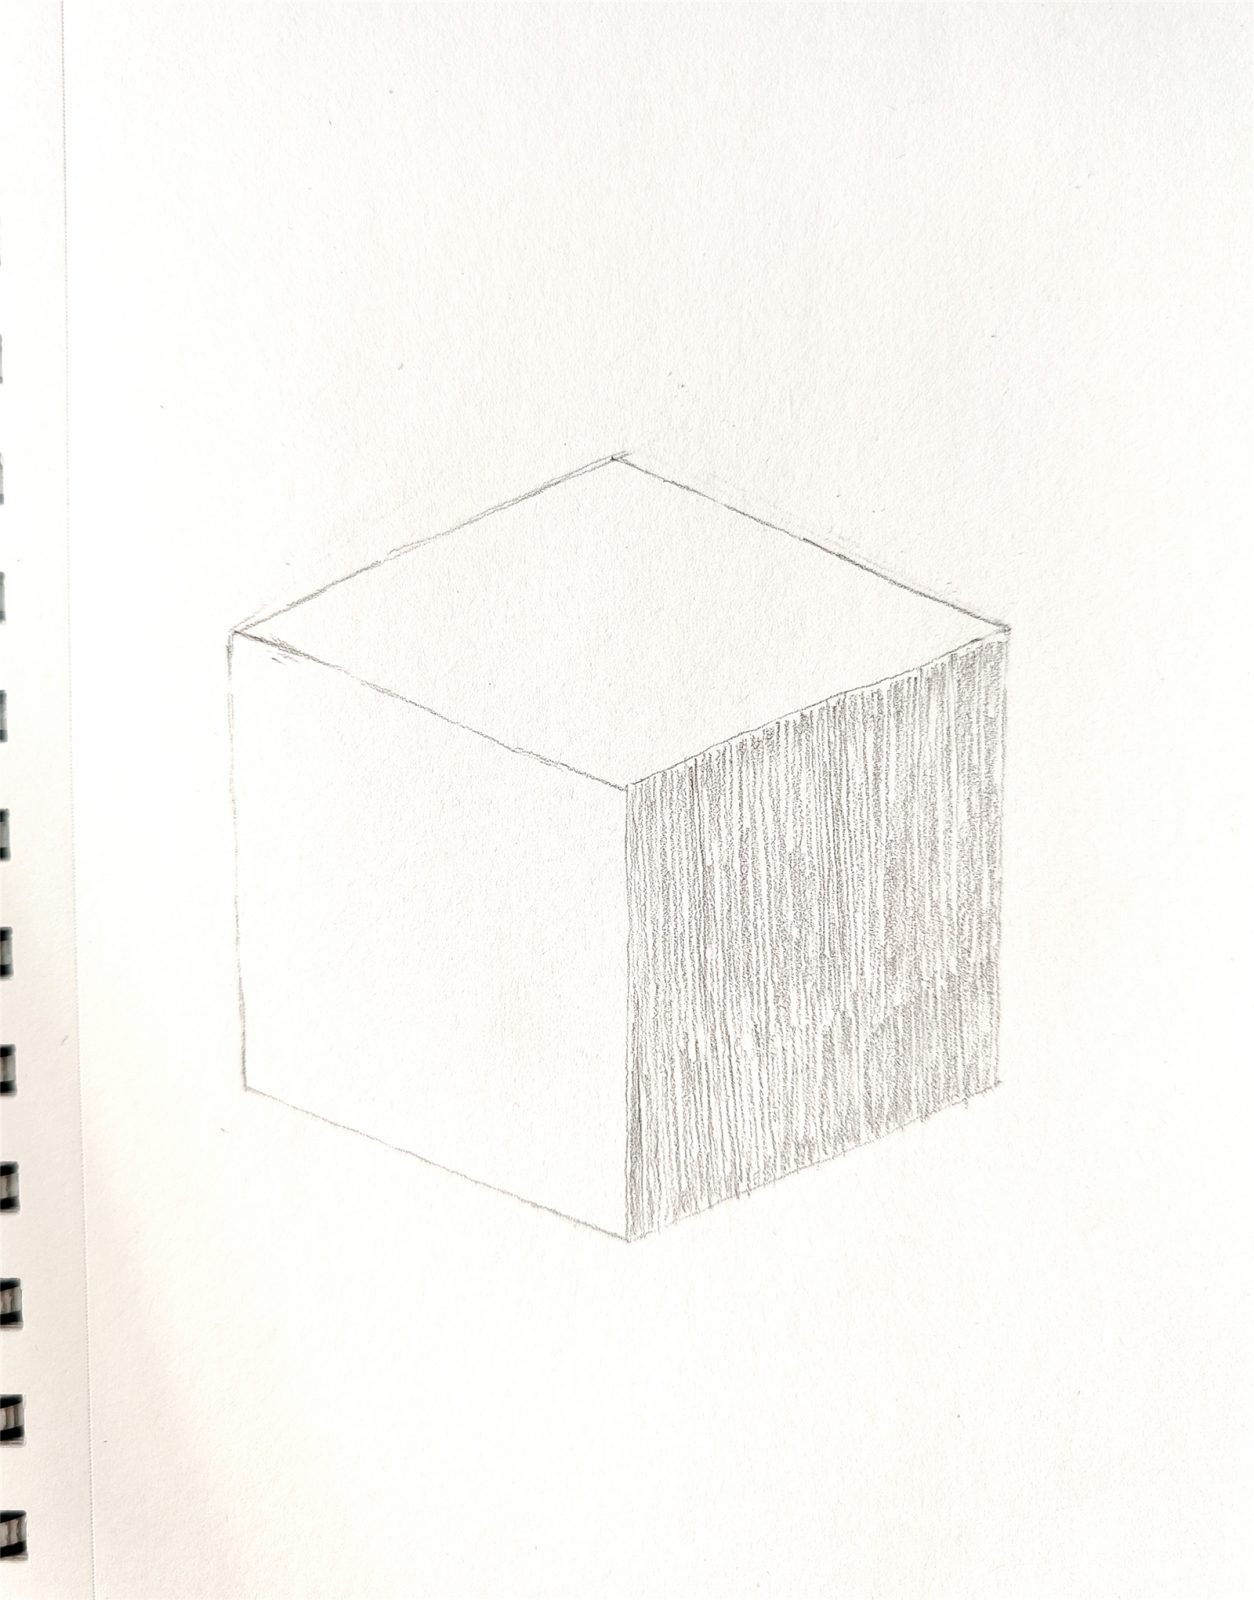
4.Drawing cast shadows
The cast shadow is the darkest area, and we will paint this area several times with aligned lines.
Then, depending on the light and dark changes, patiently draw the shadows of other areas.

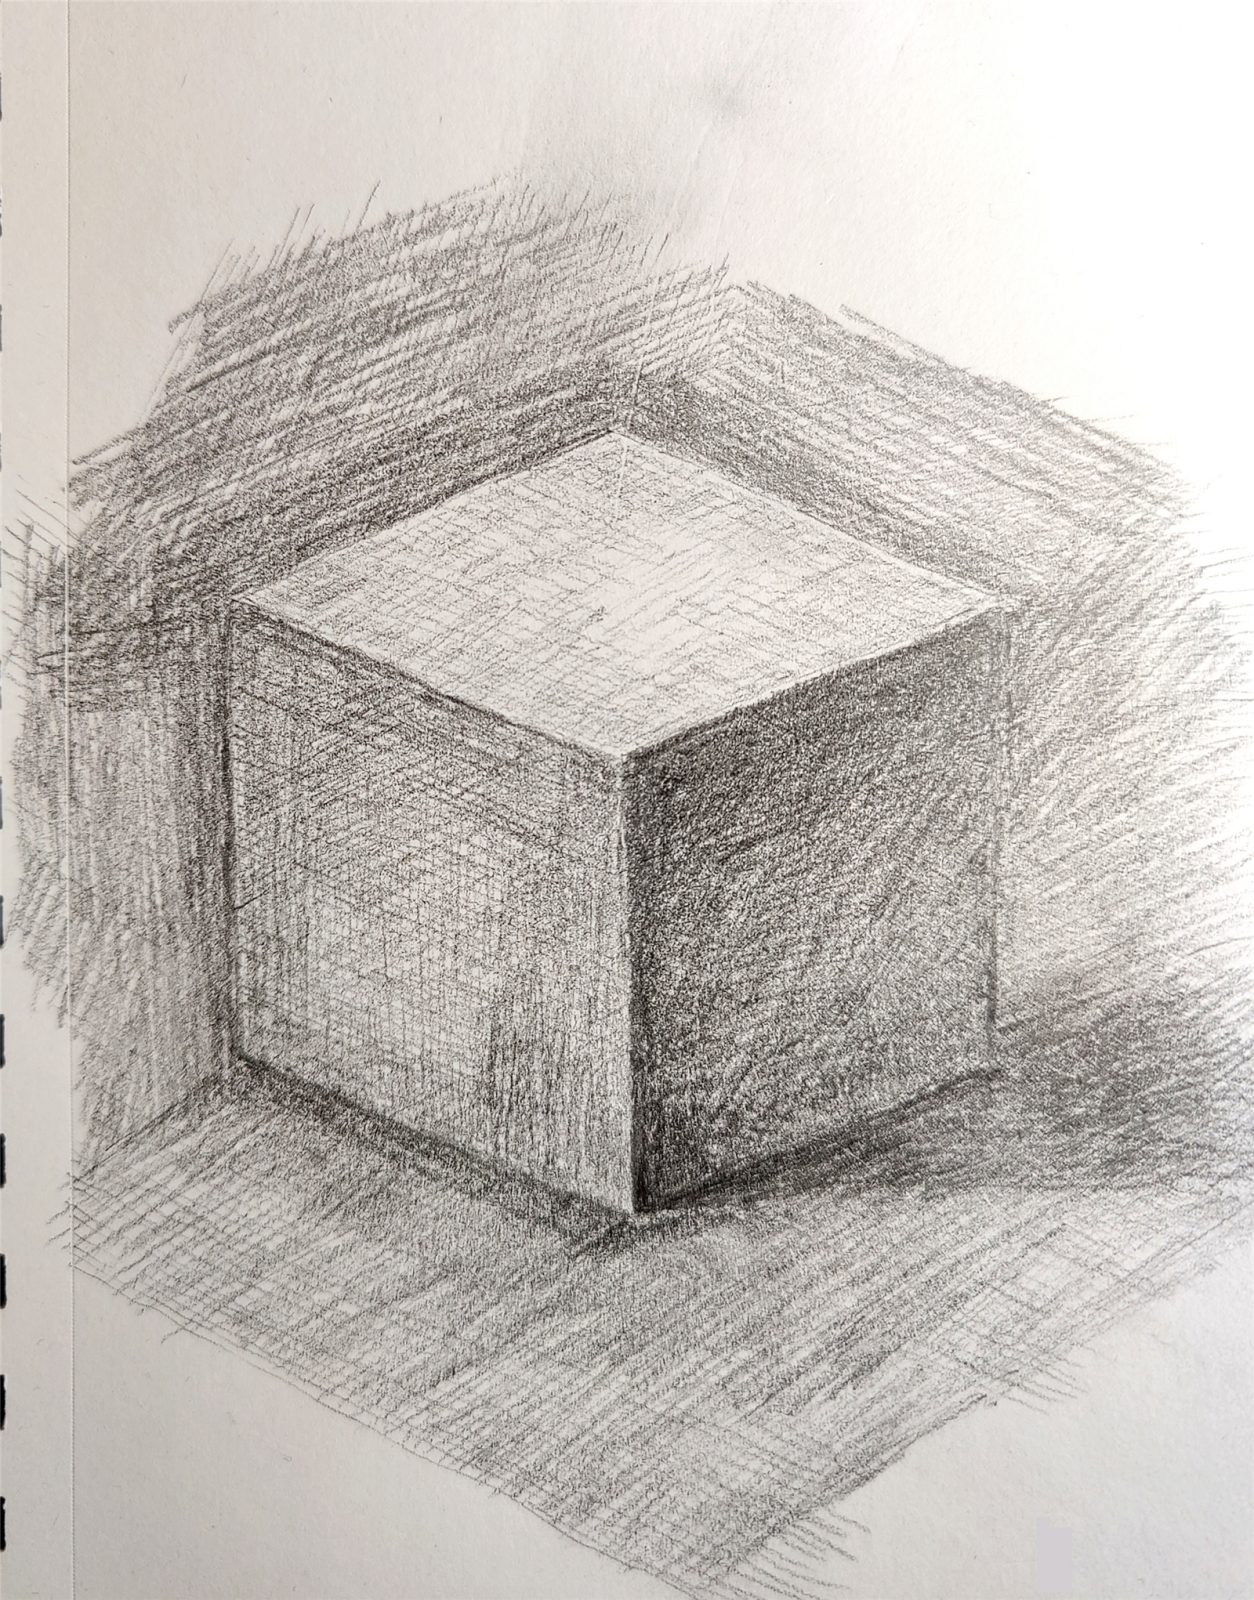

5. Draw a cube – other exercises
Here are the steps of our other exercise.
You can also try it if you are interested.