It is cool to draw a skull. Whether it is preparing for Halloween or tattoo design, being able to DIY is the most exciting and yearning.
Moreover, drawing a skull is not as difficult as some people think, even if you don’t have a basic drawing foundation, you can do it easily by following our simple step-by-step tutorial.
You can even DIY the coolest skull decoration for Halloween with kids.
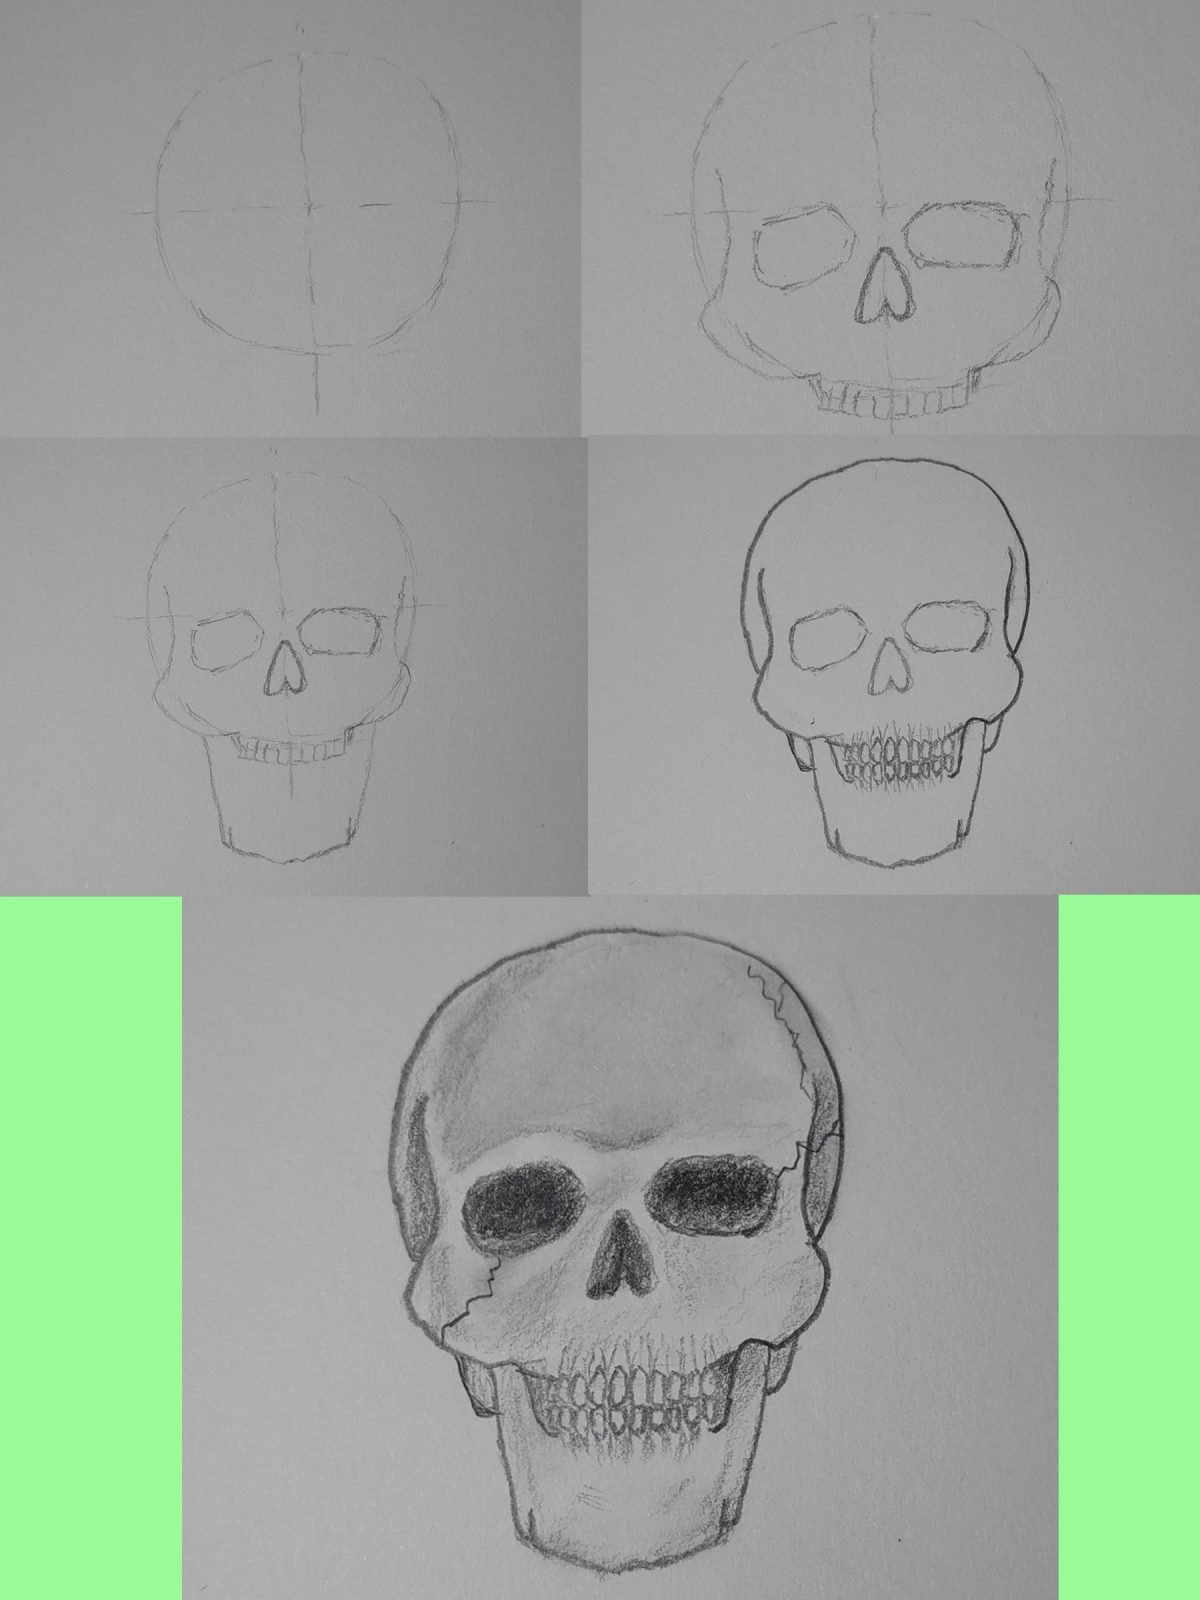
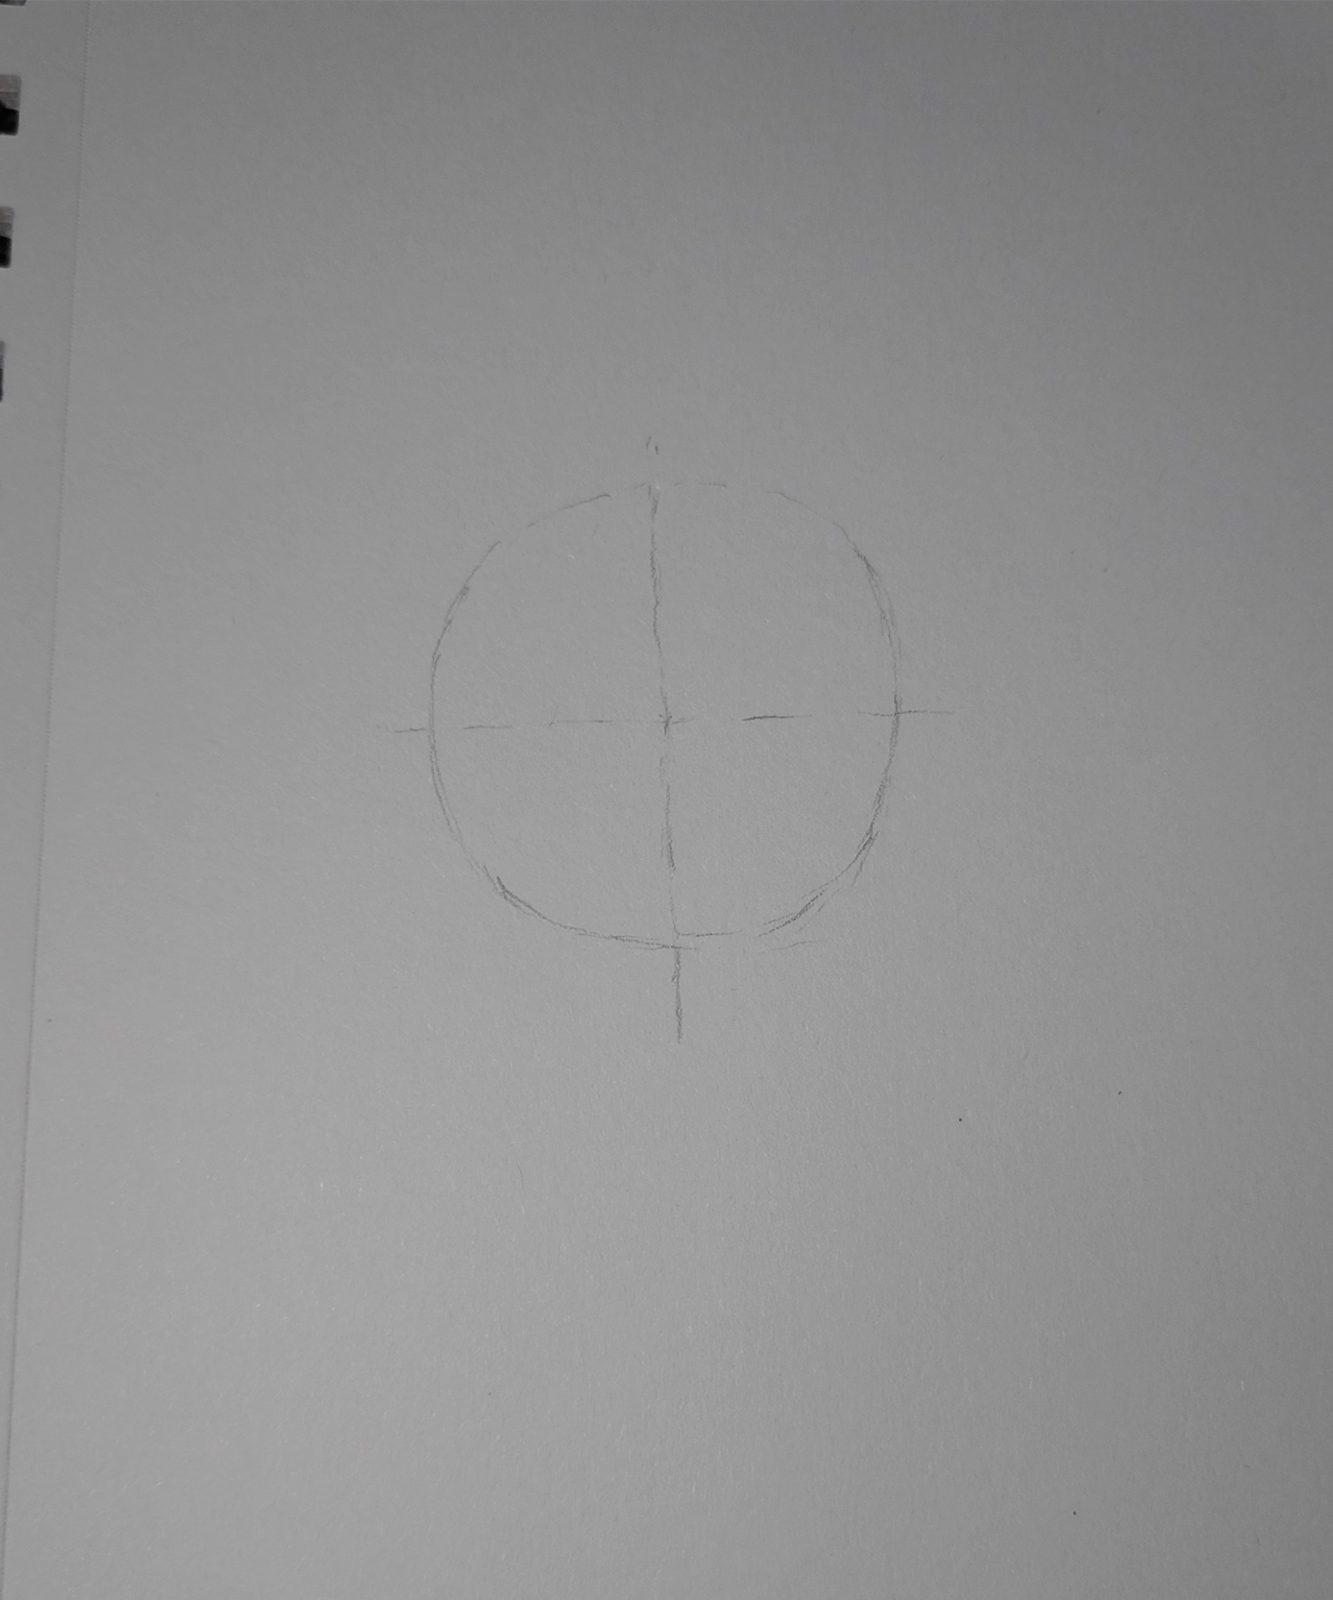
1.Draw a circle
The first step is to draw a circle, then find the center of the circle and draw two vertical lines.
If you can’t draw a more regular circle, you can use tools, such as a round bottle cap.
Or you can draw two vertical lines first, and then draw a circle, which is much easier.
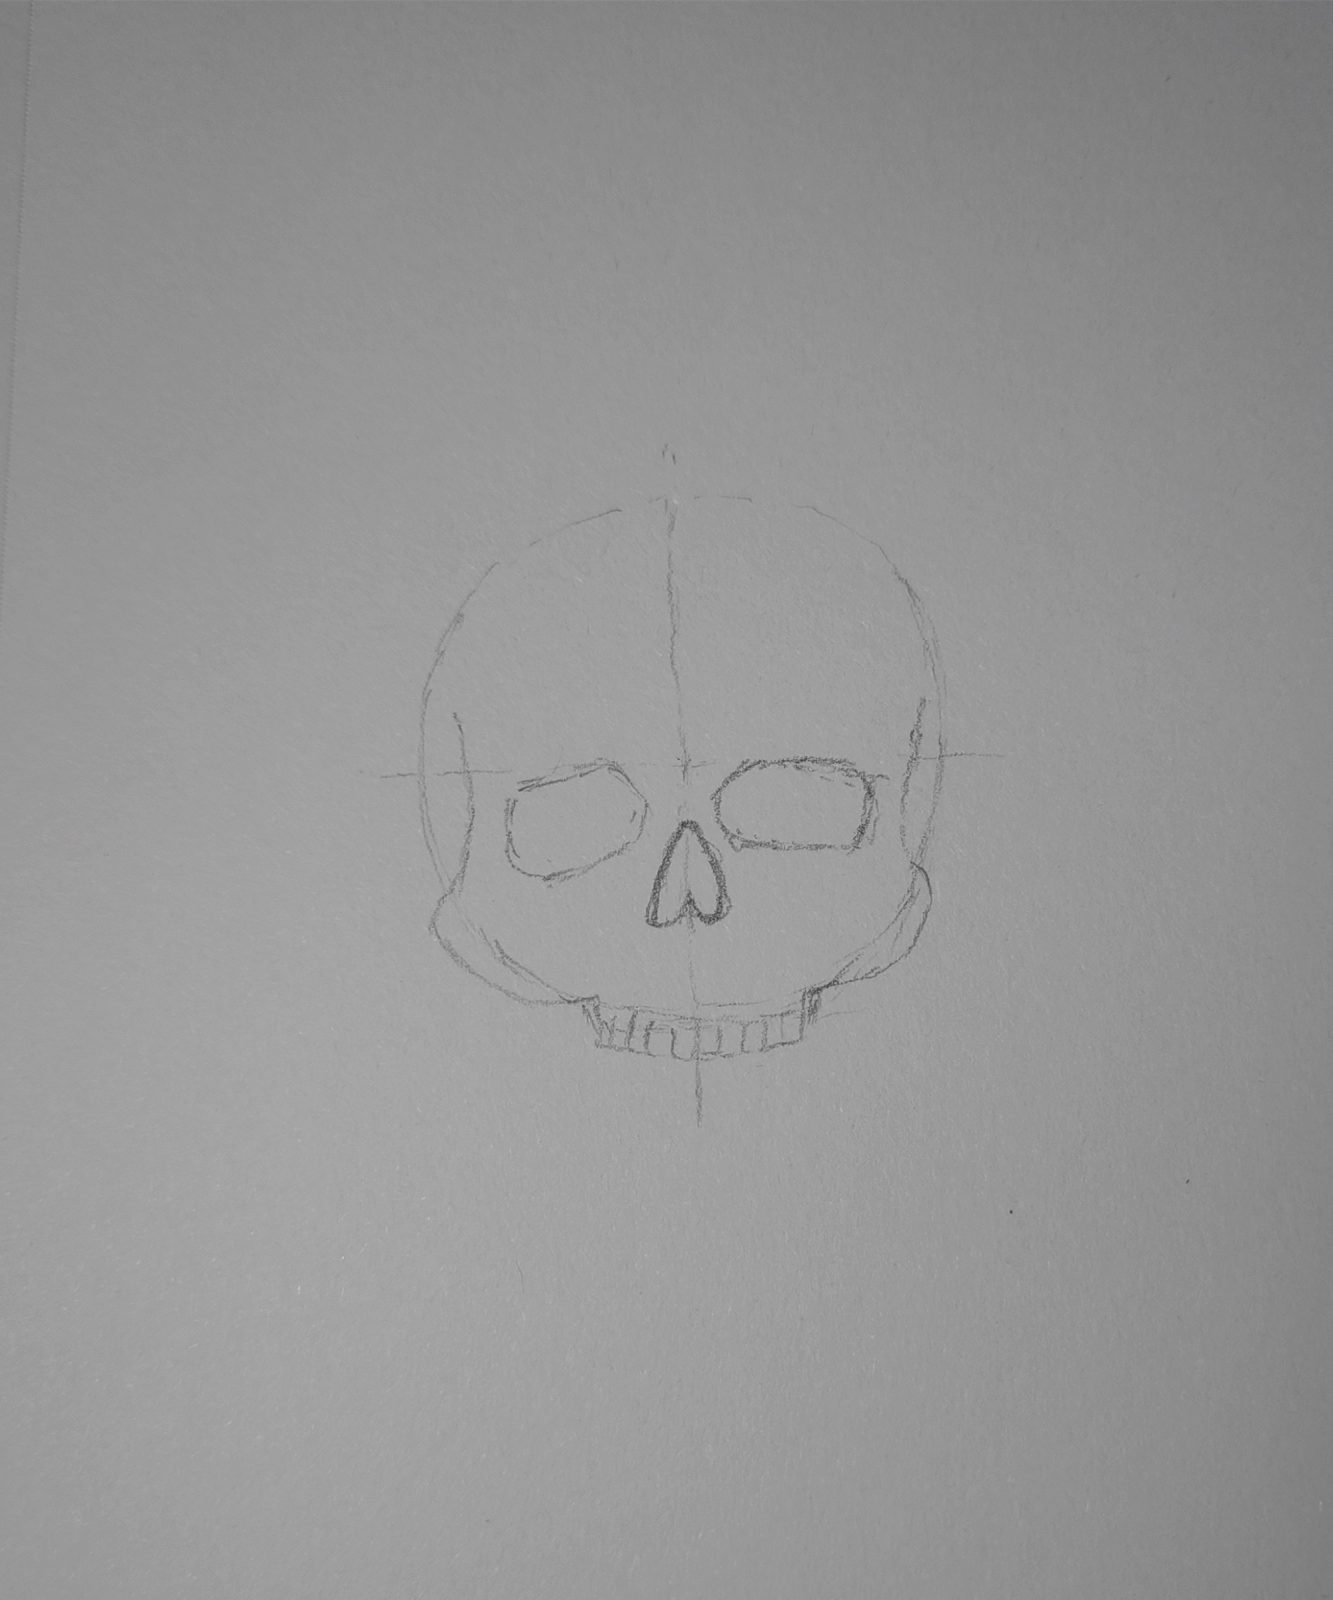
2.Draw the eyes and nose of a skull
Start drawing the eyes of the skull. With the positioning of two vertical lines, it is easy to find the correct position when drawing.
Next is the nose, and the prominent cheekbones.
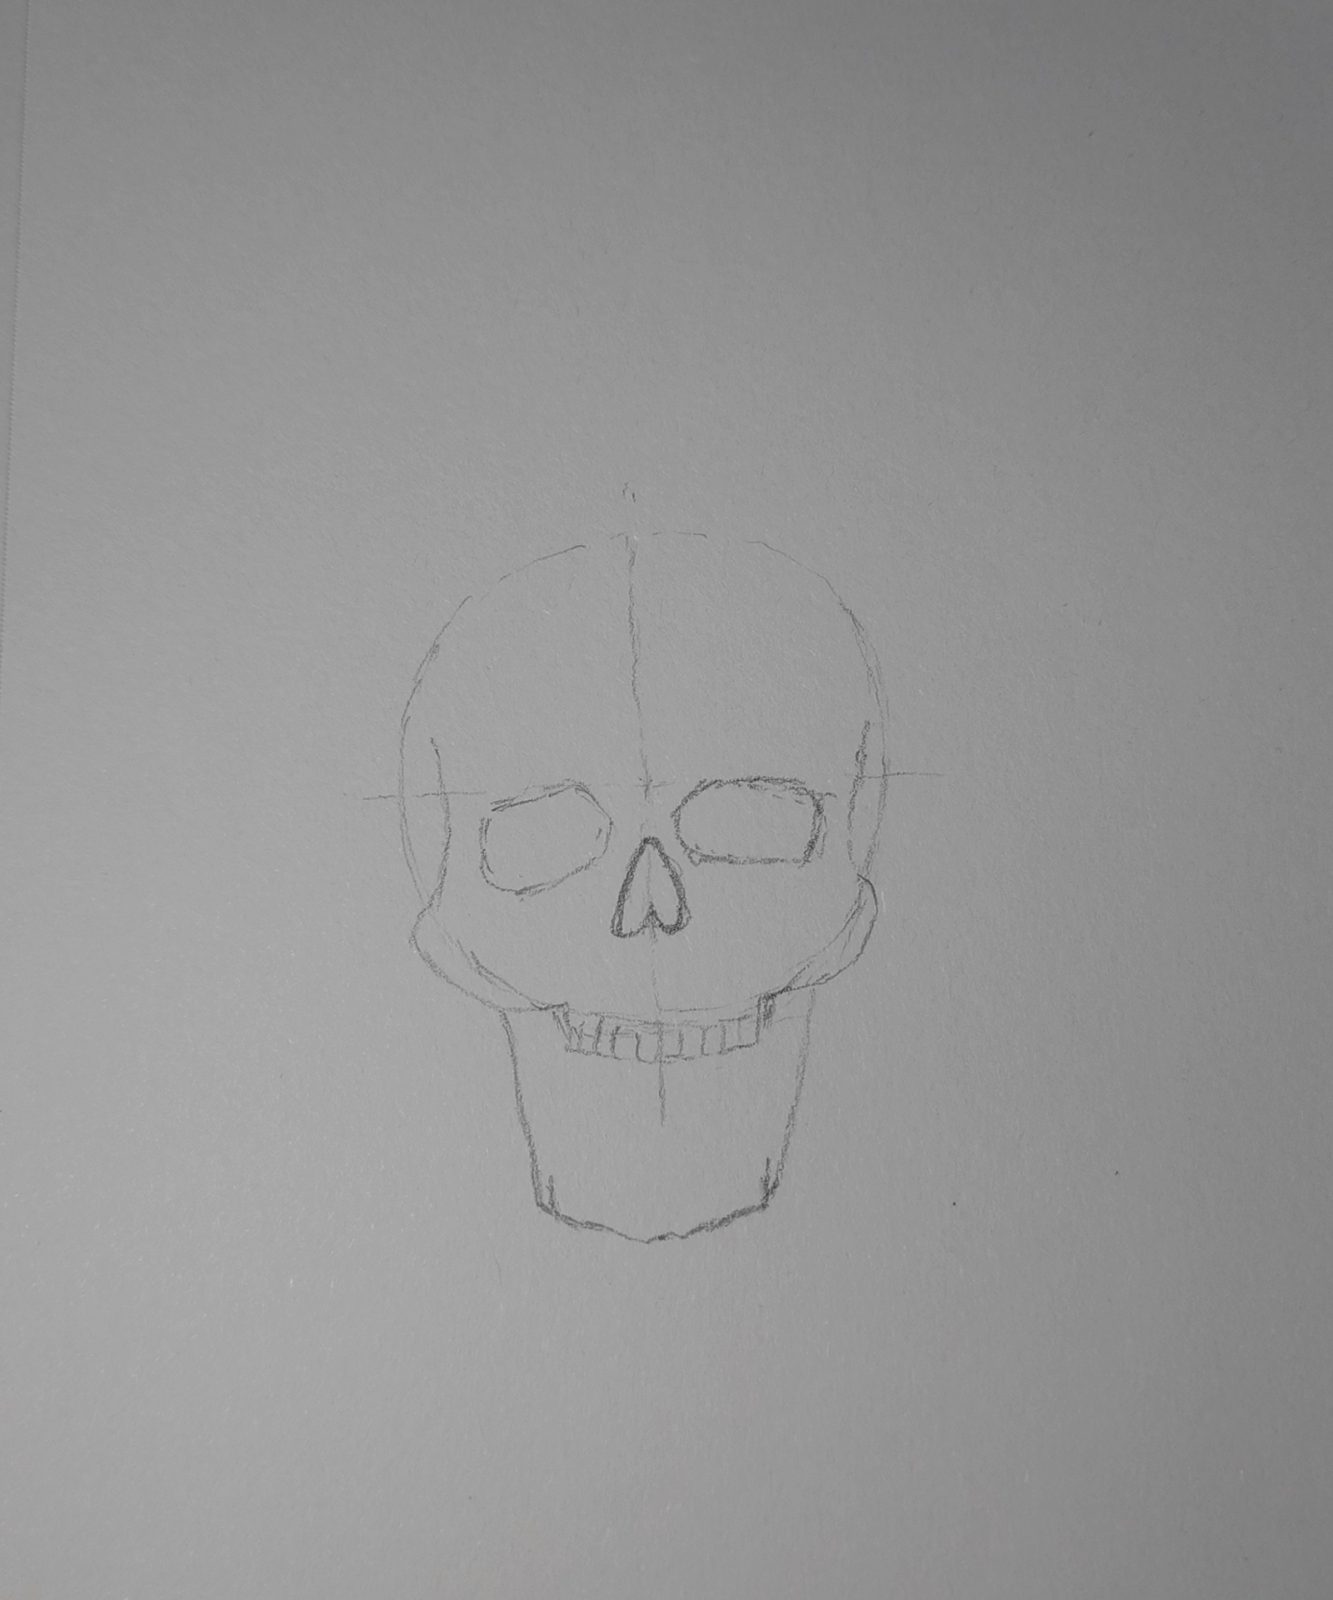
3.Draw the teeth of the skull
The tooth position is at the lower edge of the circle, which is very good positioning.
The jaw bone is almost the same width as the outer width of the two eye sockets.
The roots of the teeth should be slightly pointed.
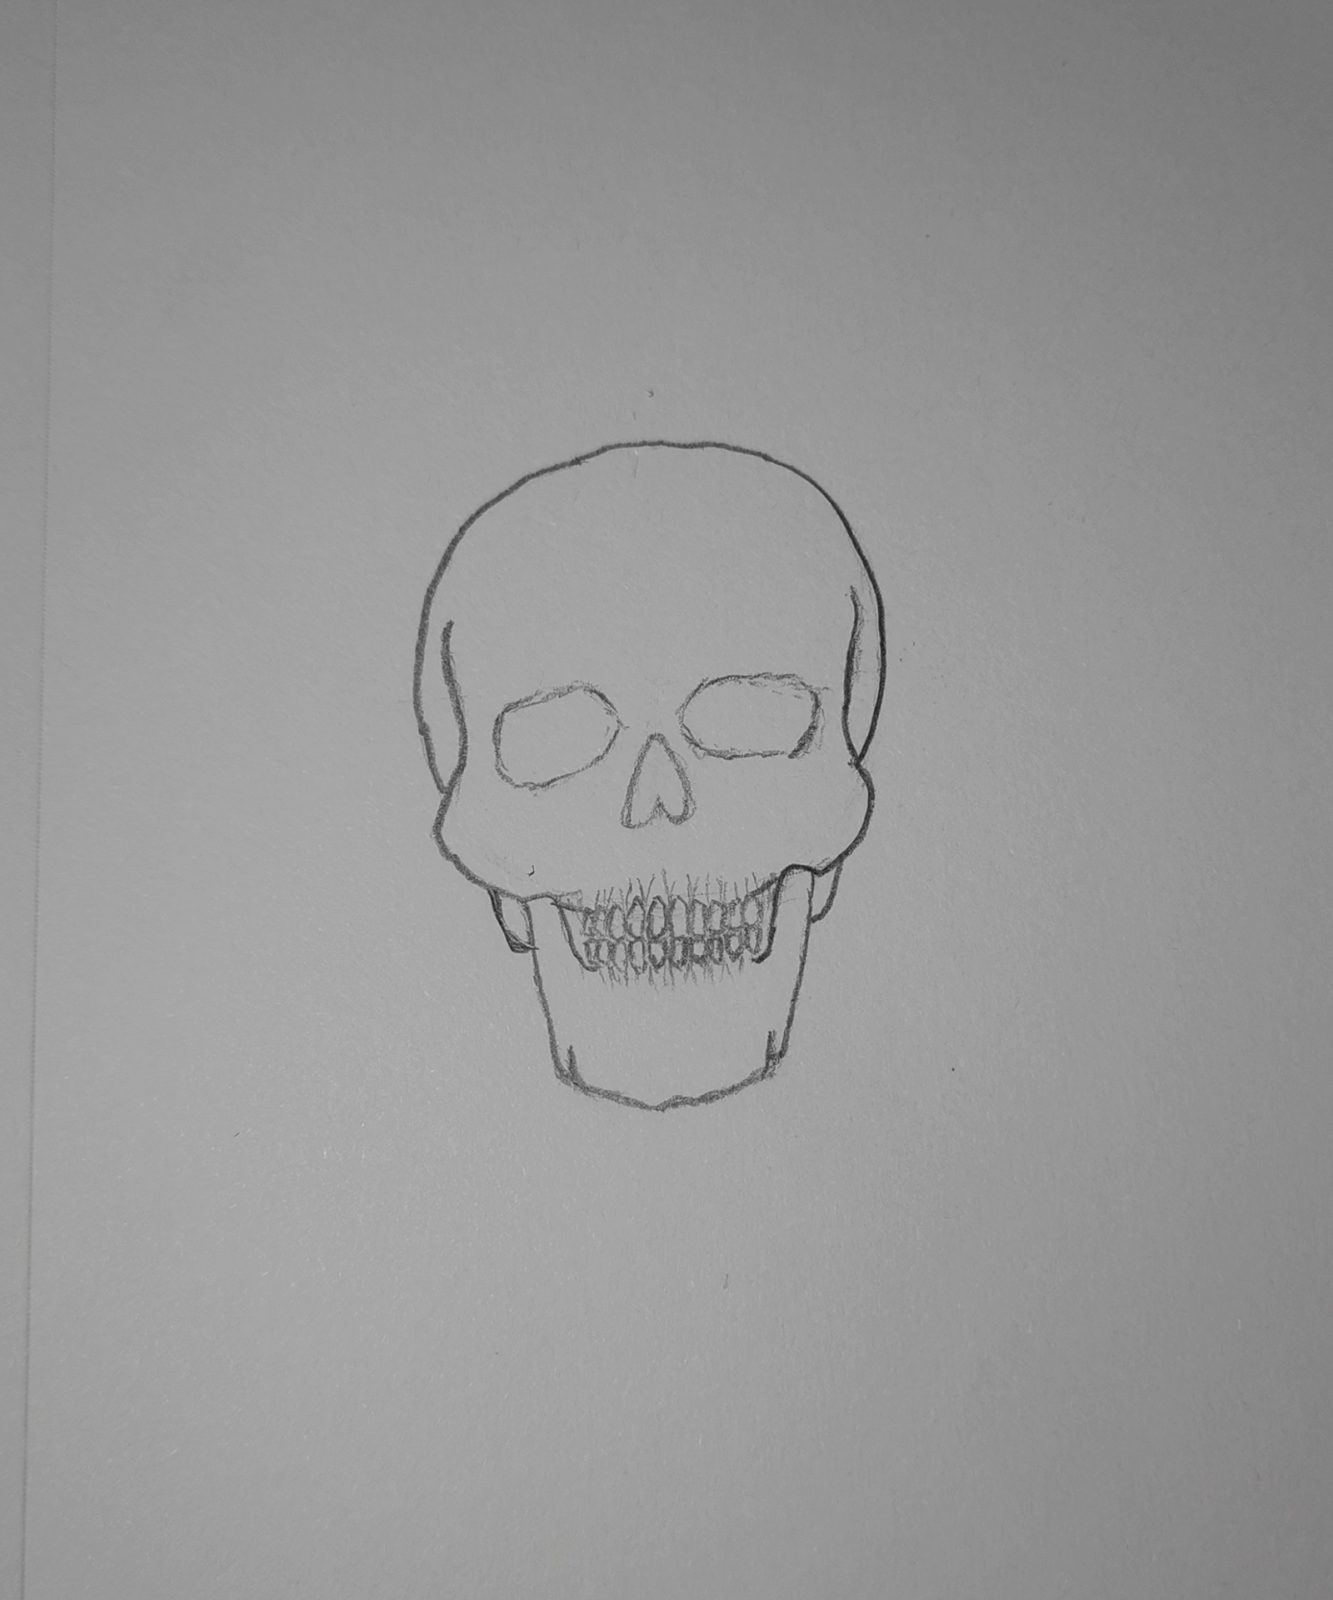
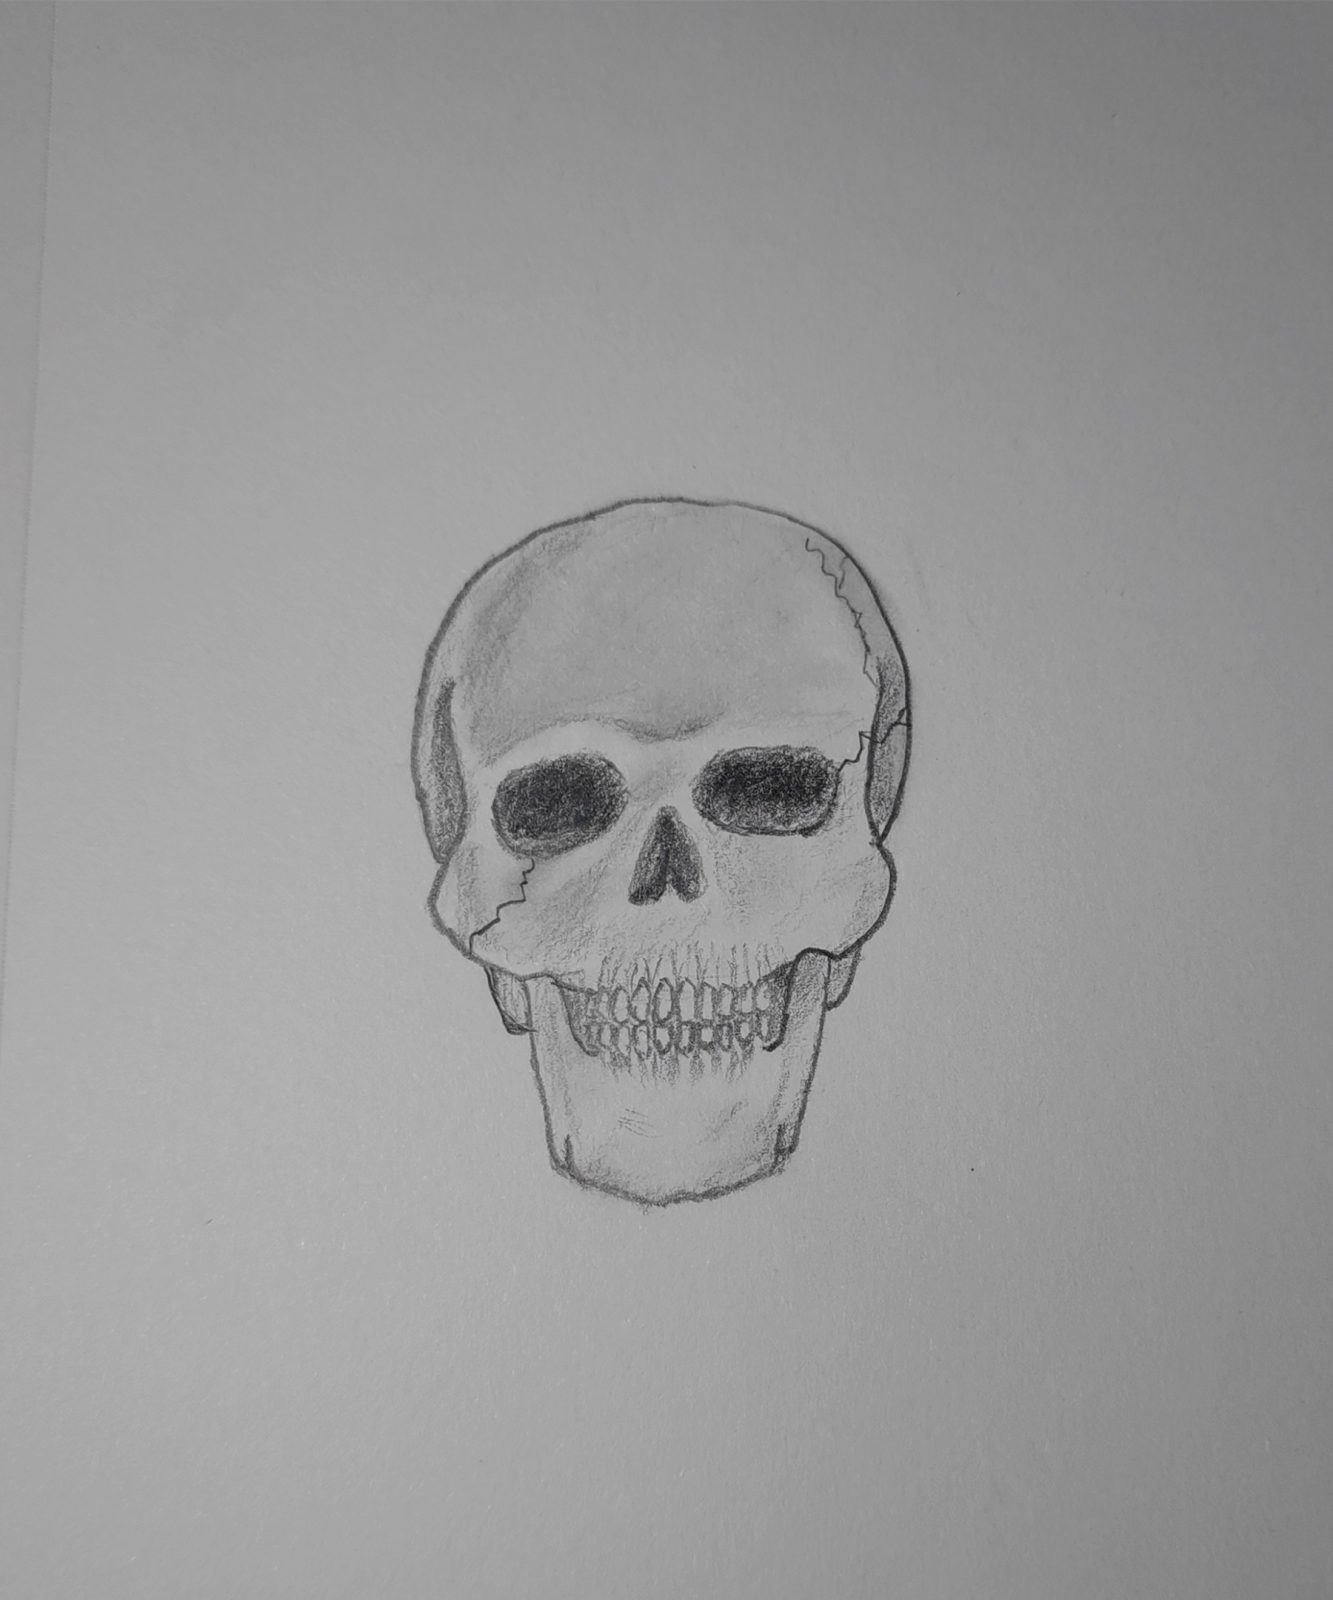
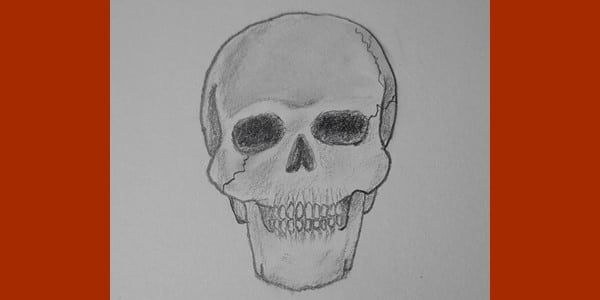
4.Drawing details and shadows
Start drawing the depth and add details such as cracks. This makes the skull you draw more realistic.
Well, a few simple steps complete a realistic skull.